Connect a Security Camera to Wi-Fi: Step-by-Step Setup Guide
Make sure your camera supports 2.4 GHz or 5 GHz Wi-Fi-use 2.4 GHz for better range through walls. Download the manufacturer’s app, create an account, and follow setup prompts to pair each camera using a QR code or serial number. Power cameras properly: hardwired for reliability, battery or solar for flexibility. Mount them 7–10 feet high at entry points, avoiding glare. Connect each to your home network via the app, stay within 30–50 feet of your router, and avoid signal blockers like metal or thick walls. Enable remote viewing and consider a cloud plan, starting at $3/month for 7-day storage. Test motion alerts-they should arrive within 10 seconds-and verify video quality and recording at different times of day. There’s more to optimizing performance based on your home’s layout and network setup.
Notable Insights
- Confirm your camera supports 2.4 GHz or 5 GHz Wi-Fi and matches your router’s band capabilities for optimal connection.
- Download the manufacturer’s app, create an account, and pair the camera using a QR code or serial number.
- Power the camera properly-use hardwired, battery, or solar options based on placement and access to outlets.
- Connect the camera to your 2.4 GHz Wi-Fi network and ensure strong signal strength within 30–50 feet of the router.
- Enable remote viewing in the app, set up cloud storage, and test motion alerts and video streaming from offsite.
Check Your Camera’s Wi-Fi Compatibility
While not every security camera works with every Wi-Fi setup, checking your camera’s compatibility early can save time and frustration down the line. You’ll want to confirm which Wi-Fi bands your camera supports-most use 2.4 GHz, though some also work on 5 GHz for faster speeds. The 2.4 GHz band travels farther and penetrates walls better, making it ideal for outdoor or distant placements, while 5 GHz offers less interference but shorter range. Check your router’s bands and match them to your camera’s specs. Signal strength matters too: weak signals cause lag or disconnects. Use a Wi-Fi analyzer app to test strength where you plan to install the camera. Position your router or camera to minimize obstructions. If signal strength is consistently low, consider a Wi-Fi extender. Choosing a compatible camera guarantees stable, reliable remote monitoring. For more detailed insights, check out our guide on the Best Wireless Cameras - Top Picks & Buying Guide.
Download the App to Connect Cameras to Wi-Fi
Once you’ve confirmed your camera works with your Wi-Fi network, the next step is downloading the manufacturer’s app, since that’s where you’ll complete setup and manage your camera. App setup starts in your phone’s app store-search for the brand’s official app and install it. Take care that you’re using the correct version for your operating system. After installation, create an account or log in if you already have one. This account will be central to managing your cameras. Device pairing begins within the app by following the prompts to add a new camera. You’ll usually scan a QR code or enter a serial number. The app guides you through connecting the camera to your Wi-Fi. Keep your network name and password ready. A stable app connection ensures reliable remote monitoring, so allow notifications and updates for best performance. For optimal performance, choose a camera that supports high-resolution streaming and strong wireless encryption standards.
Power and Position Your Cameras
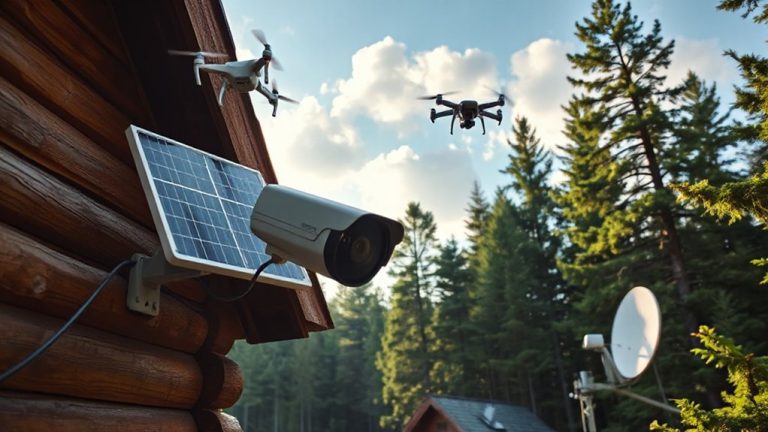
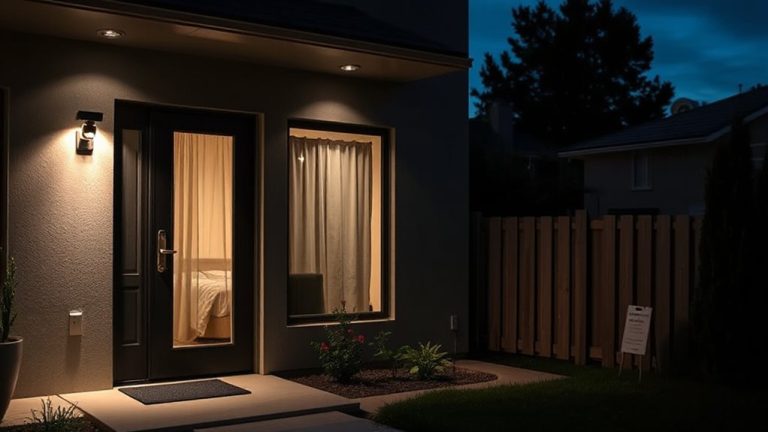
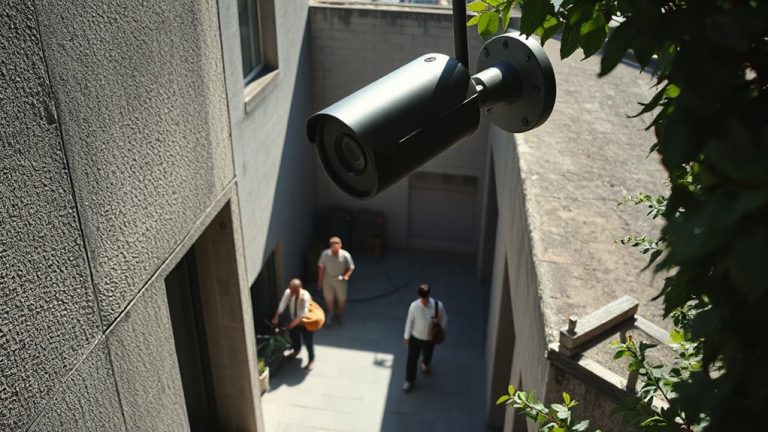
Now that you’ve downloaded the app and started the setup process, it’s time to handle the physical aspects of your security camera installation-powering and positioning. Choose reliable power sources: hardwired cameras offer consistent energy but require professional installation, while battery-powered models provide flexibility but need regular charging. Solar options balance both, cutting down on maintenance. For best camera placement, cover main entry points like doors and garages, keeping lenses between 7 and 10 feet high to reduce tampering. Avoid pointing cameras directly at bright lights or reflective surfaces to minimize glare. Angle them slightly downward to capture faces clearly. Test positions before final mounting. Proper power sources and strategic camera placement greatly improve performance and detection accuracy. Always follow manufacturer guidelines for wiring and mounting height to guarantee safety and functionality. Top models in the best wireless security cameras support seamless remote viewing and reliable Wi-Fi connectivity.
Connect Each Camera to Your Home Wi-Fi
How do you guarantee your camera connects reliably to your network? Start by minimizing wireless interference and ensuring strong signal strength during setup. Most cameras use a mobile app to sync with Wi-Fi-open the app, select the camera, and follow prompts to connect it to your 2.4 GHz band, which travels farther than 5 GHz. Keep cameras within range of your router, and avoid thick walls or metal objects that block signals.
| Factor | Recommendation | Reason |
|---|---|---|
| Wi-Fi Band | Use 2.4 GHz | Better range and wall penetration |
| Placement | Avoid large obstacles | Reduces wireless interference |
| Signal Strength | Stay within 30–50 ft of router | Maintains stable connection |
Recheck signal strength in the app after installation. A weak signal causes lag or disconnections, so consider a Wi-Fi extender if needed.
Turn On Remote Access and Cloud Backup
With your camera securely linked to the 2.4 GHz Wi-Fi network and showing a stable signal in the app, you can now enable remote access so you can view footage from anywhere. Turn on remote viewing in the app settings to stream live video when you’re away. Most systems support this feature, but some may require port forwarding or a static IP for full functionality, which the app usually handles automatically. For added protection, activate cloud storage to save recordings offsite, ensuring they’re safe even if your camera is damaged or stolen. While cloud plans vary, basic tiers often start at $3–$5 per month and hold up to seven days of footage. Higher tiers offer longer retention and more cameras. Keep in mind: cloud storage reduces reliance on local drives and simplifies access, but ongoing costs add up. Choose a plan that fits your needs, balancing security and budget.
Test Your Wi-Fi Camera Feed and Alerts
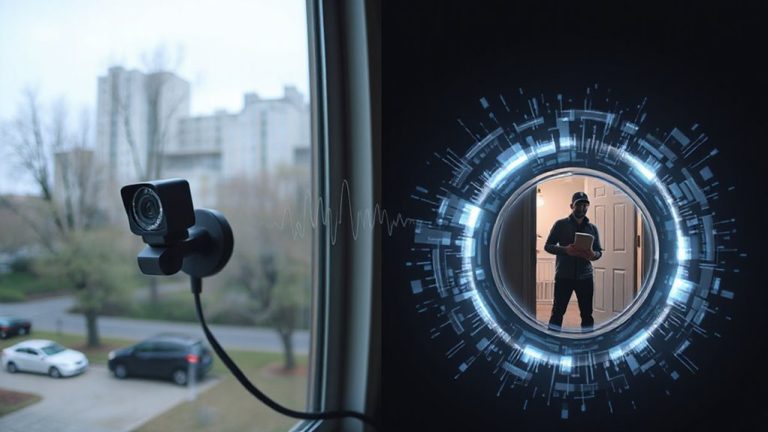
Is your camera showing a live feed without constant buffering or disconnections? Check the video quality-does it appear sharp, or is it grainy and unclear? Open the app and confirm you can view real-time footage from both near and remote networks. Test motion detection by walking in front of the camera and verifying that alerts arrive promptly on your phone. False alerts or delays reduce reliability.
| Feature | What to Check |
|---|---|
| Video Quality | Clear image, no lag or pixelation |
| Motion Detection | Triggers only when needed, no false alarms |
| Alert Timing | Notification arrives within 10 seconds |
| Remote Access | Works off home Wi-Fi, no crashes |
Adjust sensitivity settings if motion detection is too sensitive or slow. Make sure recordings save properly to the cloud or SD card. Repeat tests at different times to confirm consistency.
On a final note
You’ve now connected your security cameras to Wi-Fi for reliable remote monitoring. Make sure each camera has a strong signal and check the app for live feed accuracy. Enable remote access and cloud backups to keep footage secure. Test motion alerts and night vision to confirm performance. A well-set system offers peace of mind, but review privacy settings and update firmware regularly. Consider subscription costs for cloud storage when budgeting.