Ceiling Motion Sensor Installation: Placement, Wiring & Settings
Choose a ceiling motion sensor with adjustable sensitivity, wide detection angle, and pet immunity for reliable performance. Install it centrally in the room or hallway, away from corners, vents, and windows to avoid false triggers. Turn off power at the breaker and verify it’s dead with a voltage tester. Connect black to black, white to white, and ground to ground using wire nuts. Set time delay between 30 seconds and 10 minutes, then fine-tune sensitivity based on room activity. Best placement and proper wiring guarantee full coverage and fewer malfunctions. Further tips on troubleshooting common issues follow.
Notable Insights
- Choose a central ceiling location away from corners, heat sources, and windows for maximum motion detection coverage.
- Select a sensor with adjustable sensitivity, wide detection angle, and pet immunity to suit your room’s size and layout.
- Turn off power at the breaker and confirm wires are dead using a voltage tester before beginning installation.
- Mount the sensor securely using included hardware, ensuring alignment with stud or junction box as needed.
- Connect wires (black, white, ground), secure with wire nuts, then adjust time delay and sensitivity settings for optimal performance.
Pick the Right Ceiling Motion Sensor
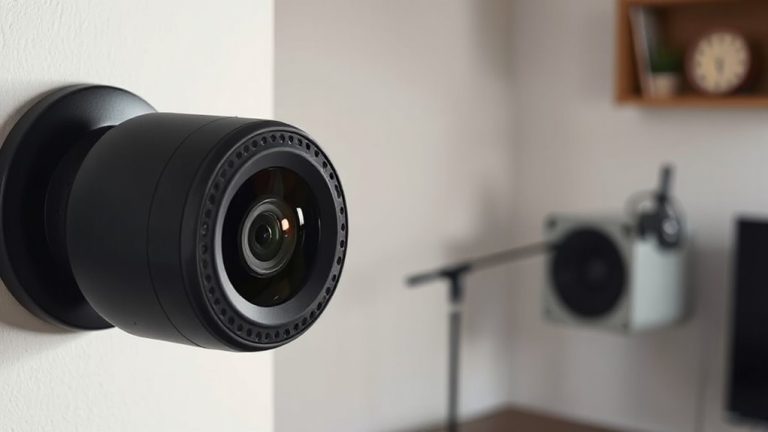
A good ceiling-mounted motion sensor starts with choosing the right model for your space and needs. You’ll want to take into account factors like room size, ceiling height, and whether you need pet immunity. Doing a brand comparison helps identify reliable performers-look at customer reviews, independent test results, and feature sets. Some brands offer better sensitivity adjustment or wider detection angles. Don’t overlook warranty options; a solid warranty often reflects confidence in durability and support. Most quality sensors come with at least a one-year warranty, though some extend to three or five years. Check whether the warranty covers parts, labor, or just replacements. Models with longer coverage typically cost more but may save money over time. Compare pricing across brands, balancing upfront cost with long-term reliability. Choose a sensor that fits your budget but doesn’t skimp on essential features or manufacturer-backed protection. For trusted recommendations, consult a top motion sensor guide to ensure you’re considering the best options on the market.
Find the Best Spot for Your Ceiling Motion Sensor
Where should you place your ceiling-mounted motion sensor for best performance? Proper sensor placement is key to reliable detection and full security coverage. Install the sensor in a central location, like a hallway junction or near the room’s center, so its coverage patterns can detect movement from multiple directions. Avoid corners, as they limit the sensor’s field of view. Keep it away from heat sources, vents, or windows that cause temperature shifts, which may lead to false triggers. For open floor plans, one sensor may suffice, but larger or multi-room areas often need multiple units to maintain overlapping coverage patterns. Make sure the sensor isn’t blocked by ceiling fans, hanging fixtures, or tall furniture. Always consult the manufacturer’s detection range and angle specs when planning placement-this guarantees peak performance without blind spots. Careful positioning improves response accuracy and overall system efficiency. Consider using one of the best motion sensors for Home Assistant to ensure seamless integration and optimal smart home performance.
Gather Tools for Installing a Ceiling Motion Sensor
Before you begin installing your ceiling motion sensor, you’ll need to assemble the right tools to guarantee a smooth and safe setup. Having the correct ceiling tools assures accuracy and reduces installation time. For proper sensor installation, gather a stud finder, ladder, screwdriver set, wire stripper, voltage tester, and drill with appropriate bits. A pencil for marking positions and wire connectors are also essential. If your sensor requires mounting hardware, check that it’s included. Using quality tools improves precision and long-term performance. Always verify tool condition-worn or damaged equipment can compromise safety. Planning ahead with these items streamlines the process, prevents mid-project delays, and supports correct wiring and alignment. Most tools are standard for home electrical jobs, but a sturdy ladder and reliable stud finder are especially important when working overhead. Proper preparation with the right ceiling tools makes sensor installation efficient and secure.
Shut Off Power and Prep Your Work Area
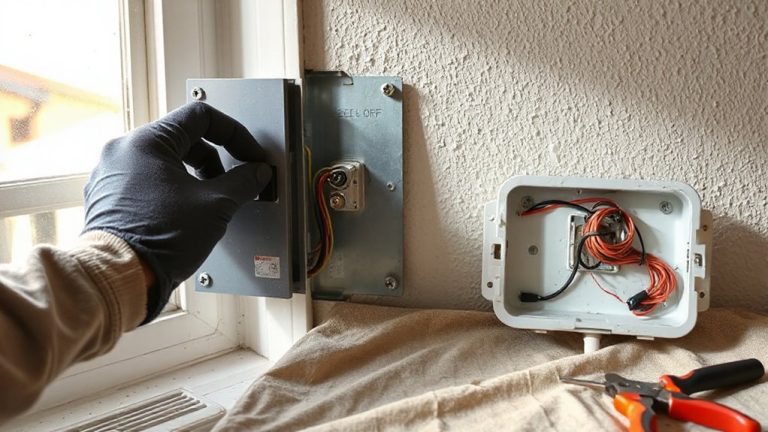
You’ve gathered all the necessary tools, so now it’s time to focus on safety and setup by cutting power and organizing your workspace. Electrical safety is critical-always turn off the circuit at the breaker box and confirm the power is off using a voltage tester. Never rely on just the wall switch. A clear, stable work area reduces risk and improves efficiency. Remove clutter, lay out tools systematically, and use a sturdy ladder rated for ceiling work. Good work area organization helps you stay focused and prevents accidents.
| Factor | Why It Matters | Pro Tip |
|---|---|---|
| Power Off | Prevents shocks | Verify with tester |
| Clear Floor | Reduces tripping | Keep cords tidy |
| Tool Placement | Saves time | Group by function |
Stay safe and prepared-this step guarantees a smooth installation.
Connect the Wires Without Risk
A secure and reliable connection starts with the right approach to wiring your ceiling-mounted motion sensor. Before touching any wires, confirm power is off using voltage testing at the ceiling box-this guarantees no live current is present. Use a non-contact voltage tester and double-check the circuit at the breaker. Once safe, examine wire identification: match black (hot), white (neutral), and green or bare copper (ground) wires from the sensor to those in the electrical box. Connect them with wire nuts, making sure no copper is exposed. Tighten each connection firmly to prevent arcing or loosening over time. Secure the sensor’s base to the mounting bracket and tuck the wires neatly into the box. Proper voltage testing and accurate wire identification prevent electrical hazards and guarantee long-term performance-critical steps you shouldn’t skip for safety and functionality.
Adjust Timing and Sensitivity Settings
With the sensor securely wired and mounted, you can now fine-tune its performance by adjusting the timing and sensitivity settings. Proper sensor placement affects how well the device detects motion, so consider the field of view and any obstructions. Set the time delay-how long the light stays on after detection-between 30 seconds and 10 minutes, depending on your needs. A shorter duration saves energy, while a longer one reduces frequent reactivation. Adjust sensitivity to match environmental factors like air vents, pets, or sunlight, which can cause false triggers. Lower sensitivity reduces unnecessary responses, especially in busy areas. Most sensors offer a range from low to high, so test settings slowly. Always verify adjustments by walking through the detection zone. Balanced timing and sensitivity improve efficiency, security, and user experience while minimizing power use and false alerts.
Fix Common Ceiling Motion Sensor Problems
Reliability hinges on proper setup and environmental awareness, and when ceiling-mounted motion sensors don’t perform as expected, a few common issues are usually to blame. If you’re dealing with sensor malfunction, first check the power source and wiring connections-loose wires or weak batteries often cause erratic behavior. False triggers are another frequent problem, commonly caused by placement near heat sources, vents, or moving objects like curtains. Make sure the sensor isn’t aimed at reflective surfaces, which can distort motion detection. Cleaning the lens with a soft cloth can also resolve sensitivity issues. For persistent false triggers, revisit the sensitivity and delay settings you adjusted earlier. Consider that pets or drastic temperature shifts might interfere. Updating to a dual-tech sensor, which uses both infrared and microwave detection, reduces false alarms. Always consult the manufacturer’s guide for model-specific diagnostics and warranty options. For improved results, consider investing in one of the best motion sensor alarms recommended for reliable performance and ease of installation.
On a final note
You’ve installed your ceiling motion sensor correctly by choosing the right model, positioning it for full coverage, and wiring safely with power off. Adjust sensitivity and timing to reduce false triggers. Most issues stem from placement or settings, so review those first. Regular testing guarantees reliability. At $20–$60 per unit, these sensors boost security efficiently. Follow manufacturer instructions closely, and consult an electrician if unsure.