Setting Up RAID Configurations on an NVR for Redundant Home Security Footage Backup
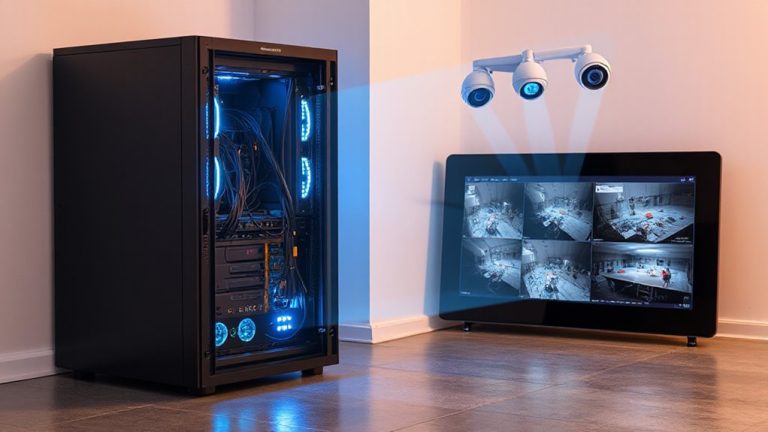
You should set up RAID on your NVR to protect your security footage from drive failure. Use RAID 1 for two drives or RAID 5 for three or more, balancing redundancy, capacity, and performance. Install matched surveillance-rated drives like WD Purple or Seagate SkyHawk, then configure the array through your NVR’s storage settings. Always enable encryption and back up your settings-proper setup guarantees your system stays reliable and ready for any issues down the line.
Notable Insights
- Choose RAID 1, 5, or 6 for redundancy to protect home security footage from drive failures.
- Use surveillance-rated drives like WD Purple or Seagate SkyHawk for 24/7 reliability and RAID compatibility.
- Install at least two matching-capacity drives to ensure balanced performance and array stability.
- Configure RAID through the NVR’s web interface under Storage Settings after initializing the drives.
- Enable encryption, schedule health checks, and replace failed drives promptly to maintain data integrity.
Understand RAID for NVR Security
A redundant array of independent disks, or RAID, helps protect your home security footage by organizing multiple hard drives to work together for better reliability and performance. You’ll want to understand RAID fundamentals to guarantee your system doesn’t lose data if a drive fails. One key method, data mirroring, copies your footage identically across two drives-so if one fails, the other keeps running. This setup boosts safety but uses more storage space. RAID isn’t foolproof, though; it doesn’t replace offsite backups. Power surges or physical damage can still affect multiple drives. You’ll need at least two drives, but some configurations require more. Consider drive compatibility and cost when planning. RAID improves uptime and data access speed, but proper setup is essential. Knowing how it works helps you make smarter, more informed security choices.
Choose the Best RAID Level for Your NVR
How do you pick the right RAID level for your NVR without overcomplicating things? Start by balancing drive performance and data redundancy based on your needs. RAID 1 mirrors data across two drives, offering strong redundancy but less storage. It’s simple and reliable for small setups. RAID 5 requires at least three drives but gives better storage efficiency and solid redundancy by spreading parity data. It also improves drive performance during read tasks. If you have four or more drives, RAID 6 adds double parity, protecting against two drive failures-great for long-term footage. However, write speeds can be slower. For most home users, RAID 5 strikes the best balance between performance, capacity, and data redundancy. Avoid RAID 0 for security use since it offers no redundancy. Plan for capacity and future expansion while choosing.
Pick Compatible Hard Drives for NVR RAID
Your NVR’s reliability hinges on drive compatibility-skip this step, and you risk system errors or data loss. Drive Compatibility guarantees your hard drives work seamlessly with your NVR’s firmware and RAID controller. Always check the manufacturer’s official compatibility list before buying. Use surveillance-rated drives like Western Digital Purple or Seagate SkyHawk, designed for 24/7 operation and RAID Reliability. These drives handle constant write demands better than desktop models. Match drive capacity and speed across all bays to prevent performance imbalances. Mixing drive types or sizes can reduce RAID Reliability and lead to premature failure. While enterprise drives offer durability, they’re often overkill and more expensive. Budget for at least two identical drives, but note that larger capacities improve storage efficiency. Proper Drive Compatibility isn’t optional-it’s essential for stable, long-term footage backup.
Set Up RAID on Your NVR in 6 Steps
Once you’ve selected compatible surveillance-rated drives like Western Digital Purple or Seagate SkyHawk, setting up RAID on your NVR follows a clear, step-by-step process. Begin by installing the drives securely, then power on the NVR and access its web interface. Navigate to Storage Settings and initialize the drives. Choose your RAID level-RAID 1 for mirroring or RAID 5 for balanced redundancy-and format the array. Enable data encryption to protect recorded footage from unauthorized access. Schedule regular system maintenance tasks like health checks to monitor drive performance. Below is a comparison of common RAID types for home NVRs:
| RAID Level | Best For |
|---|---|
| RAID 1 | Simple backup, 2 drives |
| RAID 5 | Storage efficiency, 3+ drives |
Always back up configuration settings after setup.
Test Your RAID Array After Installation
After your RAID array is configured, verifying its stability and performance guarantees your recorded footage remains protected. You should run array verification to confirm all drives are communicating correctly and the system recognizes the RAID level you selected. This step secures data integrity and checks that fault tolerance is active, especially in RAID 1 or 5 setups where drive redundancy matters. Use your NVR’s built-in diagnostic tools to monitor read/write speeds and error rates during testing. Briefly review the system logs for any warnings that could signal underlying issues. Don’t skip this process-even a small configuration error can compromise backup reliability. Proper testing now reduces the risk of unexpected data loss later. While it takes a little time, confirming the array works as expected gives you confidence your security footage is continuously and safely stored.
Monitor and Replace Drives in NVR RAID
How do you know when a drive in your NVR’s RAID array is failing? You’ll typically get failure alerts from the system, often through email notifications or on-screen warnings. These alerts are triggered when the NVR detects abnormal drive health, such as slow response times, bad sectors, or SMART errors. Regularly check your NVR’s storage management page to review drive health status manually, even if no alerts appear. Most systems let you view each drive’s temperature, usage, and error rates. If a drive fails, replace it immediately. Power down the NVR, remove the faulty drive, and insert a new one of equal or greater capacity. The RAID array will rebuild automatically, restoring redundancy. Use reputable surveillance-grade drives for best results, and keep a spare on hand to minimize downtime. Monitoring and timely replacement guarantee your footage stays protected.
On a final note
You’ve set up RAID on your NVR for reliable backup, reducing the risk of data loss. RAID 1 or 5 is best for most home systems, balancing safety and storage. Use surveillance-rated drives for better performance and longer life. Test the array after setup and check health monthly. Replace failed drives promptly to maintain protection. Plan for costs: extra drives and possible NVR compatibility limits. This setup gives steady, long-term security footage storage.