Positioning Infrared Cameras for Clear Night Vision Across Dark Property Zones
Position your infrared cameras 8 to 10 feet high with a 10–15° downward tilt to cover dark zones like side gates and back doors. Use overlapping views to eliminate blind spots and reduce glare from reflective surfaces with anti-reflective hoods. Guarantee wired power for steady performance, and pair motion sensors with infrared for reliable night detection. Test footage monthly to confirm coverage and clarity-small adjustments can greatly boost effectiveness. Optimizing each placement improves overall security performance.
Notable Insights
- Mount infrared cameras 8–10 feet high to maximize coverage and deter tampering.
- Angle cameras 10–15 degrees downward to optimize infrared illumination on ground-level movement.
- Eliminate glare by avoiding direct views of reflective surfaces like glass, metal, or white walls.
- Ensure overlapping camera fields of view to cover dark zones and remove blind spots.
- Use protective conduits and wired power to maintain consistent performance and prevent signal loss.
Identify High-Risk Dark Zones on Your Property
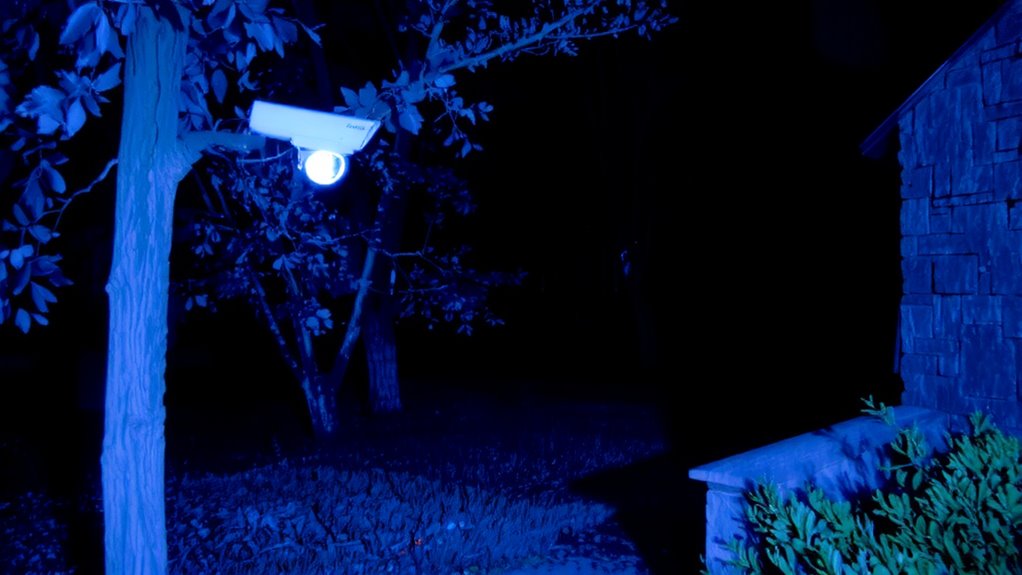
Where do intruders most likely exploit darkness around your home? In shadowed entry points like side gates, back doors, and garage corners-areas often missed by streetlights or indoor lighting. To secure these high-risk dark zones, you need strategic light placement and reliable power access. Poorly lit pathways or blind spots between trees and walls offer hiding spots, so focus on overlapping coverage between natural light, motion-sensor fixtures, and your camera’s field of view. Guarantee each infrared camera has nearby power access to avoid battery drain or inconsistent performance. Wired systems offer steady operation but may require professional installation; wireless models offer flexibility but depend on signal strength and recharge cycles. Evaluate each zone’s layout and prioritize lighting near entrances without over-illuminating the yard. Balancing light placement with camera positioning improves visibility and reduces false alerts, giving you clear, consistent night monitoring across your property’s most vulnerable areas. For optimal results, choose models from the best outdoor security cameras that combine strong night vision with weather-resistant design.
See How Infrared Cameras Work at Night
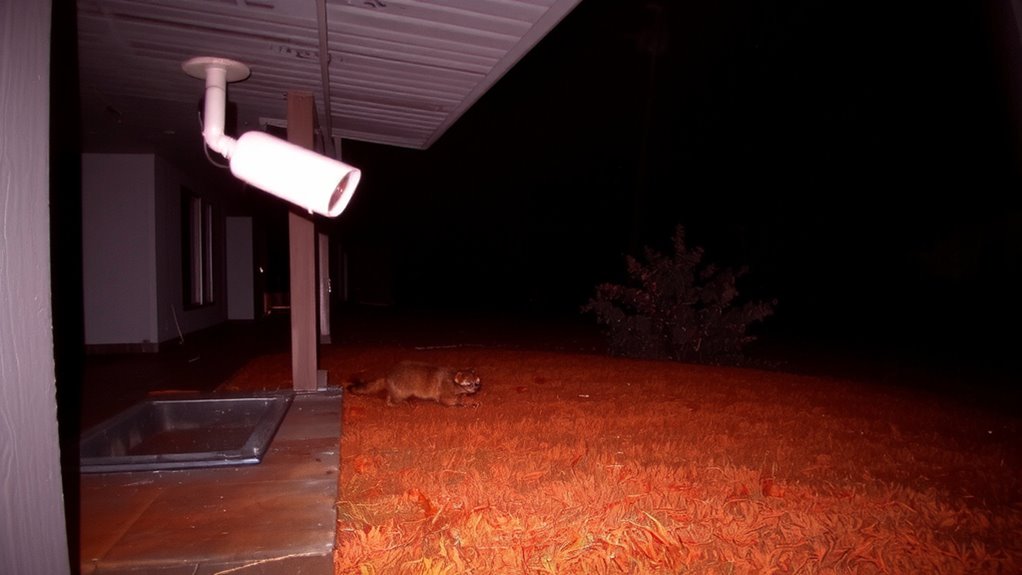
Night vision in infrared cameras relies on a simple but effective technology that captures light beyond what the human eye can see. You’ll notice these cameras use infrared LEDs to illuminate dark areas, allowing them to record clear video even in total darkness. Unlike thermal imaging, which detects heat signatures and works well in complete darkness or smoke, standard infrared cameras depend on near-infrared light reflection. This means they can struggle with light pollution, especially from nearby streetlights or porch lights, which may wash out images. Thermal imaging is more expensive but offers better detection in variable conditions. Infrared cameras are cost-effective and widely used, though their range and clarity depend on LED strength and sensor quality. For best results, place them away from bright light sources. You’ll get sharper footage with less interference when you minimize exposure to light pollution. Consider checking out the best infrared cameras for models that balance performance, range, and resistance to light interference.
Avoid These Infrared Camera Mistakes
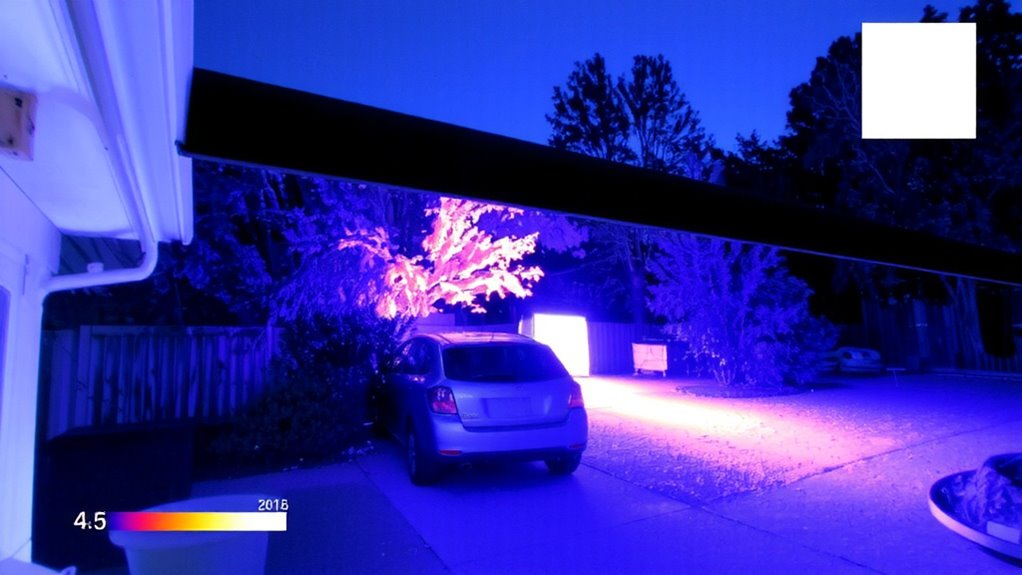
Why do so many homeowners struggle to get clear night footage despite installing infrared cameras? You might be making avoidable mistakes. Poor cable management can lead to damaged wires, signal loss, or even system failure, especially outdoors where elements accelerate wear. Always secure cables in protective conduits and avoid tight bends or exposure to moisture. Another common issue is neglecting outdated firmware updates. Manufacturers regularly release patches to improve image clarity, motion detection, and security protections. Skipping them leaves your system vulnerable and underperforming. Test your camera’s night vision monthly and check for software alerts. Positioning matters, but even the best placement fails if technical upkeep is ignored. For reliable results, combine clean cable routing with consistent firmware updates. These small steps boost longevity and video quality without added expense. Prevention now saves cost and hassle later. Choosing a camera with strong low-light performance, such as one featuring a sensor size advantage, can significantly enhance night video clarity.
Set the Right Height and Angle for Coverage
You’ve secured the cables and kept the firmware up to date, so now it’s time to fine-tune how your infrared camera is physically mounted. Setting the right mounting height is critical-install it between 8 and 10 feet high for best coverage and tamper resistance. At this height, the camera captures a broad view while minimizing blind spots. Adjust the tilt angle carefully; a slight downward slope of 10 to 15 degrees helps focus the infrared illumination on the ground, where movement occurs. Too steep a tilt angle can oversaturate the foreground and reduce range. Mounting too low creates wider dark zones, while too high reduces image detail. Test different angles at night and review footage to verify coverage. Proper alignment balances field of view, clarity, and infrared reach-key for reliable monitoring.
Fix Reflections That Blur Night Video
How often do you notice foggy or washed-out spots in your night footage without realizing the cause might be right in front of the lens? Surface glare and lens fogging are common issues that blur infrared video, especially in humid or cold conditions. You can reduce surface glare by cleaning the lens regularly and using anti-reflective coatings or hoods. Avoid mounting cameras directly opposite glass, metal, or white walls, as these surfaces bounce infrared light back, creating hotspots. For lens fogging, guarantee your camera has a proper IP66 or higher rating to resist moisture. Some models include built-in heaters or ventilation to prevent condensation. If fogging persists, reposition the camera to a drier, sheltered area. These small adjustments greatly improve clarity and reliability, giving you sharper night video without unnecessary rework or expense.
Overlap Cameras to Cut Blind Spots
Placing cameras to eliminate dark zones starts with recognizing that even well-lit areas can hide blind spots if coverage isn’t planned carefully. You can fix this by overlapping your camera views, ensuring no intruder slips through undetected. Overlapping coverage means adjacent cameras share part of their field of view, reducing gaps. This setup requires proper camera synchronization so footage aligns correctly during playback. Without it, timing mismatches could confuse investigations. Also, avoid placing cameras too close together, as this increases the risk of signal interference, especially with wireless models sharing the same frequency band. Interference can cause lag, dropped feeds, or reduced night vision quality. A structured layout-like crisscrossing angles from corners-ensures consistent monitoring. While overlapping adds camera costs, the trade-off is reliable, seamless surveillance across all dark property zones. Plan positions on a sketch first to optimize placement and minimize wasted coverage.
Test Your Night Vision Setup
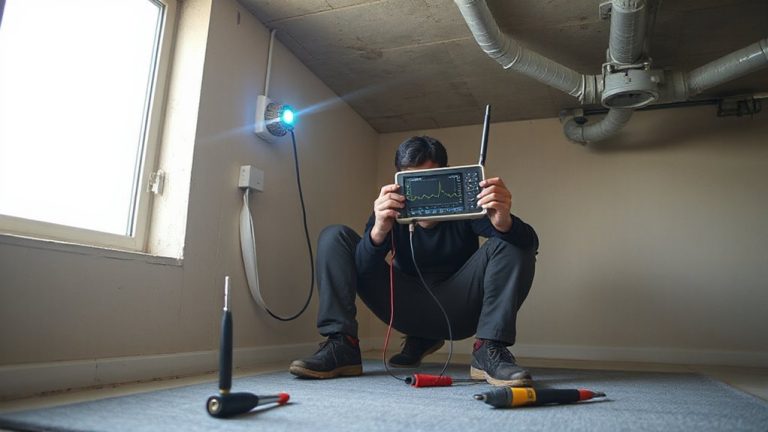
What good is a night vision system if it doesn’t perform when darkness falls? You need to test your setup to guarantee every corner is visible and responsive. Check camera calibration so images stay sharp and aligned with motion sensors. Look for signal interference from walls, trees, or electronics that might weaken video quality or delay alerts. Walk through monitored zones at night to verify coverage and response times.
| Test Area | Pass/Fail | Notes |
|---|---|---|
| Front Yard | Pass | Clear image, no lag |
| Back Fence | Fail | Motion missed at 2 AM |
| Side Gate | Pass | Good IR range |
| Near Router | Fail | Signal interference detected |
Adjust angles, recheck camera calibration, and minimize obstructions to fix issues. Retest until all zones pass.
On a final note
You’ve pinpointed dark zones and positioned cameras to cover them. Infrared works best when mounted 8–10 feet high, angled slightly downward to avoid glare. Avoid pointing lenses at shiny surfaces, and overlap fields of view to eliminate blind spots. Test footage at night to confirm clarity. Proper setup means reliable, clear video without hotspots or shadows, giving you actionable surveillance data.