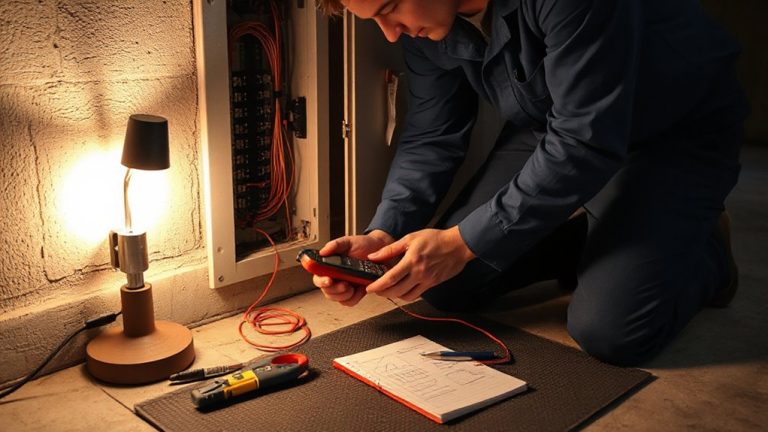
How to Install a Ceiling-Mounted Motion Detector in a Vaulted Living Room
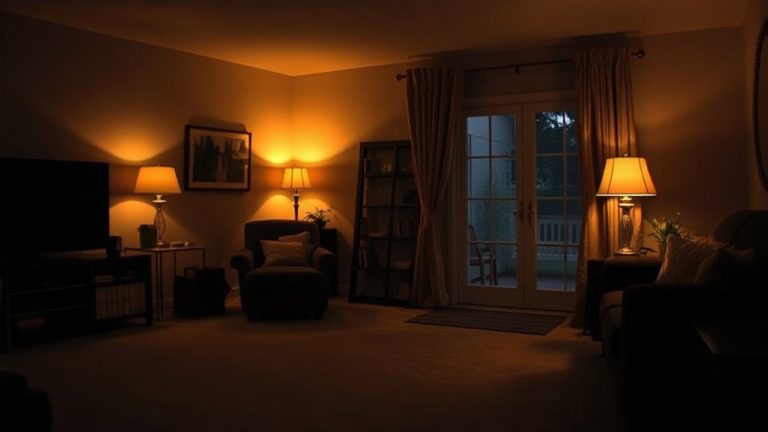
Choose a high-ceiling motion detector with at least a 30-foot range and 180-degree view to cover your vaulted living room. Pick battery power for easy setup or hardwired for long-term reliability. Mount near the peak, angled down, aiming toward doorways. Turn off power at the breaker, route wires safely, and secure with an adjustable bracket. Test detection patterns and adjust sensitivity to avoid false alarms. There’s more to optimizing placement and wiring based on your room’s shape and usage.
Notable Insights
- Choose a motion detector rated for vaulted or high ceilings with a 30-foot range and 180-degree field of view.
- Mount the detector near the peak of the sloped ceiling, angled slightly downward for optimal coverage.
- Aim the sensor toward high-traffic areas like doorways or seating zones to maximize detection effectiveness.
- Use an adjustable bracket to fine-tune the sensor’s angle and ensure full coverage of the living space.
- Turn off power at the breaker before installation and verify wires are safe with a voltage tester.
Choose a Motion Detector Compatible With Vaulted Ceilings
While most motion detectors work well on standard 8- to 10-foot ceilings, you’ll need a model specifically designed for vaulted or high ceilings-typically 12 feet or more-to guarantee reliable coverage. Standard models often fail under ceiling height restrictions, leaving blind spots that compromise security. You must check sensor compatibility with elevated installations, as not all sensors project wide or deep enough detection patterns for tall spaces. Look for detectors labeled “high-ceiling” or “vaulted ceiling” use, with a detection range of at least 30 feet and a wide field of view, like 180 degrees or more. These models use advanced optics and stronger sensors to maintain accuracy. Though they may cost $10–$20 more, the investment reduces false alarms and gaps in monitoring. Always verify manufacturer specs for maximum ceiling height to confirm your space fits within recommended limits. For top-performing options, consider checking out the best motion detectors for every home to find models tailored to challenging spaces like vaulted ceilings.
Pick Battery or Hardwired Based on Your Setup
You’ve got two main power options for your ceiling-mounted motion detector: battery or hardwired. Battery-powered models are easier to install, especially in vaulted ceilings where wiring accessibility is limited. They don’t require running cables, but you’ll need to monitor battery lifespan, typically 1–3 years, depending on usage and model. Hardwired detectors last longer without maintenance and often integrate better with security systems, but they require accessible wiring and professional installation in most cases. If your ceiling has easy wiring access during construction or renovation, hardwired is more reliable long-term. For existing homes, battery models save time and cost. Consider upfront pricing: battery units are cheaper, but ongoing replacements add up. Hardwired systems cost more initially but reduce future effort. Choose based on your home’s setup, energy needs, and how often you want to maintain the system. For reliable performance and ease of setup, consider checking out the Top Picks & Buying Guide.
Position the Sensor for Full Coverage on a Slope
How do you guarantee your ceiling-mounted motion detector covers every critical area on a sloped ceiling? Start by evaluating the angle of the slope and your room’s layout. Proper sensor alignment ensures the detection field isn’t blocked by the incline. Mount the sensor near the peak if the slope is steep, angling it slightly downward to maximize viewing range. Avoid placing it too close to walls or corners where blind spots occur. For best coverage optimization, aim the sensor toward high-traffic zones like doorways or seating areas. Most detectors offer a 90 to 120-degree sensing arc, so position it centrally within that range. Test the detection zone with a walk-through before securing it fully. Adjust the tilt if needed, ensuring motion from all key angles triggers a response. This planning improves reliability without needing extra units. For optimal performance, consider pairing your setup with one of the best motion sensors for lights.
Turn Off Power and Prepare the Work Area
With the sensor properly aligned for best coverage on a sloped ceiling, the next step is to guarantee your safety and set up the space for installation. Turn off the power at the circuit breaker to assure electrical safety-this is non-negotiable. Verify the power is off using a voltage tester at the junction box. Never assume the switch controls the correct circuit. Once power is disconnected, clear the area below the installation site. Remove furniture or obstacles to create ample workspace clearance, reducing trip hazards and making access easier, especially when using a ladder. Keep your tools and mounting hardware within reach but organized. A clean, open workspace improves efficiency and focus. Confirm you have stable footing and a helper if needed, since vaulted ceilings often require extended ladders. Proper prep work reduces risks and assures a smooth installation process from start to finish. Safety and preparation save time and prevent accidents.
Route Wires Along the Ceiling Safely
A single, well-planned wire path can make the difference between a clean installation and a cluttered mess. For proper wire concealment, run cables along the ceiling’s edge or through accessible attic space. Always connect wires through a properly installed junction box to meet safety codes. Use cable staples every 12–18 inches to secure wiring and avoid sagging.
| Method | Best For |
|---|---|
| Surface wiring with raceway | Renters or temporary setups |
| Attic cable runs | Permanent wire concealment |
| Ceiling cove routing | Decorative trim integration |
| Junction box connection | Code compliance and safety |
Plan the route before cutting or fastening. Verify the path avoids beams or obstructions. Pull extra wire at the detector end-about 6 inches-to allow for adjustments. Proper routing guarantees a safe, hidden wiring system that supports reliable detector performance.
Mount the Motion Detector on an Angle
Why install a motion detector on an angle? Because vaulted ceilings limit direct downward detection, angled placement helps target high-traffic zones like walkways or furniture groupings. Most ceiling-mounted motion detectors come with an adjustable mounting bracket that allows you to tilt the sensor up to 30 degrees. Secure the bracket first, making certain it’s tight and stable, then attach the detector and adjust its angle according to your room layout. Angled placement improves coverage by directing the sensor’s field of view where it’s needed most, instead of into unused ceiling space. While this method enhances detection accuracy, it may slightly reduce range directly below. Always consult the manufacturer’s guidelines for maximum tilt limits. Using the mounting bracket properly guarantees long-term stability and reliable operation, making it a vital step in effective installation.
Test and Adjust the Sensor’s Range and Delay
One essential step after mounting the detector is testing its range and delay settings, so you can fine-tune performance based on your space. Walk through the room at different speeds to evaluate detection patterns and guarantee coverage where it’s needed most. Adjust the sensor sensitivity to avoid false triggers from pets or airflow while still capturing human movement. Use the delay setting to control how long the light stays on-shorter delays save energy, longer ones add convenience.
| Setting | Recommended Adjustment |
|---|---|
| Sensor Sensitivity | Medium to high, depending on pet presence |
| Delay Time | 2–5 minutes for living areas |
| Detection Patterns | Confirm full coverage of main pathways |
Check results over a few days, then tweak as needed for reliability and efficiency.
On a final note
You’ve chosen a ceiling-compatible motion detector, picked battery or hardwired based on your electrical access, and safely mounted it at the correct angle on the vaulted ceiling. Wiring is secure, coverage is optimized, and testing confirms reliable detection. Always follow manufacturer specs for range and delay settings. Hardwired lasts longer but costs more to install; battery models offer easier setup but require replacements. Confirm placement avoids obstructions for best performance.