Install a Door Lock Actuator for Remote Lockdown: DIY Guide
Choose a 12V or 24V actuator that matches your door’s type and internal space, checking for overload protection and proper mounting orientation. Remove the panel carefully, then test fit the actuator with lock rods. Wire it to a fused power source using 18–20 AWG wire, route safely, and connect to a switch. Pair with an encrypted remote or smart system, verify signal, and test operation. Make sure polarity is correct and connections are secure. Issues often stem from voltage drops or misalignment-check specs if the actuator fails. You’ll find each step easier with the right prep and tools on hand.
Notable Insights
- Choose an actuator compatible with your door type, voltage, and mounting orientation for reliable remote lockdown.
- Remove the door panel carefully to inspect fitment and ensure clearance with internal lock mechanisms.
- Wire the actuator to a fused 12V power source using proper gauge wiring and secure connections.
- Integrate a remote control system with encrypted signal transmission for secure wireless operation.
- Test the setup thoroughly, checking voltage, polarity, and remote functionality before finalizing the installation.
Pick the Right Door Lock Actuator
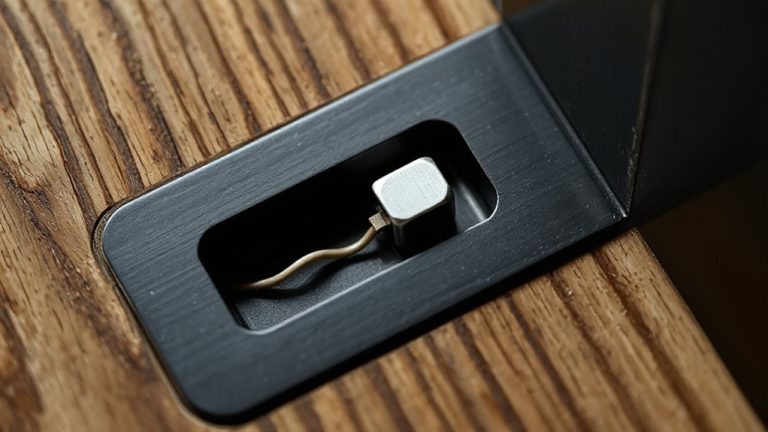
Choosing the right door lock actuator starts with matching the model to your door type and locking system. You’ll need to verify voltage compatibility-most actuators run on 12V or 24V DC, so match it to your power supply to avoid damage or poor performance. Check your door’s mounting orientation; actuators come in horizontal, vertical, or inline configurations, and picking the wrong one can hinder operation or make installation impossible. Measure the space inside your door and compare it to the actuator’s dimensions before buying. Look for models with built-in overload protection and durable gears-they last longer. Price varies from $15 to $50, but spending a bit more often means better reliability. Always confirm if the actuator supports push or pull action based on your lock mechanism. Read manufacturer specs closely to avoid mistakes. This step saves time and guarantees smooth automation later.
Remove Door Panel and Check Compatibility
Now that you’ve selected the right door lock actuator, it’s time to access the inner workings of your door by removing the door panel. Start by turning off your car’s power to avoid short circuits. Use a plastic pry tool to gently loosen the panel clips around the edges-these can break if forced, especially with older or brittle door materials. Carefully detach the clips and lift the panel, setting aside screws if present. Once off, inspect the interior structure and compare the actuator mounting area with your new unit. Check alignment with the lock rod and guarantee compatibility with your vehicle’s door materials and internal layout. Confirm that the actuator fits without modifying critical components. This inspection prevents installation issues later and guarantees reliable operation. Take notes on fitment and clearance before proceeding.
Wire the Actuator to Power and Switch
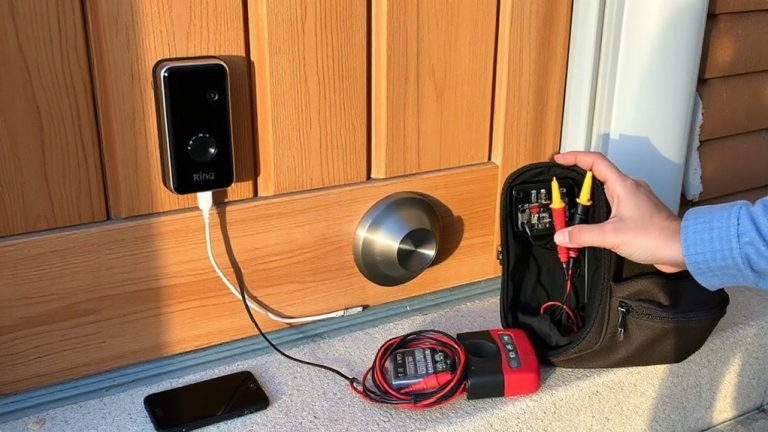
While the door panel is off and the actuator is properly seated, you’ll need to connect it to both power and the control switch so it can function as intended. Start by identifying a reliable power source-usually the vehicle’s 12V system or a fused circuit to prevent overload. Use a multimeter to confirm consistent voltage before making permanent connections. Run wires neatly along existing harness paths to reduce interference and secure them with zip ties. For switch placement, choose a convenient, accessible location like the dashboard or center console, ensuring it doesn’t obstruct controls or visibility. Use a switch with a clear on/off indicator for reliability. Match wire gauges to the actuator’s specs-typically 18–20 AWG-to maintain performance. Always double-check polarity and secure all connections with solder or insulated crimp connectors to prevent shorts. Test operation before reinstalling the panel. Proper setup now prevents electrical issues later.
Connect to Remote or Control System
How do you gain convenient, hands-free access to your locked door? You enable remote integration by linking the actuator to a wireless receiver or smart control system. This step lets you operate the lock using a remote fob, smartphone app, or home automation hub. For reliable control synchronization, make certain your device and receiver operate on matching frequencies or protocols like RF, Wi-Fi, or Z-Wave. Some systems offer programmable settings, letting you customize response timing and lock duration. Choose components with encryption to prevent unauthorized access. Basic remotes cost $15–$30; smart modules range from $50–$100. Wiring must follow the manufacturer’s diagram-mismatches disrupt signal transmission. Mount the receiver securely and test connectivity before final installation. Proper pairing guarantees smooth operation without lag or failure, improving everyday convenience and security without complexity. The best smart locks for Home Assistant support Z-Wave and Wi-Fi integration, ensuring seamless automation and remote access.
Test and Troubleshoot the Installation
What happens if your door doesn’t respond after installation? First, check all wiring connections and guarantee the actuator is securely attached. Confirm that your remote or control system is transmitting properly-signal interference from nearby electronics or thick walls might block communication. Test the remote from different angles or distances to rule this out. Next, use a multimeter to monitor for voltage fluctuation in the power supply; inconsistent voltage can prevent the actuator from operating correctly. If voltage reads below or above the actuator’s rated range, adjust your power source or install a voltage regulator. Inspect the actuator’s polarity-reversed wires will stop it from working. If issues persist, consult the manufacturer’s specs for troubleshooting steps. Always power off the system before making adjustments. A methodical approach guarantees reliable, remote lockdown performance. For added security, consider pairing your setup with one of the best safety locks recommended for durability and tamper resistance.
On a final note
You’ve installed a door lock actuator correctly when wiring matches the manual and the mechanism moves smoothly. Test it repeatedly before replacing the door panel. Reliable remotes and proper gauge wire make a difference. Expect to spend $25–$60 for parts. While DIY saves money, mistakes can cause malfunctions or damage. If unsure, consult a professional. Overall, this upgrade adds convenience and security when done right.