Replace Window Sensor Batteries (CR2032/AAA) Without False Alarms
Put your system in bypass or test mode before replacing the battery, so an open sensor won’t trigger a false alarm. Make sure the zone matches your sensor, then carefully remove the cover and swap the old battery-usually a CR2032 or AAA-with a new one, checking polarity. Keep the sensor aligned during reassembly. Once done, confirm it reconnects and responds in the app or panel when tested. Proper prep prevents alerts and keeps your system secure-there’s more to get right for long-term reliability.
Notable Insights
- Put the security system into bypass mode to disable the sensor temporarily during battery replacement.
- Activate test mode if available, allowing safe servicing without sending alarm signals.
- Confirm the window is fully closed before removing the battery to prevent circuit disruption.
- Replace the battery quickly with the correct type and proper polarity to restore function promptly.
- Verify sensor communication with the hub by testing the open/close function after replacement.
Know How Window Sensors Trigger Alarms
While most wireless window sensors are designed to alert you when a window opens, understanding how they actually trigger an alarm can help you avoid accidental alerts during maintenance like battery replacement. Sensor design typically involves a magnet and reed switch; when separated, the circuit breaks, signaling an open. This action feeds into the alarm logic, which interprets the change as a potential intrusion. If the sensor is already open when you remove the battery, the system may assume a breach and sound the alarm. Knowing this helps you plan ahead, ensuring sensors are fully closed before servicing. Most systems give status feedback, so checking the app or control panel first is smart. Always follow manufacturer guidelines, as some models handle power loss differently. A small oversight could trigger false alerts, so understanding sensor design and alarm logic reduces risk and keeps your system reliable.
Enable Bypass Mode for Open Sensors
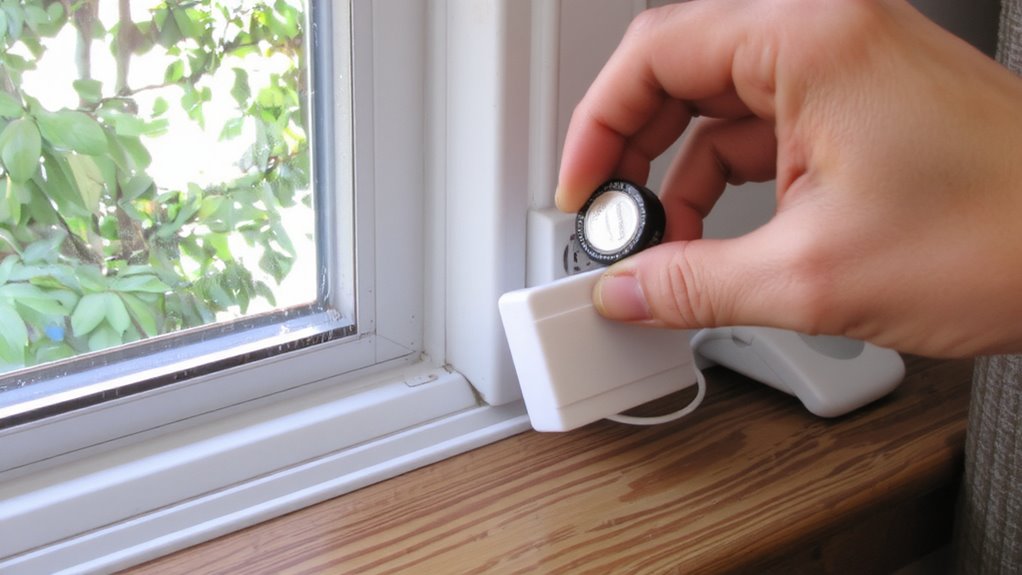
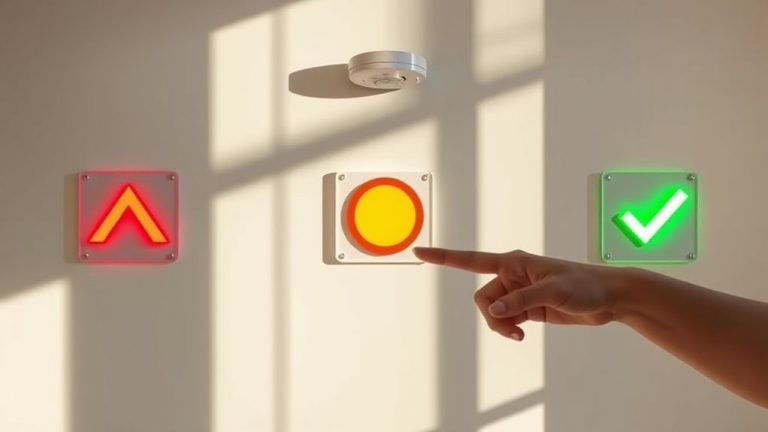
Since your security system might interpret a powered-down sensor as an open window, putting the sensor into bypass mode before battery replacement can prevent false alarms. Using sensor bypass temporarily disables the specific sensor, allowing safe access for maintenance. This creates a controlled alarm suspension, so other zones stay active while you work. Check your system’s app or control panel for bypass instructions-methods vary by brand. Here’s what to keep in mind:
| Feature | Pro | Con |
|---|---|---|
| Sensor Bypass | Prevents false triggers | Requires manual re-enable |
| Alarm Suspension | Full system pause | Leaves home unprotected |
| Zone Isolation | Targets one sensor | Needs correct zone ID |
| App Control | Remote access | Depends on Wi-Fi |
| Time Limit | Auto-resets | May expire too soon |
Always re-enable the sensor after replacing batteries.
Turn On Test Mode First
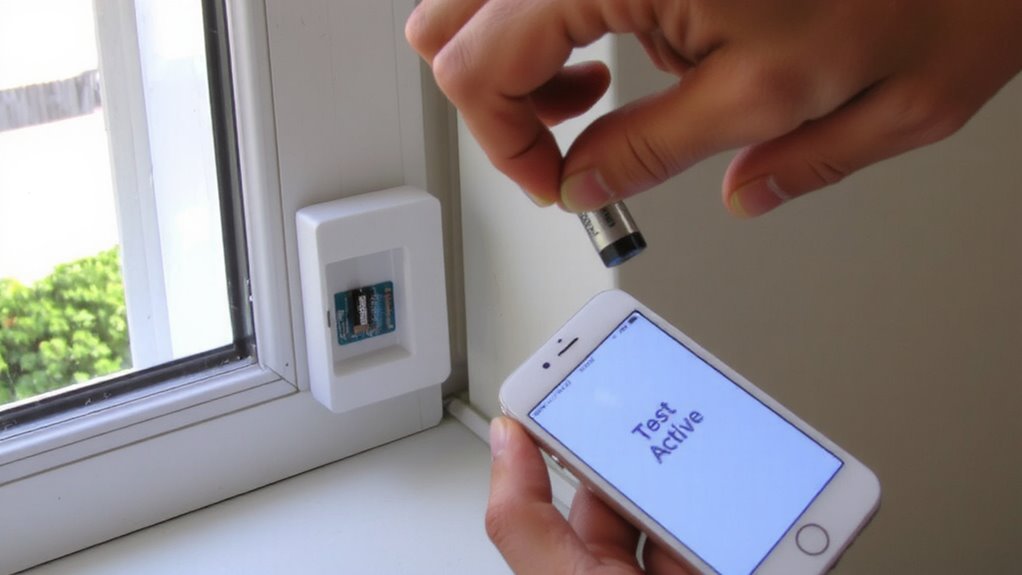
If your system supports it, turning on test mode before replacing batteries gives you a safe window to service the sensor without triggering an alert. This feature halts alarm signals while letting you confirm sensor functionality, offering key test mode benefits like reduced risk and system stability. Use your security panel or app to enable it-most systems allow 30 to 60 minutes for maintenance. During this time, perform a sensor readiness check by reviewing signal strength and battery voltage logs if available. This guarantees the device communicates properly post-service. Note that not all systems offer test mode, so consult your manual or monitoring provider. While test mode avoids false alerts, it doesn’t replace proper bypassing for active zones. Plan battery changes during low-risk times, and confirm internet or cellular backup is active to maintain monitoring.
Replace Sensor Batteries Safely
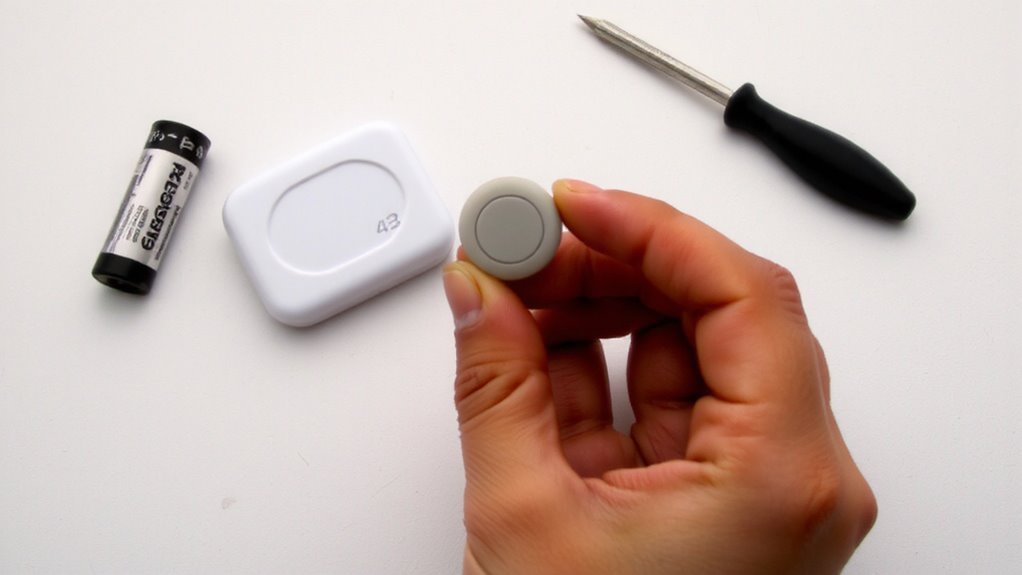
You’ve put your system in test mode to prevent false alarms, giving you a clear window to focus on the sensor itself. Carefully remove the sensor cover using a small screwdriver or your fingers, depending on the model. Before taking out the old battery, note the battery type-common ones include CR2032 or AAA-so you can replace it with the correct one. Using the wrong battery type can reduce performance or damage the sensor. Gently insert the new battery, making sure of correct polarity. As you reassemble the unit, check that sensor alignment remains unchanged; even a slight shift can affect communication with the hub. A misaligned sensor may fail to report window status accurately. Work slowly to avoid forcing parts. Keep spare batteries on hand, and stick to reputable brands for longer life. This guarantees reliable operation without unexpected failures.
Check Sensor Connection After Swap
After replacing the battery, take a moment to verify the sensor’s connection to your security system-this step’s essential for guaranteeing your window remains properly monitored. Connection verification confirms the sensor communicates with the hub, preventing blind spots in your setup. Test by opening and closing the window while checking the system’s app or control panel. Delayed responses or errors indicate poor sensor stability. For your peace of mind, use this quick reference:
| Status | Emotional Impact |
|---|---|
| Connected | Relief |
| Delayed | Concern |
| Failed | Anxiety |
| Stable | Confidence |
| Verified | Trust |
Consistent sensor stability means reliable protection. Always perform connection verification after a battery swap to maintain system integrity. It takes less than a minute but guarantees ongoing security. Skip this, and you risk undetected breaches.
Skip These Common Battery Mistakes
A solid connection means your sensor’s doing its job, but even the best setup can fail if the battery replacement isn’t done right. Don’t ignore early signs of battery corrosion, as it can damage contacts and lead to connection issues over time. Always remove old batteries promptly and inspect the compartment for residue or swelling. Clean any corrosion with a cotton swab and baking soda solution, letting it dry fully before inserting new batteries. Never mix old and new batteries or use different brands-they drain at uneven rates, increasing failure risk. Buy lithium batteries for longer life and stable output, especially in extreme temperatures. Cheap alkalines may save money now but cause more frequent replacements and higher long-term costs. Make sure the battery is seated correctly to avoid poor connection issues. Double-check alignment and close the compartment securely.
On a final note
You can replace batteries without false alarms by using test mode and bypass settings. Always check your system’s manual for timing-most sensors allow 30 to 60 seconds for replacement. Use recommended battery types to avoid early failures, and test the sensor afterward. Skipping steps may lead to gaps in security, so follow the process carefully. Proper prep guarantees reliable performance.