How to Integrate Home Alarm Systems With Apple Homekit for Unified Control
Make sure your alarm has the “Works with Apple HomeKit” badge and scan its HomeKit code in the Home app. Pair it using a hub like an Apple TV, HomePod mini, or iPad for remote access. Add lights, locks, and sensors to the same system, then create automations to arm the alarm, lock doors, and turn off lights at once. Use Siri for voice control and share access securely with family-each step builds a unified, reliable smart home security setup you can expand with confidence.
Notable Insights
- Verify your alarm system is HomeKit-compatible by checking for the “Works with Apple HomeKit” badge and confirming model support.
- Use an Apple TV, HomePod mini, or iPad as a HomeKit hub for remote access and 24/7 automation support.
- Add the alarm to the Home app by scanning its HomeKit code and ensuring the hub is online during setup.
- Create automations to sync the alarm with lights, locks, and cameras for unified security routines based on time or location.
- Enable Siri voice control and share access securely with family via iCloud to manage the system hands-free and collaboratively.
Check if Your Alarm Works With Homekit
Wondering whether your current home alarm system plays well with Apple HomeKit? Start with a compatibility check using Apple’s official Home app or the manufacturer’s website. Look for the “Works with Apple HomeKit” badge on the product or packaging. Not all security systems support HomeKit natively, so verify model numbers and firmware versions. If compatible, device pairing is simple: scan the HomeKit code on the device or its manual using your iPhone. Some systems may require a firmware update before pairing. Keep in mind, older models often lack support, even with updates. A successful compatibility check guarantees features like remote arming, status alerts, and voice control via Siri. When in doubt, contact the manufacturer’s support team. Planning an upgrade? Prioritize HomeKit-certified systems to avoid future hassles.
Pick a HomeKit Hub to Connect Your System
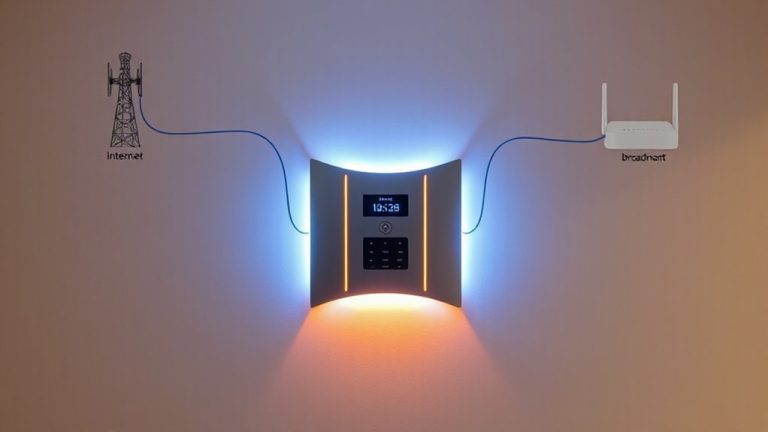
You’ve confirmed your alarm system is compatible with Apple HomeKit, so the next step is choosing a HomeKit hub to keep everything connected and functional when you’re away from home. Hub compatibility is key-only certain devices act as hubs, like the Apple TV (4th gen or later), HomePod mini, or iPad. These enable remote access and automation, even when your phone isn’t nearby. Each supports HomeKit security protocols, ensuring end-to-end encryption and secure device communication. The Apple TV and HomePod mini run 24/7, making them reliable, while iPads must stay powered and connected. For best results, pick a hub in a central location with strong Wi-Fi. There’s no extra cost if you already own one, but buying a HomePod mini adds $99 to your setup. Choose based on what you already use and where you need coverage. Top HomeKit outlets can enhance your security setup by automating lights and devices, and integrating Top HomeKit Outlets into your system ensures seamless control through the Home app.
Add Your Alarm to the Home App
How do you get your alarm system into the Home app? Start by ensuring your alarm supports HomeKit-look for the Apple-certified label. Open the Home app, tap the + icon, then select “Add Accessory.” Follow the on-screen prompts to scan the HomeKit code on your alarm or its packaging. If your hub is online and your alarm is nearby, the connection should complete in under a minute. This step is essential for Alarm integration and part of your Home App setup. Once added, you’ll see your alarm under “Security” with status updates and arming controls. Make sure the device is listed as “Verified” for full functionality. Naming it clearly, like “Front Door Alarm,” helps during automation later. You can’t skip this setup if you want unified, reliable control. Double-check Wi-Fi and power connections if pairing fails.
Automate Lights, Locks, and Alarms in HomeKit
When your alarm system is properly set up in the Home app, you can begin linking it with other HomeKit-enabled devices like lights and smart locks to create seamless, automated routines. Using scene automation, you can trigger multiple actions at once-like turning off lights, locking doors, and arming the alarm-when you leave home. Device grouping lets you control related items as a single unit, simplifying management. For example, group your front door lock, porch light, and entryway camera to activate together at bedtime. Automation runs based on time, location, or device status, ensuring consistent security habits. These features reduce manual effort and improve response reliability. While setup requires initial planning, the long-term benefits include energy savings, convenience, and stronger home protection. Make sure all devices are HomeKit-certified for reliable performance.
Control Your Security System With Siri
Siri integration adds another layer of convenience to your HomeKit security setup by letting you control your alarm system using simple voice commands. You can arm or disarm your system hands-free, as long as your devices support HomeKit Secure Video and are connected to an Apple Home hub, like an Apple TV or HomePod. For security, enable voice authentication so only you can issue commands, reducing false triggers. This feature recognizes your unique voice, adding protection against unauthorized access. You can also create Siri shortcuts to activate multiple actions at once, such as turning off lights and locking doors when arming the alarm. While reliable, voice commands depend on internet and hub performance. Response times may vary slightly, but overall, Siri delivers consistent, real-time control. Make sure your system firmware is up to date to maintain compatibility and security.
Share Homekit Access With Family
While managing home security, sharing access with family members through Apple HomeKit guarantees everyone stays informed and involved without compromising safety. You can invite family members via the Home app, letting them view camera feeds, arm or disarm the alarm, and receive alerts. Apple uses end-to-end encryption, so your data stays private. You’ll set user permissions for each person, deciding who can change settings or only view statuses. For example, parents might have full access while teens can only disarm the system. Privacy settings let you restrict access to specific rooms or devices, enhancing control. Shared users need an iCloud account and two-factor authentication. There’s no extra cost, and setup takes minutes. This balance of accessibility and security makes HomeKit ideal for households wanting unified, safe control.
On a final note
You’ve confirmed your alarm works with HomeKit and connected it using a hub like an Apple TV or HomePod. You’ve added it to the Home app, automated routines with lights and locks, enabled Siri control, and shared access securely. This integration offers convenience and cohesion, though setup may require patience. Make certain all devices stay updated, and weigh pros like remote access against potential costs for compatible hardware. Plan carefully for reliable, unified home security.