Motion Sensor Placement in Hallways & Stairwells: Height & Angle
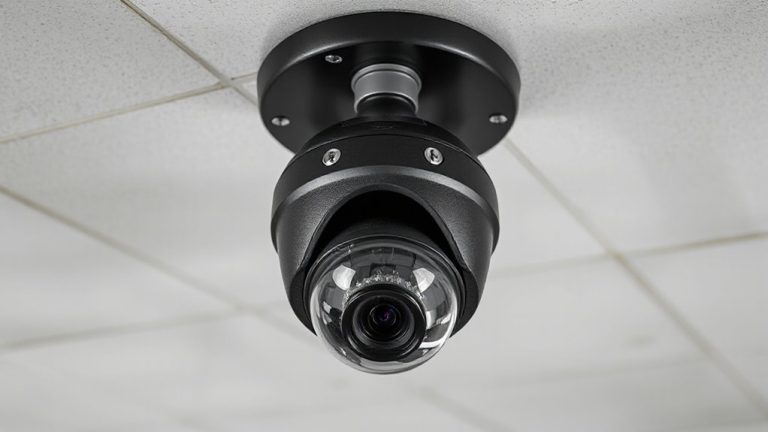
Mount your motion sensor 7 to 9 feet high, ideally at 7.5 feet, to catch human movement while avoiding pets and furniture. Angle it slightly downward to cover walking paths and steps, especially at stair tops or bottoms. Keep the view clear of pillars and walls, and avoid pointing it toward windows or flickering lights that cause false triggers. Use an indoor-rated sensor with 30- to 50-foot range, spaced every 30 feet for even coverage. Test it with real walking patterns at different times-you’ll fine-tune performance faster when you see how it responds in practice.
Notable Insights
- Mount sensors between 7 and 9 feet high, ideally at 7.5 feet, to avoid obstructions and ensure reliable detection.
- Angle the sensor downward 10–15 degrees to effectively cover walking paths and stair steps.
- Position sensors at the top or bottom of stairwells with clear line of sight to detect motion along entire staircases.
- Eliminate obstructions like walls and pillars by placing sensors at landings or using multiple units for full coverage.
- Avoid direct sunlight and flickering lights; use shielded mounting and stable LED lighting to reduce false triggers.
Mount at the Right Height for Hallways and Stairwells
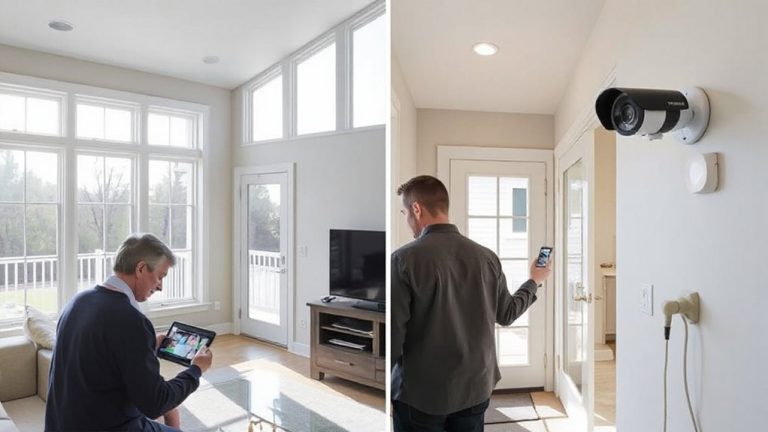
Height matters when installing motion sensors in hallways and stairwells-placement directly affects detection accuracy and false alarm rates. You should mount sensors between 7 and 9 feet high for best performance. At this height, sensor placement avoids most furniture and foot traffic interference while maintaining clear detection zones. Too low, and you risk detecting pets or getting blocked by objects; too high, and detection accuracy drops due to reduced sensitivity to movement below. A 7.5-foot mount is often ideal, especially in narrow hallways. Use a level and stud finder to secure the unit firmly. Remember, consistent detection accuracy relies on proper height, not just sensitivity settings. While some models allow minor height adjustments, staying within the recommended range guarantees reliability. This small detail greatly improves system performance, reduces false alarms, and enhances overall home security without extra cost. For optimal results, choose from the best motion detectors that suit your home’s layout and security needs.
Angle Sensors to Cover Walking Paths and Steps
While height sets the foundation, angling your sensor correctly guarantees it actually detects what matters-your movement along walking paths and stairs. Point the sensor slightly downward to optimize walking paths detection, especially in long hallways where motion runs parallel to the device. For stair coverage, mount the sensor at the top or bottom of the stairs and angle it to sweep across each step. This secures movement on every tread triggers the light or alarm. Avoid pointing it straight down-it’ll miss low-angle motion. A 10–15 degree tilt usually works best. Proper alignment improves response time and reduces missed detections. You’ll get more reliable performance across both flat areas and vertical shifts. Test the angle after installation by walking the path slowly. Adjust as needed to cover all key zones without blind spots. For optimal results, choose a model from the best motion sensors for Home Assistant list to ensure compatibility and reliable integration.
Clear Obstructions Like Pillars and Sharp Turns
You’ve set the right height and fine-tuned the angle, but even a perfectly positioned sensor won’t help if something blocks its view. Pillars, walls, or sharp turns can hide movement, creating blind spots where intruders might pass undetected. To avoid blind spots, place sensors so their line of sight isn’t interrupted. In hallways with corners, install a sensor on each side of the turn or use a sensor with a wide detection range. This helps guarantee continuous coverage from one end to the other. For stairwells with landings, position sensors higher up where they can see across the bend. Multiple sensors may be needed in complex layouts, but they improve reliability. Always test detection after installation by walking the route slowly. Clear physical obstructions and adjust placements as needed.
Prevent False Triggers From Windows and Lights
If your motion sensor faces a window, sunlight or headlights might trick it into thinking someone’s there when they’re not. Sunlight interference can cause frequent false alarms, especially during sunrise or sunset when light shifts rapidly. To reduce this, avoid placing the sensor where direct sun hits it-even through glass. Use window coverings or install the sensor at an angle that blocks the line of sight to windows. Artificial lighting, like lamps or flickering bulbs, can also confuse sensors, particularly if they emit infrared radiation. Choose LED lights with stable output to minimize disruptions. Make certain your sensor isn’t pointed toward light fixtures. Shielding the sensor and adjusting its sensitivity settings helps, too. These steps cut down false triggers, improve reliability, and extend system lifespan. Planning now saves time and prevents frustration later. For optimal performance, consider pairing your setup with one of the top motion sensor alarms on the market.
Choose a Sensor Made for Indoor Traffic Zones
A reliable motion sensor for hallows and stairwells should be designed specifically for indoor traffic zones, where people move predictably but space is often narrow and lighting varies. When you choose a sensor made for these areas, you guarantee better sensor sensitivity and alignment with actual traffic flow. These sensors detect motion along expected paths, reducing unnecessary triggers. Look for models with adjustable sensitivity settings so you can fine-tune response based on how busy the zone is. In low-traffic areas, high sensitivity may cause false alarms, while low sensitivity in busy zones can miss movement. Indoor-rated sensors also handle ambient light changes better than outdoor models. They’re typically more affordable, too-usually $25–$50. Always confirm the sensor’s design matches indoor use, as this directly impacts reliability, energy efficiency, and user convenience over time.
Match Sensor Range to Light Fixture Layout
Most motion sensors for hallways and stairwells cover a range of 30 to 50 feet, so it’s important to align that reach with your light fixture placement to guarantee consistent coverage. You’ll want to space fixtures so they turn on smoothly as motion is detected, ensuring no dark zones between them. Plan for sensor overlap where adjacent sensors’ detection patterns meet slightly-this prevents blind spots and improves reliability. Fixture synchronization means lights respond in sequence, not all at once, which saves energy and reduces distraction. Install sensors so their range matches the distance between fixtures, typically every 30 feet. Avoid overextending one sensor’s range to cover too much area, as this reduces accuracy. Matching sensor performance to your layout enhances safety, cuts power use, and supports seamless nighttime navigation. Proper planning now avoids costly rework later.
Test Detection With Real Walking Patterns
How often do you walk through your hallway or ascend the stairs at night? To guarantee your motion sensor works when needed, test it using real walking patterns. Vary your walking speed-from slow to brisk-so you know the sensor detects everyday movement. Surface reflectivity also affects performance; shiny floors may bounce signals, while dark carpets absorb them. Adjust placement if detection weakens.
| Factor | Impact on Detection |
|---|---|
| Slow walking speed | May delay trigger |
| Fast walking speed | Risk of missed detection |
| High surface reflectivity | False triggers possible |
| Low surface reflectivity | Reduced sensitivity |
Test multiple times at different times of night. Confirm the sensor sees you clearly without dead zones. Make small angle adjustments as needed. A well-tested sensor guarantees reliable, hands-free lighting where safety matters most.
On a final note
You should mount motion sensors 6 to 8 feet high to catch movement without blind spots, especially on stairwells. Angle them to follow walking paths and step edges for reliable detection. Avoid pointing them at windows or bright lights to reduce false triggers. Pick indoor-rated sensors with wide coverage that matches your hallway layout. Test by walking through at normal speed to confirm consistent response, adjusting placement as needed.