Weatherproofing Techniques for Outdoor Alarm Components
Use polycarbonate or stainless steel enclosures with an IP65 rating to block dust and water, mounting them at least five feet high. Seal wiring with gel-filled connectors and adhesive-lined heat-shrink tubing, never electrical tape. Run UV-resistant cables-they last 10–15 years in sunlight. Protect sensors with UV-stabilized housings and shield debris. Install UV-resistant conduit with snug grommets. Test all seals yearly. You’ll find more specific installation tips and cost-saving combinations ahead.
Notable Insights
- Use weatherproof enclosures with a minimum IP65 rating to protect against dust and water jets.
- Seal all wiring connections with waterproof connectors or adhesive-lined heat-shrink tubing for durability.
- Install UV-resistant cables to prevent insulation degradation and extend service life in direct sunlight.
- Protect sensors with UV-stabilized polycarbonate housings and shield them from debris and environmental exposure.
- Run wiring through UV-resistant conduit and seal entries with properly fitted grommets to block moisture and pests.
Choose Weatherproof Enclosures
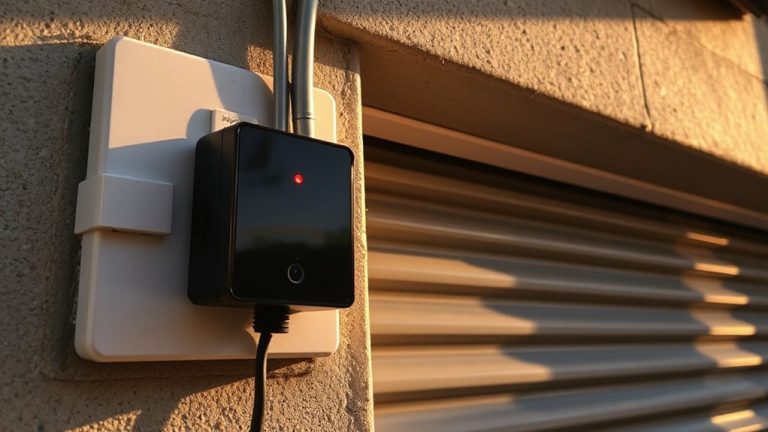
A weatherproof enclosure is your first defense against rain, snow, dust, and extreme temperatures, so choosing the right one matters. You need strong material durability, especially if the alarm’s exposed to sunlight or impacts-polycarbonate and aluminum are common choices. Polycarbonate resists corrosion and handles temperature swings well, while aluminum offers better impact protection but requires a coated finish for corrosion resistance. Look for enclosures rated at least IP65; this guarantees dust tightness and protection from water jets. Stainless steel models offer excellent material durability and corrosion resistance, but they’re pricier and heavier. Mount the enclosure at least five feet high and shield it from direct water runoff if possible. Cheaper models may save money upfront, but they often degrade faster, increasing long-term maintenance. Always check manufacturer specs for operating temperature range and UV resistance to guarantee reliability.
Seal All Wiring Connections
Even though the enclosure protects most of the alarm system, water can still sneak in through unsealed wiring connections, so you’ve got to seal them properly. Moisture ingress at these points can lead to short circuits and system failure, especially during heavy rain or high humidity. You’ll want to use waterproof wire connectors or gel-filled caps, which block water and support corrosion prevention over time. Heat-shrink tubing with adhesive lining works well too, creating a tight seal that lasts. Never rely on standard electrical tape-it dries out and fails. Make sure all conduit entries are also sealed with silicone or rubber grommets to stop leaks. Checking connections annually helps catch early signs of wear. Proper sealing adds minimal cost but greatly improves reliability. It’s a simple step that boosts longevity and keeps your outdoor alarm functioning in tough conditions.
Use UV-Resistant Cables
Most outdoor alarms rely on cables that can degrade quickly when exposed to sunlight, so using UV-resistant types is a smart move. You’ll want to protect against UV degradation, which breaks down standard cable insulation over time, making wires brittle and prone to failure. UV-resistant cables use special materials in the insulation that block or absorb harmful rays, greatly extending lifespan. These cables often last 10–15 years in direct sun, compared to 3–5 for conventional types. Look for ratings like “UV-resistant” or “sunlight-resistant” on the jacket. While they cost slightly more-usually 10% to 20% above standard cables-the investment pays off in reliability. Always check manufacturer specifications to confirm UV resistance, since not all outdoor-rated cables offer it. Proper cable insulation guarantees consistent signal transmission and reduces maintenance, especially in sunny or high-irradiance climates. Choose wisely, and your system stays functional year after year.
Protect Sensors From Exposure
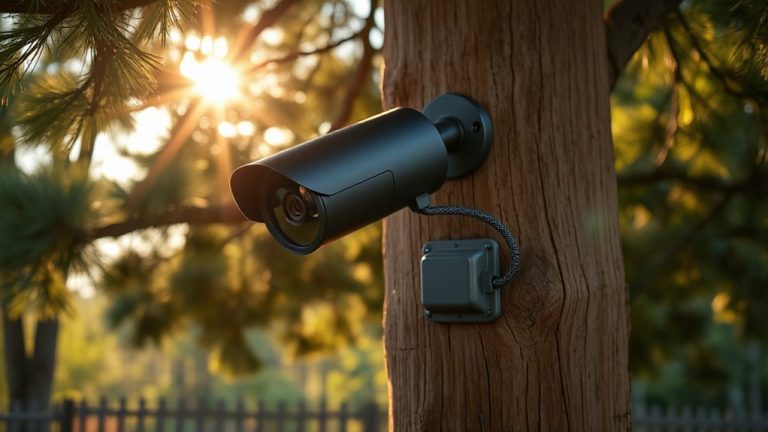
Your outdoor sensors need reliable protection from environmental exposure to function properly over time. Water, dust, and extreme temperatures can impair performance if you don’t plan carefully. Proper sensor alignment guarantees accurate detection while minimizing false alarms caused by shifting due to weather or debris buildup. Misaligned sensors often require recalibration, increasing maintenance. Use enclosures with built-in debris shielding to block leaves, snow, and insects without obstructing the detection field. These shields should allow airflow to prevent fogging while keeping foreign materials out. UV-stabilized polycarbonate housings last longer and resist yellowing. Most manufacturers recommend inspecting sensors twice a year for alignment and shielding effectiveness. Costs for quality protective housings range from $15 to $40 per unit, but this investment reduces long-term repair or replacement needs. Proper protection preserves function, reliability, and detection accuracy over time.
Install Conduit and Grommets
Protecting sensors from the elements is only part of the solution-what happens behind the scenes matters just as much. You need to install conduit and grommets to shield wiring from moisture, rodents, and physical damage. Use rigid or flexible PVC conduit where wires enter enclosures, ensuring proper alignment so connections stay sealed. Grommets should fit snugly around cables to prevent gaps. This reduces corrosion and signal loss over time. Secure fastening keeps conduits stable, even in high winds or vibrations. Choose UV-resistant materials to avoid cracking. Proper installation adds minimal cost-usually under $20 for basic setups-but substantially extends system life. While metal conduit offers superior protection, plastic is easier to work with and won’t corrode. Always check local electrical codes before starting. Done right, conduit and grommets create a reliable, low-maintenance pathway that supports long-term performance.
Test Seals Every Year
Annually checking your system’s seals is a simple step that keeps outdoor alarms functioning reliably. During your annual inspection, examine all gaskets, enclosures, and conduit entries for cracks, warping, or moisture intrusion. Over time, UV exposure and temperature shifts degrade materials, so replacement every few years may be necessary. Perform pressure testing by gently applying air pressure to enclosures and checking for leaks with soapy water-bubbles indicate seal failure. This test confirms integrity before storm seasons or extreme weather. While not all homeowners have tools for formal pressure testing, visual checks and moisture indicators help detect problems early. Budget for seal replacements every 3–5 years, around $10–$25 per unit. Proactive maintenance reduces false alarms, extends system life, and guarantees consistent performance. Include this step in your yearly security review alongside battery checks and sensor calibration.
On a final note
You should use weatherproof enclosures and UV-resistant cables to protect your alarm components. Sealing wiring connections and installing conduit with grommets prevents moisture damage. Check all seals yearly to guarantee they’re intact and functioning. These steps help your system last longer and work reliably. While upfront costs may be slightly higher, they reduce repair needs and downtime, saving money over time. Proper installation now prevents most future issues.