How to Pair Motion-Activated Floodlights With Security Camera Recordings
Choose motion-activated floodlights that match your security camera’s system-like Ring or Arlo-using the same smart protocol (Wi-Fi, Z-Wave, or Zigbee) for reliable syncing. Aim motion zones at doors and driveways, and adjust sensitivity to reduce false alerts. Link lights and cameras in the app so recording starts the moment lights turn on. Use wired connections when possible for faster response. Set cameras to handle sudden light changes with lower exposure and night vision modes. Test at night to confirm timing and coverage, then tweak zones or settings as needed-common issues like delays often improve with firmware updates or stronger power. You’ll find advanced tips and troubleshooting steps just ahead.
Notable Insights
- Choose motion-activated floodlights and cameras that support the same protocol and brand for seamless integration.
- Align motion zones on floodlights and cameras to cover entry points and reduce false alerts from environmental movement.
- Sync floodlight activation with camera recording via a unified app to ensure simultaneous response to motion.
- Adjust camera exposure and night settings to prevent overexposure when floodlights turn on suddenly.
- Test the system at night to verify light-camera timing, coverage accuracy, and recording quality.
Pick Lights That Work With Your Camera System
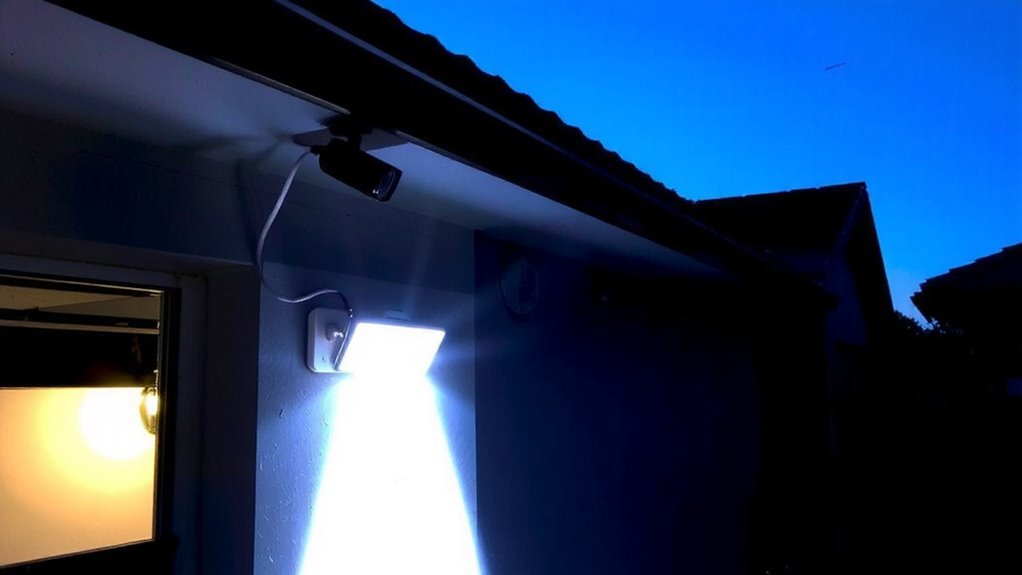
While some motion-activated floodlights operate independently, choosing ones designed to integrate directly with your security camera system guarantees synchronized alerts and better footage quality. You’ll avoid compatibility issues by selecting lights that support the same protocols-like Z-Wave, Zigbee, or Wi-Fi-as your cameras. Brand integration often simplifies setup, with manufacturers offering unified apps that let you view footage and control lighting from one interface. Stick to the same ecosystem-such as Ring, Arlo, or Eufy-whenever possible to reduce configuration problems. These systems typically cost more upfront but save time and troubleshooting later. Look for models with low latency response so lights activate the moment motion triggers the camera. Some users report delays with third-party devices, which can result in missed or poorly lit recordings. Planning around compatibility reduces long-term frustration and strengthens overall system reliability. Consider pairing your setup with a POE doorbell camera for a fully wired, reliable security solution.
Aim Motion Zones at Entry Points
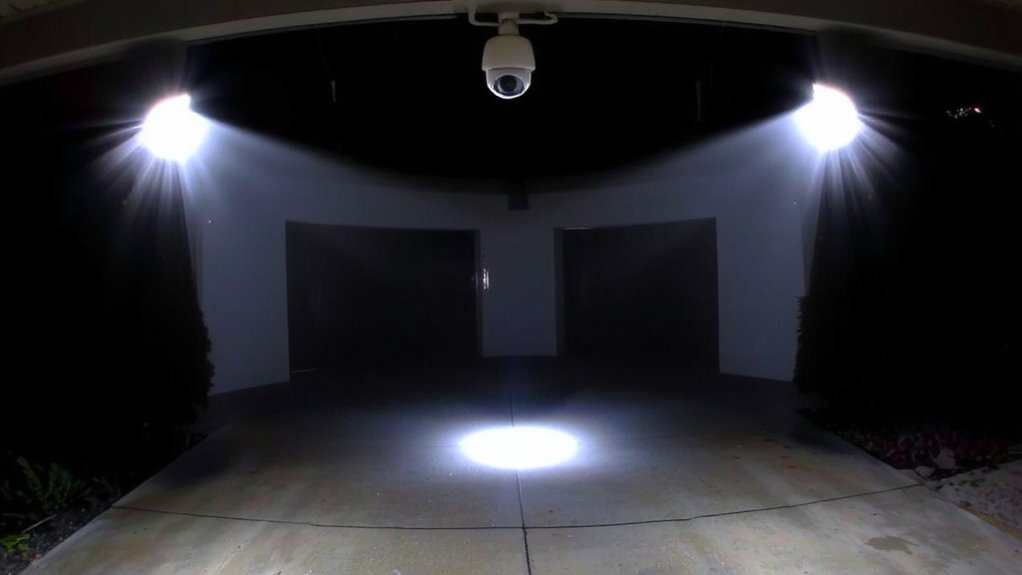
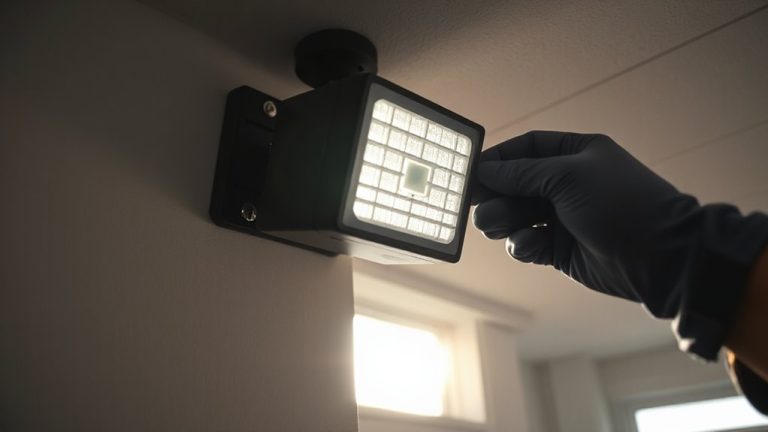
Positioning your motion zones to cover entry points like doors, windows, and driveways makes a big difference in how well your security system performs. You want beam alignment to target these high-risk areas so the floodlights activate the moment movement occurs. Proper coverage calibration guarantees you’re not getting false alerts from trees or passing cars while still capturing threats. Aim sensors low and at angles that prioritize human-sized motion. Avoid wide, unfocused zones, as they reduce detection accuracy. Most systems let you adjust sensitivity and zone shape through an app, giving you control over where light and recording begin. Accurate calibration means your cameras capture clear footage exactly when and where it matters. This boosts reliability without draining battery life or storage. It’s a small step that improves response times, deters intruders, and strengthens overall home security with minimal effort. For optimal performance, choose a model from the best motion sensor flood lights list to ensure reliable detection and durable construction.
Turn On Cameras When Lights Activate
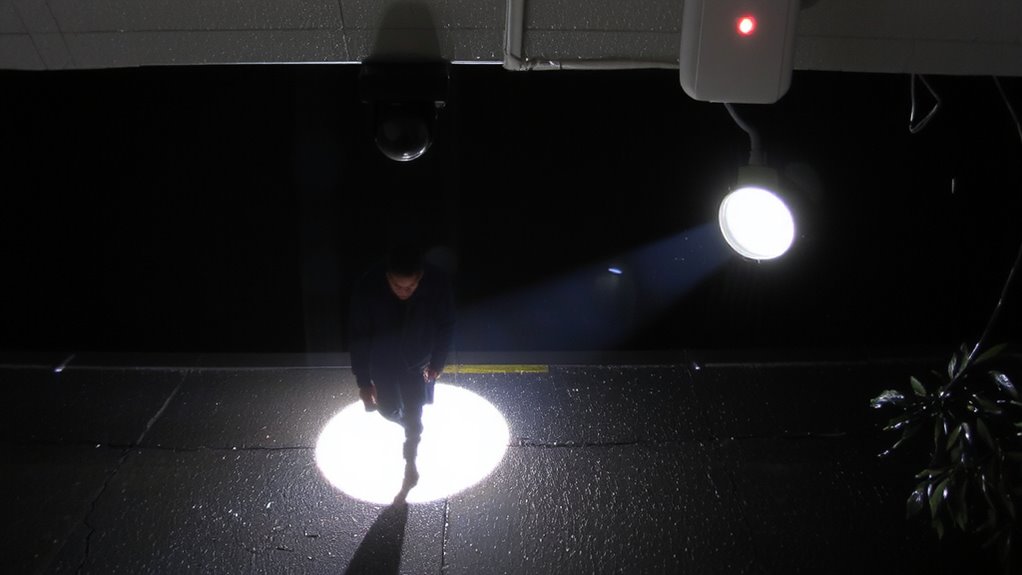
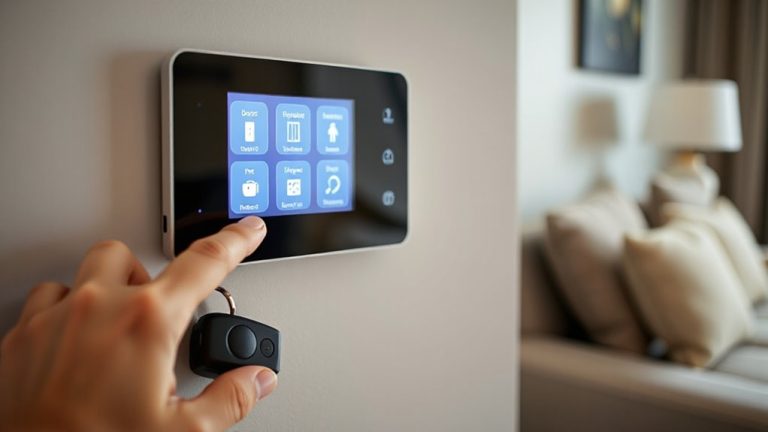
You’ve set your motion zones to focus on doors, windows, and driveways so the floodlights trigger only when needed. Now, enable camera sync so your security cameras turn on whenever light triggers occur. This guarantees video starts recording the moment motion activates the lights, capturing clear footage of the same events the floodlights detect. Most smart systems allow you to link lights and cameras through the app, creating a unified response. This integration reduces false alerts by confirming motion with both light activation and camera detection. Check compatibility between your floodlight and camera models-some brands offer seamless sync, while others may need a hub. Wired setups tend to respond faster than wireless. With proper camera sync, you’ll get reliable, real-time recordings every time the lights come on, improving overall detection accuracy and home monitoring. For optimal results, choose from the best home security cameras with apps that support automation rules and app integration.
Adjust Camera Settings for Night Video
Getting clear night video starts with adjusting your camera’s settings to match the lighting conditions created by your floodlights. In low light, cameras often struggle with contrast and clarity, especially when lights suddenly turn on. You’ll want to tweak the exposure settings so your camera doesn’t overexpose bright areas or lose detail in shadows. Lower the exposure slightly to balance the floodlight’s intensity and preserve facial or license plate details. Many cameras have night vision modes-enable them, but test how they respond when the floodlights activate. Some models adjust automatically, while others need manual tuning. If your footage looks too dark before the lights come on, increase the gain, but be aware it may add noise. A camera with wide dynamic range (WDR) handles mixed lighting better. Proper exposure settings improve video quality without extra cost.
Test the Setup in Real Conditions
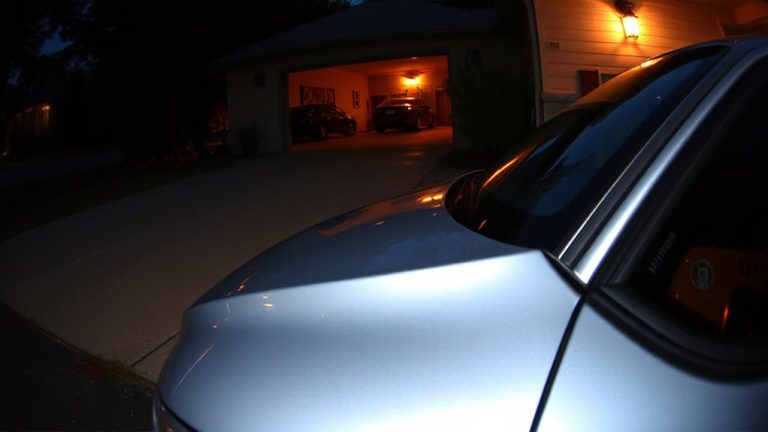
How well does your system actually perform when someone walks up the driveway at night? You won’t know for sure until you test it under real conditions. Walk through the detection zones at different angles and speeds, both during dusk and full darkness. Check how quickly the floodlights turn on and whether the camera starts recording at the same time. Evaluate the light sensitivity-too high, and you’ll get false triggers from small animals; too low, and the camera may miss important details. Make sure the lights brighten the scene enough for clear footage without washing out the image. Also, monitor power consumption over a few days, especially if using solar-powered units, since frequent activation can drain batteries quickly. A well-balanced setup saves energy while capturing reliable, well-lit recordings every time.
Fix Delayed or Missed Recordings
Why do some motion-activated floodlights turn on quickly, yet the camera misses the first few seconds of footage? The delay often comes from how your devices communicate or their power supply. If the camera relies on motion triggers from the floodlight, syncing issues can cause lag. Always check for firmware updates-manufacturers often release patches to improve response times and fix bugs. An unstable power supply might also slow camera startup, especially in cold weather or with low voltage. Use a consistent, stable power source and verify wiring connections. If you’re using wireless cameras, guarantee your network signal is strong to avoid delays in recording activation. Pair devices on the same network for quicker triggers. Some systems allow pre-recording buffers, which save footage seconds before motion is detected-this helps catch what’s missed. Adjust sensitivity settings to reduce false triggers while maintaining responsiveness.
On a final note
You’ve now paired your motion lights and security cameras effectively. Guarantee your lights trigger camera recordings by checking compatibility and adjusting motion zones. Aim sensors at entry points and reduce delays with proper settings. Test in real nighttime conditions to confirm performance. A well-timed system improves detection, cuts false alerts, and strengthens home security. Plan for power and placement to maintain reliability. This setup offers clear, timely footage when it matters most.