Step-by-Step Guide to Wiring Door and Window Sensors for DIY Alarm Systems
Choose magnetic contact sensors for reliable, affordable door and window detection, aligning the magnet on the moving part and sensor on the frame with a 1/4-inch gap. Match wiring to your panel-use EOL resistors for modern systems or 4-wire setups for older ones. Run 18- or 22-gauge wires along baseboards or in raceways, strip ½ inch, and connect to labeled zone terminals. Secure connections, avoid daisy-chaining, and test each sensor for proper operation. You’ll get clearer results by following detailed setup steps ahead.
Notable Insights
- Choose magnetic contact sensors and align the magnet on the moving door or window and the sensor on the frame.
- Match sensor wiring to your alarm panel’s requirements, such as EOL resistors or 4-wire configurations.
- Use 18- or 22-gauge security-rated wire and strip ½ inch of insulation for secure panel connections.
- Mount sensors with screws or adhesive, ensuring a gap of 1/4 inch or less for reliable operation.
- Route wires along baseboards or in raceways, connecting to labeled zone terminals without daisy-chaining.
Choose Wired Door and Window Sensors
Most wired door and window sensors fall into two main types: magnetic contact switches and hardwired security sensors with built-in circuitry. You’ll want to pick based on your setup and needs. Magnetic switches are affordable and simple, using a two-part system where a magnet on the moving door or window aligns with a sensor on the frame. Built-in circuitry sensors offer more reliability and often include tamper detection. For effective sensor placement, install them where doors or windows close fully, ensuring consistent contact. Avoid corners or warped surfaces. Wiring concealment matters-run cables inside baseboard channels, behind trim, or through walls to keep them hidden and protected. Exposed wires are easier to damage or tamper with. Choose sensors with thin, flexible wiring for easier routing. Plan placements before buying, since more sensors increase cost.
Know Your Alarm Panel’s Wiring Type
A few key wiring types dominate alarm panels, and knowing which one you have is essential for compatibility with your sensors. Understanding wiring standards helps guarantee proper installation and reliable operation. Sensor compatibility depends on matching your panel’s input design with the right wiring method.
| Wiring Type | Common Use Case |
|---|---|
| EOL Resistor | Modern systems, better security |
| Power-Limited | Basic analog sensors |
| 4-Wire | Older hardwired setups |
| Wireless Ready | Hybrid security panels |
| Addressable | Commercial or large homes |
Check your panel’s manual to identify its wiring type. Most DIY systems use EOL resistor or power-limited circuits. Matching your sensors to these standards prevents false alarms and guarantees correct signaling. Always verify sensor compatibility before connecting any wires. Choosing the right wiring standard saves time and improves system reliability in the long run.
Gather Wiring and Tools for Installation
Before you start running wires or mounting sensors, take time to assemble the right materials and tools-doing so upfront prevents delays and guarantees a clean, functional installation. You’ll need stranded or solid-core wire rated for security systems, typically 18- or 22-gauge, depending on distance and panel specs. Plan for extra length to accommodate your sensor placement, especially around corners or through walls. Include a low-voltage wire stripper, crimping tool, and wire nuts for secure connections. For tool selection, choose a reliable drill with bits for pilot holes and a stud finder to avoid obstructions. Don’t forget cable clips to secure wiring and prevent tension at connection points. Labeling tape helps identify zones during testing. Proper prep guarantees reliability and simplifies troubleshooting. Investing in quality tools and wire now reduces maintenance and false alarms later.
Install Sensors on Doors and Windows
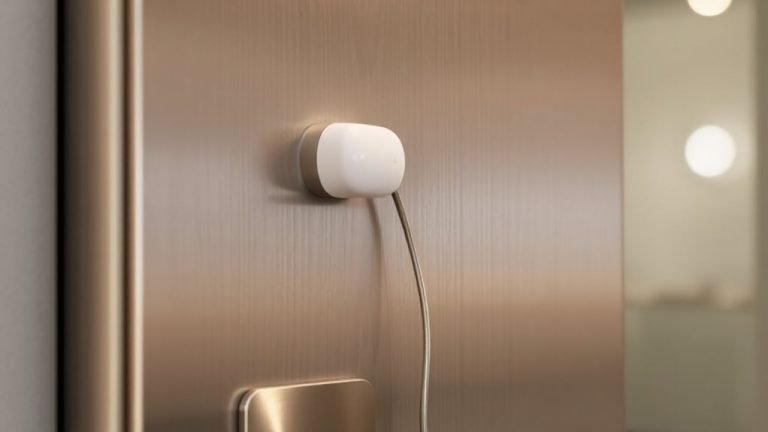
Once you’ve gathered your tools and planned your wiring layout, installing door and window sensors becomes a straightforward process that guarantees reliable detection. Proper sensor placement is critical-attach the magnet to the moving part (door or window) and the sensor to the frame, guaranteeing they align within 1/4 inch when closed. This gap guarantees consistent triggering. Use mounting techniques like screws for permanence or strong adhesive for quick, damage-free installation. Screw mounting offers durability, especially on high-traffic entrances, while adhesive works well on tilt windows or temporary setups. Both methods secure the sensor, but test adhesion on cleaner surfaces first. Install sensors on all accessible ground-level openings, prioritizing common entry points. Avoid placing near metal frames, which can interfere with magnetic sensing. Correct placement and secure mounting reduce false alarms and increase system reliability. For broader home automation integration, consider pairing your setup with Best Motion Sensors for Home Assistant.
Run Wires Without Damaging Walls
While keeping your walls intact, running wires for door and window sensors is achievable with the right approach and tools. Effective cable routing minimizes visibility and damage, using baseboards, door trim, or existing gaps. For clean wire concealment, consider surface-mounted raceways or adhesive wire channels that blend with walls. These options are affordable, easy to install, and removable, making them ideal for rentals or cosmetic concerns. Plan your cable routing path early to reduce wire length and avoid obstacles.
| Method | Pros | Cons |
|---|---|---|
| Baseboard routing | Low visibility, secure | Requires careful measuring |
| Wire raceways | Paintable, removable | Slight visual profile |
| Under carpet/floor | Invisible | Not ideal for all flooring |
Proper planning saves time and improves reliability, ensuring your system works without compromising your home’s appearance.
Connect Sensors to Your Alarm Panel
If you’ve routed the wires successfully, connecting your door and window sensors to the alarm panel is the next critical step in completing your system. Make sure you’ve verified sensor compatibility with your panel model-mismatched components can disrupt alarm integration and reduce effectiveness. Strip about half an inch of insulation from the wire ends, then connect them to the designated terminal slots on the panel, usually labeled “zone” or “sensor.” Tighten the screws securely to guarantee a stable connection. Most panels support hardwired zones, but check your manual for specific wiring diagrams and voltage requirements. Proper labeling of each circuit helps during troubleshooting and future upgrades. Avoid daisy-chaining sensors unless your system explicitly allows it, as this can create false alarms or missed triggers. For best results, follow the manufacturer’s guidelines on maximum wire length and gauge to maintain signal integrity across all zones.
Test Wired Sensors and Fix Wiring Issues
How do you know your sensors are working properly? Test each one by opening and closing the door or window while monitoring the alarm panel. If the system doesn’t respond, check the wiring insulation first-damaged insulation can cause shorts or false alarms. Use a multimeter to verify continuity and guarantee voltage levels match specs. Poor sensor calibration may also lead to missed triggers, so adjust the alignment between the sensor and magnet until the connection is consistent. Gaps larger than 1/8 inch often cause faults. If a sensor still fails, swap the wires at the panel to isolate whether the issue is in the wire or the sensor itself. Always label wires during testing. Fixing wiring issues early improves reliability, reduces false alerts, and guarantees your system performs as intended under real conditions. For optimal performance, ensure your setup includes reliable Top Garage Door Sensors.
On a final note
You’ve now connected your door and window sensors correctly and tested each for reliable function. Wired systems offer stability and lower long-term costs, though installation takes more time than wireless. Guarantee all connections match your panel’s specifications, and use structured wiring for easier troubleshooting. Confirm continuity with a multimeter, and secure loose cables to prevent damage. A well-wired system lasts years with minimal maintenance.