How to Mount a Security Camera in a Corner for Maximum Field of View
Mount your wide-angle security camera 8 to 10 feet high in the corner for maximum coverage, choosing a model with 160 to 180-degree viewing and corner optimization to reduce distortion. Angle it slightly downward to minimize blind spots and improve image clarity. Secure the bracket to wall studs or use heavy-duty anchors, then hide wires with in-wall conduit or raceways. Test the live view in daylight and night to fine-tune motion zones and confirm full detection. More details follow on optimizing placement and camera features.
Notable Insights
- Choose a camera with a 160 to 180-degree wide angle lens for maximum corner coverage and minimal blind spots.
- Mount the camera 8 to 10 feet high in the corner to capture adjacent walls and open areas effectively.
- Angle the camera slightly downward to reduce edge distortion and ensure clear visibility of entry points and walkways.
- Secure the mounting bracket to wall studs or use heavy-duty anchors for stable, long-term performance.
- Use live view to test coverage, adjust angle for blind spots, and verify clarity in both daylight and low light.
Choose a Camera Built for Corner Viewing
While most security cameras work well in open areas, you’ll want one specifically designed for corner mounting if you’re covering tight indoor or outdoor spaces. These models come with a wide angle lens, typically 160 to 180 degrees, so you can capture more of the room or perimeter. Look for corner optimization features, which digitally adjust the image to reduce distortion at the edges and enhance clarity across the full view. Cameras with this function reposition pixels where they’re needed most, giving you a more accurate layout of activity. Not all wide angle lenses handle corners equally-some stretch the image, making objects harder to identify. Choose a model that balances field of view with resolution, ideally 1080p or higher. While optimized cameras may cost slightly more, they deliver better coverage and reduce blind spots in confined areas. For seamless voice control and integration, consider models highlighted in the Best Alexa-Compatible Security Cameras roundup.
Mount High in the Corner for Full Coverage
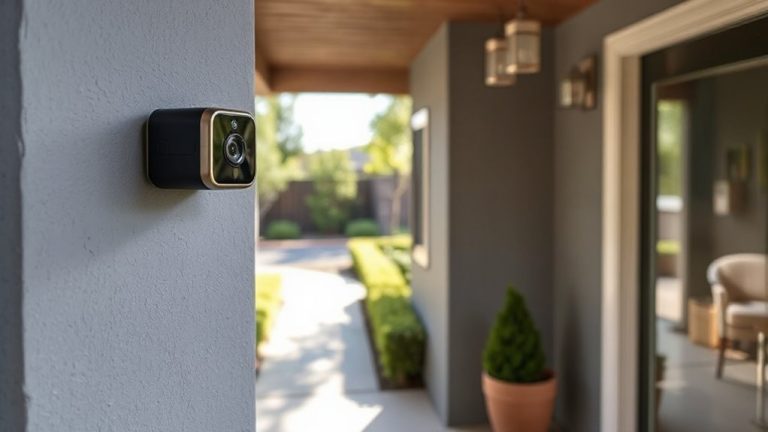
Mount your camera high in the corner-ideally between 8 and 10 feet off the ground-for the best view of the surrounding area. This corner placement maximizes coverage by allowing the camera to capture both walls and the space extending outward. A higher position reduces obstructions and improves the overall viewing angle, especially with wide-angle lenses. Most corner-rated cameras support 180-degree or greater fields of view, but mounting too low can block part of the scene with furniture or people’s heads. Elevation helps maintain sightlines across entry points and walkways. For ideal results, guarantee the mounting bracket is securely fastened to wall studs or use heavy-duty anchors. While higher mounting improves surveillance, it may require a ladder or professional help, slightly increasing installation time and cost. Still, the gain in coverage makes it a worthwhile step. Wired systems often provide more reliable power and data transmission, making best wired outdoor security camera systems a strong choice for permanent corner installations.
Aim to Eliminate Blind Spots and Distortion
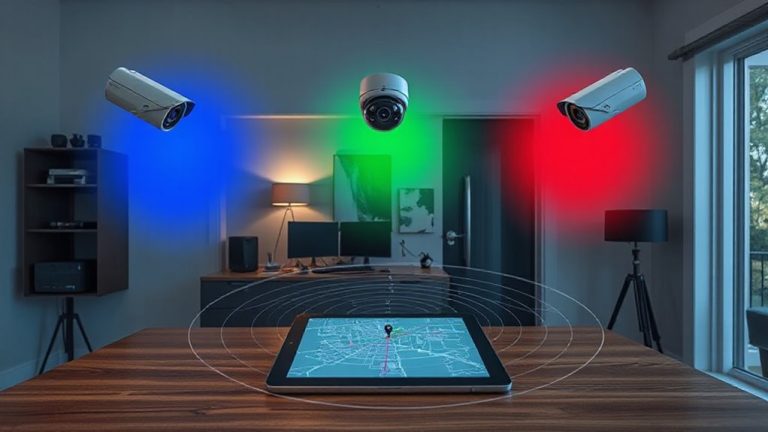
You’ve placed your camera high in the corner to maximize coverage, but height alone won’t guarantee a clear, complete picture. You need to aim it carefully to reduce lens distortion and avoid missing key areas. Wide-angle lenses often curve the edges of the image, making it hard to identify faces or movements in corners-this is lens distortion, and it’s common in cheaper models. To fix it, angle the camera slightly downward and test the view using your app’s live feed. Walk around your space and perform a blind spot analysis by checking where the camera can’t see, like directly beneath or behind furniture. Adjust the tilt until you minimize gaps. Higher-resolution cameras handle distortion better, but they cost more. Always balance image clarity with coverage area, and recheck after installation. A well-aimed camera gives you reliable, full-room monitoring without confusing visual flaws. For optimal results, consider models with advanced wide dynamic range to improve visibility in high-contrast lighting conditions.
Secure the Bracket and Hide Wires Safely
Since the camera’s position affects both security and aesthetics, start by tightening the mounting bracket securely to the wall or ceiling using the screws and anchors provided-this guarantees stability and prevents sagging over time, especially in corners where angles add stress. Proper wall anchoring guarantees durability across weather conditions and reduces vibration. For clean cable management, route wires along baseboards or use a wire channel. Avoid leaving cables exposed to reduce tampering risks and improve appearance.
| Method | Benefit |
|---|---|
| Adhesive raceway | Easy install, low cost |
| Staple clips | Secure, budget-friendly |
| In-wall conduit | Hidden wires, professional look |
| Cord cover | Paintable, blends with wall |
| Wireless adapter | Minimizes wiring, simple setup |
Always power off devices before handling wires. Plan your cable path early to streamline installation.
Test and Adjust Your Camera’s View
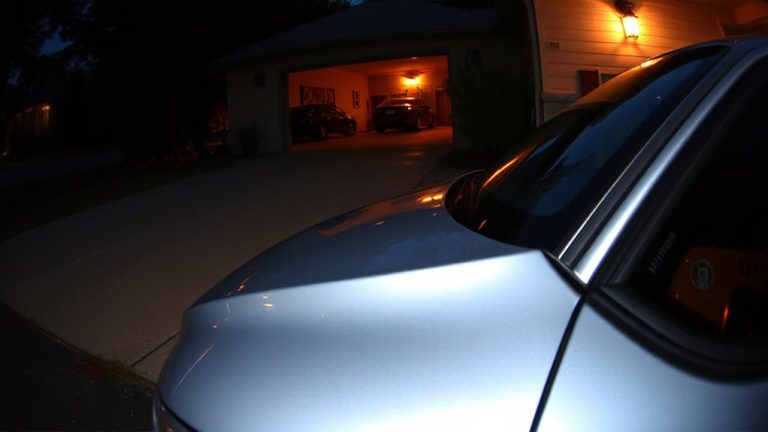
Now that the bracket’s secure and the wires are neatly managed, it’s time to power up the camera and check what it actually sees. Use the live view on your phone or monitor to scan the full field of view, making sure key entry points are covered. Adjust the angle slightly if you notice blind spots, especially near doors or walkways. Check the image quality in both daylight and low light-guarantee faces and objects are clear, not pixelated. Test motion detection by walking through the frame to confirm the sensor triggers and records properly. Fine-tune sensitivity to avoid false alerts from pets or swaying trees. Some cameras let you set detection zones, which helps focus alerts on high-priority areas. Always verify nighttime performance, as infrared range affects clarity. These adjustments guarantee reliable, consistent coverage. Recheck settings every few months, especially after weather changes.
On a final note
You’ve chosen a corner-optimized camera and mounted it high where it covers entry points and open areas. Aim the lens to reduce blind spots and distortion, especially near walls. Secure the bracket firmly and hide wires behind baseboards or with covers. Test the live feed, adjusting angle and settings as needed. A well-placed corner mount often costs $100–$250 total, including tools, and improves detection range by up to 40% compared to wall mounting.