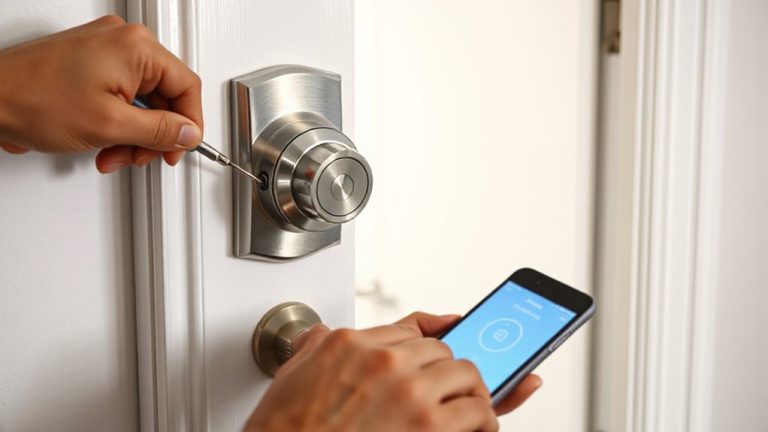
Identifying Low-Battery Alerts on Your Home Security Keypad and What to Do Next
Your keypad shows low-battery alerts with a “BAT” icon or steady beep every 24 to 48 hours, even without code entry. Dim display or intermittent beeps may signal weak power or interference. Replace batteries every 1–3 years using the correct type-often 9V or AA-and check polarity. After inserting new batteries, test the system through diagnostic mode to confirm alert transmission. Use lithium batteries for longer life and enable app alerts if available. You’ll find detailed steps and troubleshooting tips that follow.
Notable Insights
- Check for dim or flickering keypad displays, which often indicate low battery power.
- Look for automatic low-battery alerts like “BAT” or “CH” icons appearing every 24 to 48 hours.
- Listen for steady beeps or flashing battery symbols signaling the need for battery replacement.
- Replace the backup battery with the correct type, typically 9V or CR123, following the keypad manual.
- Test the system after replacement by triggering a diagnostic alarm to confirm proper operation.
Spot Low-Battery Alerts on Your Keypad
How can you tell when your home security keypad is running low on power? The most obvious sign is a dim or flickering keypad display, which often appears sluggish or incomplete when activated. Many systems also trigger a low-battery alert automatically, with alert timing usually set to repeat every 24 to 48 hours until addressed. This consistent alert timing guarantees you don’t overlook the issue while allowing time to plan a response. These warnings typically appear on the screen without requiring any action like entering a code. While some keypads use LED indicators or backlight changes, the display remains the primary source of information. Ignoring these signs risks eventual system failure during an outage. Replace the backup battery promptly-most models use standard 9V or CR123 types. Check your manual for specs, and consider keeping a spare on hand.
What Do Your Keypad’s Beeps and Icons Mean?
Why do those beeps and icons suddenly appear on your keypad? They’re alerts tied to your system’s keypad history and help you catch issues early. A steady beep or flashing battery icon usually means low power, while intermittent beeps may point to signal interference from nearby electronics or thick walls. Some keypads display a “CH” or “BAT” icon, showing which zone has a weak battery. Check your keypad history to see if alerts repeat-this helps confirm whether it’s a persistent power issue or temporary interference. Signal interference won’t drain batteries but can mimic alert behavior, so rule that out first. Keep your system updated and minimize electronic clutter near the keypad. Understanding what each sound or symbol means helps you act fast and keep your home secure without confusion.
Replace the Batteries in 4 Easy Steps
Replacing the batteries in your home security keypad typically takes less than 15 minutes and only requires a few common tools. First, check your keypad’s manual for the correct battery types-most use AA or 9-volt batteries, but some models require lithium or rechargeables. Gather your replacement tools, like a small screwdriver to open the keypad casing. Next, power down the system if needed, then remove the old batteries and insert the new ones, ensuring proper polarity. Close the unit securely and restore power. Using high-quality battery types helps extend performance and reliability. Some kits include a tester or spare batteries, adding value. Plan ahead-keep spares on hand and note battery life expectancy. Always dispose of old batteries properly. Replacement tools often come standard in home toolkits, so you typically won’t need special purchases.
Test the System After New Batteries
Once the new batteries are installed, it’s essential to verify the system responds correctly, so go ahead and trigger a test alarm using your keypad’s built-in diagnostic mode. This step guarantees post installation verification and confirms everything functions as expected. Watch for the keypad’s display response and listen for audible signals-this helps measure system response time. A proper alarm should activate within seconds, and your monitoring service should receive the alert promptly. If delays occur or no signal registers, double-check the battery placement and connections. Don’t skip this test, as it confirms the system’s reliability. Quick response times are vital for security, so note any lag. Use this moment to guarantee all sensors communicate properly. Testing now prevents uncertainty later, giving you confidence in your system’s performance under real conditions. For apartment dwellers, choosing a reliable setup is key, and selecting one of the best security systems for apartments can ensure seamless integration and long-term peace of mind.
Avoid Future Keypad Low-Battery Alerts
A little planning now can spare you the annoyance of unexpected low-battery alerts down the road. Battery maintenance is key to keeping your keypad reliable. Check the manufacturer’s recommended replacement interval-most batteries last 1–3 years depending on usage and model. Set schedule reminders on your phone or calendar to inspect the keypad quarterly. During these checks, make sure the battery compartment is clean and the connection is secure. Consider using long-life lithium batteries, which offer steady voltage and last longer than alkaline ones. Some systems support battery status alerts through the app, so enable those notifications if available. Writing down battery installation dates helps track lifespan. Regular upkeep prevents false alarms and ensures your security system functions when needed. Replace batteries proactively, not just when alerts appear. Stay ahead with simple habits-your security depends on it.
On a final note
You now know how to spot low-battery alerts, from beeps to warning icons, and the steps to replace them quickly. Always test your system afterward to confirm proper function. Use high-quality alkaline batteries for longer life, and consider marking your calendar for every 12 months to check power levels. This small effort prevents signal failures and keeps your home protected.