Step-by-Step Installation of a Wi-Fi Enabled Smart Deadbolt on a Standard Interior Door Frame
Start by clearing your workspace and unboxing the smart deadbolt-check all parts and download the app. Remove the old deadbolt, clean the holes, and inspect door alignment. Install the new latch with the curved side facing the jamb, then attach exterior and interior assemblies. Insert batteries, power cycle, and connect to your 2.4 GHz Wi-Fi via the app. Test lock operation using the keypad and app, calibrate if needed, and set user codes. You’ll find more details on optimizing smart lock performance just ahead.
Notable Insights
- Prepare tools, unbox components, and confirm door backset measurement before installation.
- Remove old deadbolt, clean borehole, and inspect door alignment for proper fit.
- Install latch with curved side facing door jamb and secure with screws.
- Mount exterior and interior assemblies, connect spindle, and ensure wiring is unobstructed.
- Insert batteries, connect to 2.4 GHz Wi-Fi via app, and test lock operation and access controls.
Gather Tools and Unbox the Smart Deadbolt
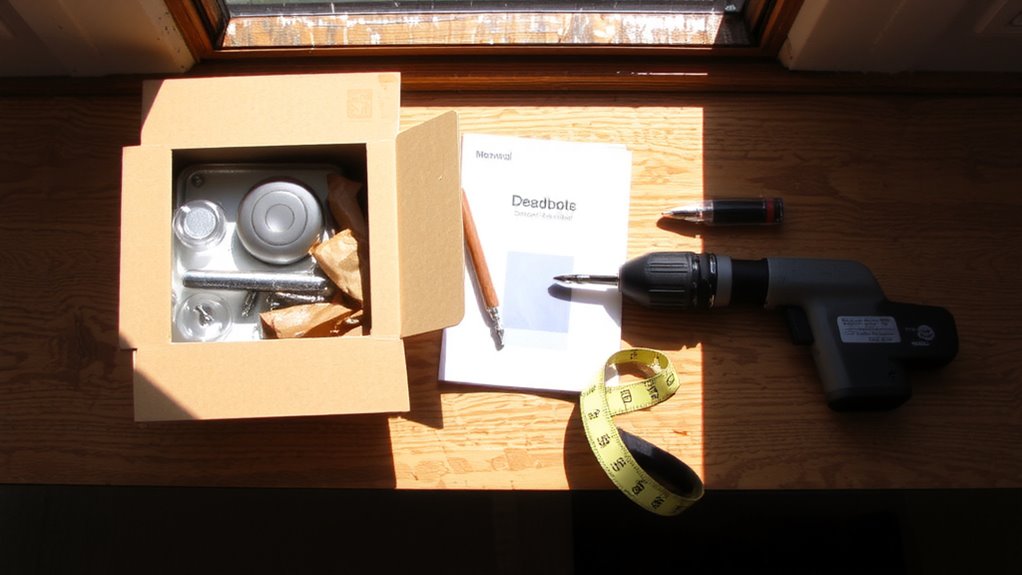
Before you begin, clear a clean, well-lit workspace to organize the components-this makes assembly easier and helps avoid losing small parts. Your unboxing experience should start by checking the instruction manual and parts list; most kits include the deadbolt, mounting screws, strike plates, and an exterior keypad or app-enabled module. Inspect each piece for damage right away. Proper tool organization prevents delays-gather a drill, screwdriver, measuring tape, and pencil beforehand. Keep tools in a designated tray so they’re within reach. Some models require a smartphone app setup before installation, so download it early. Confirm your door’s backset measurement (usually 2-3/8” or 2-3/4”) to guarantee compatibility. Choosing a Wi-Fi-enabled model allows remote access but may require a hub. Budget models save money but often lack advanced encryption. Plan for two AA batteries or verify hardwiring needs. Read all steps first-rushing leads to misalignment. For reliable performance and top features, consider one of the best Kwikset smart locks based on expert testing and user reviews.
Remove the Old Deadbolt and Prep the Door
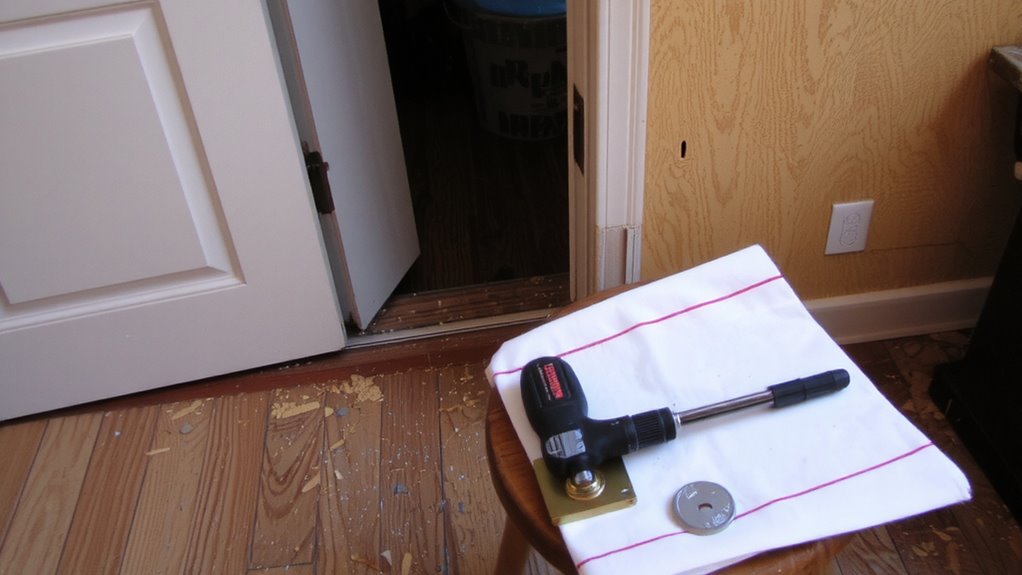
Most existing deadbolts can be removed in under 15 minutes with the right tools and approach. Start by unscrewing the faceplate and interior trim using a screwdriver or Allen wrench, depending on your model. Once disassembled, pull both halves apart to extract the latch mechanism from the door edge. Inspect all parts during hardware inspection, checking for wear or corrosion that could affect performance. Clean the borehole and edge hole of debris so the new lock installs smoothly. Examine door alignment to guarantee the door sits flush in the frame without warping or gaps, which could interfere with future operation. If misaligned, adjust the hinges before proceeding. Confirm the existing cutouts match the new smart deadbolt’s dimensions. Proper prep now prevents installation issues later. This step is essential for secure, reliable function. For optimal security and convenience, consider choosing one of the best digital locks based on expert testing and real-world performance.
Install the Smart Deadbolt on the Door
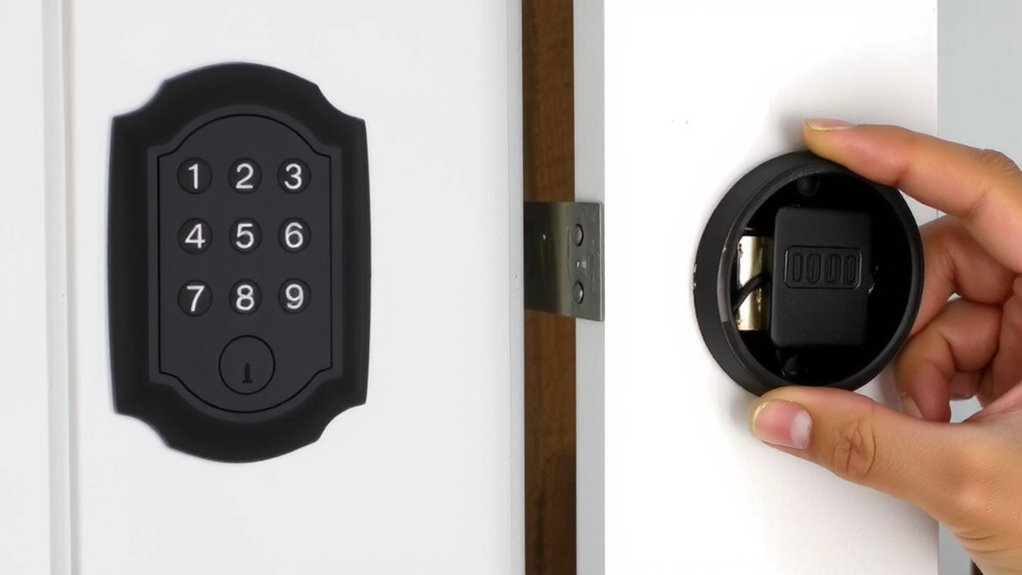
While aligning the components first can save time and reduce errors, you’ll want to start by inserting the new latch mechanism into the edge of the door with the curved side facing the door jamb-this guarantees smooth bolt retraction when the door closes. Proper lock orientation guarantees the deadbolt extends and retracts without sticking. Secure the latch with the included screws, then position the exterior assembly so the bolt aligns cleanly with the strike plate hole. Check door alignment before tightening all components, as even a slight gap can hinder operation. Misaligned doors often cause binding, so shave or adjust the strike plate if needed. Attach the interior assembly, connecting it to the exterior through the spindle. Make sure internal wiring isn’t pinched. Finally, test the deadbolt manually to confirm full extension and retraction. Correct installation now prevents issues later, especially with motorized smart locks that rely on precise mechanics. Choosing a best smart lock can significantly enhance both convenience and home security.
Connect the Lock to Wi-Fi and Power On
Now that the smart deadbolt is securely mounted and operates smoothly by hand, you’re ready to bring it online. Insert the batteries or connect the power source as specified by the manufacturer-most models use standard AA or lithium batteries. Once powered, the lock will usually emit a sound or display a light, signaling it’s active. Perform a power cycle by removing the batteries for ten seconds, then reinserting them; this helps reset the internal system and can resolve minor glitches before setup. Next, launch the manufacturer’s app on your smartphone and follow the prompts to begin Wi Fi pairing. Guarantee your phone is connected to your home network, as the lock must join the same 2.4 GHz band. Keep the router nearby for a stronger signal during pairing, improving connection stability. Wait for confirmation in the app before moving on.
Test Lock Functionality and Adjust Access Settings
Since the lock’s connected to your network, test its functionality right away to confirm everything’s working as expected. Operate the lock from the app and the keypad to verify smooth engagement and retraction. If the bolt doesn’t align properly, perform lock calibration by following the app prompts-this guarantees the deadbolt fully extends into the strike plate. Test the physical key as a backup; it should turn without resistance. Next, adjust user permissions to manage access securely. You can assign temporary or permanent codes for family, guests, or service workers, and revoke them remotely. Limit admin rights to trusted individuals to prevent unauthorized changes. Check notification settings to receive alerts when the door locks or activates. Finally, confirm the auto-lock feature works if enabled. These steps enhance security and guarantee reliable, long-term performance.
On a final note
You’ve successfully installed your smart deadbolt and connected it to Wi-Fi for remote access and monitoring. Most models offer strong encryption and real-time alerts, boosting home security. Check battery life every 6–12 months and update firmware regularly. While convenient, smart locks can fail during outages, so keep the manual override key accessible. Overall, this upgrade offers reliable, modern protection when properly maintained.