How to Implement Storage Quotas for Different Camera Zones in Your Home
Choose a security system with built-in storage quotas and support for local or cloud storage, keeping in mind that cloud options often require ongoing fees. Use motion logs to classify zones-front doors and garages usually need more retention than backyards. Assign each camera to a key area, avoiding overlap, and prioritize high-traffic zones with higher resolution and longer retention. Set individual storage limits and adjust them every few weeks based on usage patterns and household changes-fine-tuning guarantees peak performance without overspending. You’ll find it easier to balance cost and coverage with regular reviews.
Notable Insights
- Choose a security system with built-in storage quotas and support for local, cloud, and encrypted storage options.
- Classify camera zones by activity level, prioritizing high-traffic areas like entrances for higher storage allocation.
- Assign cameras strategically to key locations such as doors and driveways, avoiding overlapping or redundant views.
- Allocate more storage and longer retention periods to high-priority zones based on risk and motion frequency.
- Regularly adjust retention settings and monitor usage through system analytics to optimize storage efficiency.
Pick a System That Supports Storage Quotas
One reliable way to manage footage from your home security cameras is choosing a system that includes built-in storage quotas. You’ll want a setup that lets you assign specific storage limits per camera zone, preventing one area from overwhelming your full capacity. Look for models offering both local storage and cloud backups, so you can retain footage even if the device is damaged. Systems with data encryption protect your videos from unauthorized access, ensuring privacy. While cloud options add convenience, they often require subscription fees, so consider long-term costs. Built-in quotas help extend retention time by managing space efficiently. Some systems even let you adjust quality or recording frequency when nearing limits. Choose a brand known for reliable performance and straightforward settings. Prioritize devices that balance storage flexibility, security, and clear usage tracking. A reliable option is to select from among the Best Home Recorders for robust storage management features.
Identify High-Traffic vs. Low-Activity Zones
Now that you’ve chosen a system with adjustable storage quotas, the next step is deciding how to allocate space based on actual camera usage. Start by observing motion patterns over several days to identify high-traffic and low-activity zones. Areas like front doors, garages, and hallways usually show frequent movement, meaning those cameras will generate more footage. Other spots, such as backyards or side entrances, may have minimal activity. Use these insights to guide your camera placement-position high-quota allocations where motion patterns are dense and consistent. This guarantees efficient storage use without sacrificing coverage. Low-activity zones need less space, freeing up bandwidth and storage for busier areas. Review your system’s motion logs or analytics if available, since data-driven decisions lead to smarter plans. Proper camera placement and storage alignment improve long-term performance and reduce unnecessary costs. A reliable security camera software can automate quota distribution based on recorded activity levels.
Map Cameras to Critical Monitoring Areas
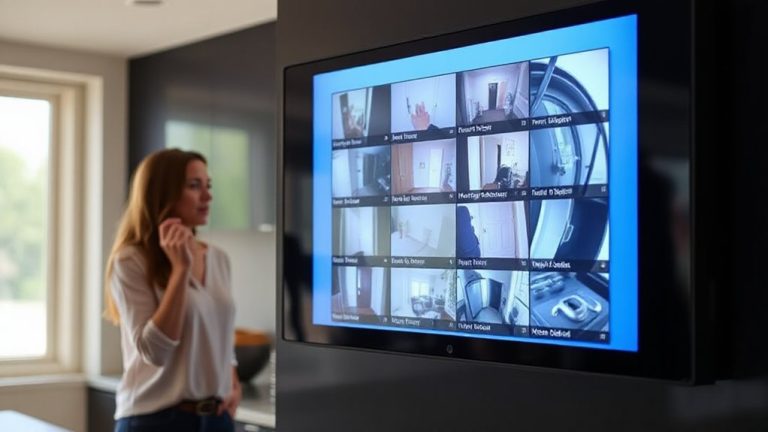
Why focus your security cameras where they’ll matter most? Because effective camera placement directly impacts how well you monitor and protect your home. Start by using zone mapping to assign each camera to a specific area, like entrances, driveways, or backyards. This guarantees you’re watching high-priority spots without gaps in coverage. Zone mapping also helps you avoid redundant views, saving time and resources. For the best results, place cameras at eye level and use overlapping fields of view to reduce blind spots. Consider lighting, angles, and distance-poor placement can lead to blurry or useless footage. Focus on critical monitoring areas first, like doors and windows, then adjust based on activity patterns. Proper camera placement and zone mapping give you clearer insights, improve response times, and lay the foundation for efficient storage management later. When selecting devices for each zone, consider the features of the best indoor security cameras to ensure optimal performance and integration with your storage plan.
Set Storage Quotas by Zone Priority
Since not every area around your home carries the same security risk, it makes sense to allocate storage based on zone priority-giving more footage retention to critical areas like front doors or garages and less to low-risk spots like interior hallways. You can use data prioritization to guarantee high-value zones keep footage longer, reducing the chance of overwriting important events. Pair this with smart bandwidth allocation so your network doesn’t slow down when multiple cameras record. High-priority zones get more frequent updates and higher resolution, while low-priority zones use less storage and bandwidth. Most systems let you assign priority levels in the settings, balancing performance and cost. This method improves efficiency, especially if you have limited cloud storage or a shared network. Planning your storage this way means you’re not wasting space on low-risk areas. It’s a practical, data-driven approach that keeps your system running smoothly.
Adjust Retention Settings for Each Camera
You can fine-tune how long each camera keeps recorded footage by adjusting the retention settings individually, which gives you control over how much history is stored and when older clips get overwritten. Setting the retention duration per camera guarantees you keep important video without wasting space on less critical areas. High-priority zones, like front doors, might use a longer retention duration-up to 30 days-while low-traffic spots can be set to 7 days. This approach improves storage allocation by matching each camera’s needs to available space. Most systems let you adjust these settings in the app under storage or recording preferences. Keep in mind that longer retention requires more storage, so balance needs with capacity. Reviewing each camera’s usage helps optimize retention without overspending. Properly managed, retention settings enhance both security and efficiency in your home surveillance system.
Review Usage and Fine-Tune Allocations
Once you’ve set retention periods based on camera priority, the next step is checking how those settings perform over time. Regular storage monitoring helps you see which zones use more space and whether retention goals are met. You might find high-traffic areas like front doors fill up faster than quiet side zones. Adjust allocations if you’re running out of space too soon or wasting capacity on low-priority spots. Review user feedback-maybe family members notice blind spots or false alerts that affect storage use. Some systems show analytics, so you can spot trends and fine-tune settings accordingly. Balancing storage across zones isn’t a one-time task. Revisit every few weeks, especially after big changes like holidays or construction. Small tweaks can improve performance without extra costs. Consistent reviews keep your security system efficient, reliable, and tailored to your household’s real-world needs.
On a final note
You now control how much footage each camera saves by setting storage quotas based on zone priority. High-traffic areas may need longer retention, while low-activity zones use less space. This balanced approach maximizes efficiency without costly upgrades. Regularly review usage, adjust settings, and prioritize critical areas to maintain peak performance. Planning guarantees reliable, long-term security.