The Ultimate Guide to Installing a Smart Home Surveillance Camera Network
Choose cameras with 1080p or higher resolution for clear details, and pick wired systems for reliability or wireless for easy installation. Position cameras at entry points and blind spots, 8–10 feet high, to capture faces and license plates. Use PoE or guarantee strong Wi-Fi, enable end-to-end encryption, and update passwords. Activate motion alerts, night vision, and automations through a secure app. Compatibility with your smart home ecosystem ensures smoother control-and there’s more to optimizing your setup than meets the eye.
Notable Insights
- Choose 1080p or higher-resolution cameras compatible with your smart home ecosystem for optimal clarity and integration.
- Decide between wired systems for reliability or wireless for easy installation, considering power and network needs.
- Position cameras at entry points and blind spots, mounted 8–10 feet high for optimal coverage and facial recognition.
- Secure your network with encryption, updated firmware, strong passwords, and two-factor authentication for remote access.
- Enable motion detection, night vision, and automations, then test weekly to fine-tune alert accuracy and performance.
Pick the Best Smart Home Cameras for Your Needs
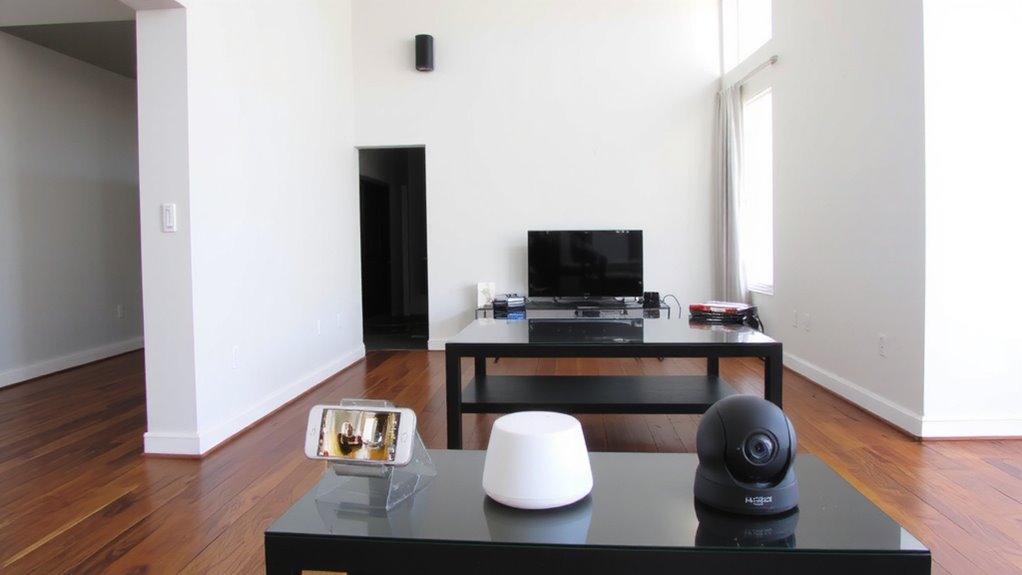
What makes one smart home camera better than another for your situation? It comes down to your specific needs and setup. Camera resolution matters-1080p is standard, but 2K or 4K gives clearer detail, especially for identifying faces or license plates. Higher resolution uses more bandwidth and storage, so balance quality with your internet plan and subscription costs. Brand compatibility is just as important. If you use a smart hub like Google Home or Apple HomeKit, pick cameras that integrate smoothly. Cameras from the same brand often work better together, letting you control them in one app. Check for support of standards like Matter to guarantee future-proofing. Avoid mixing brands unless they’re proven to work. Always compare features like field of view, low-light performance, and data encryption. For Home Assistant users, choosing cameras from the list of best Home Assistant security cameras ensures seamless integration and optimal performance.
Choose Wired or Wireless Camera Setup
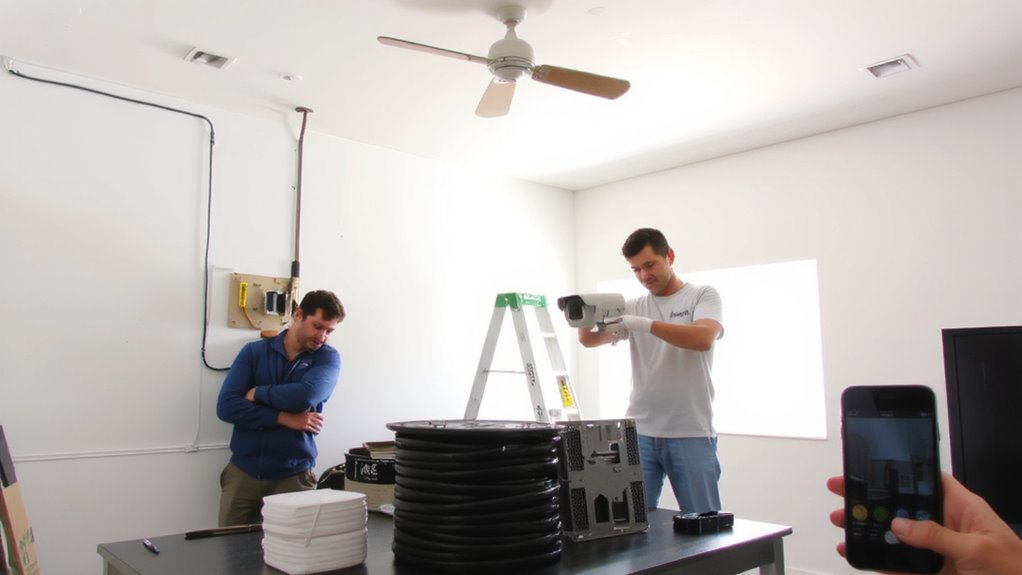
You’ve picked the right camera based on resolution, compatibility, and features, but now you need to decide how it connects-wired or wireless. Wired setups offer stable connections and don’t suffer from signal interference, making them reliable for continuous recording. They often use Power over Ethernet (PoE), which simplifies power requirements by delivering electricity and data through one cable. Wireless cameras are easier to install and reposition, but they rely on Wi-Fi, leaving them vulnerable to signal interference, especially in crowded networks. Their power requirements usually mean batteries or nearby outlets, which can limit placement. Wired systems typically cost more upfront due to cabling and professional installation, while wireless models often have lower initial costs but may require subscription fees. Consider long-term reliability, your home’s layout, and whether you value ease of installation over consistent performance. For those prioritizing reliability and high-quality video, the best wired security camera systems combine durability with seamless integration into a full home network.
Place Cameras to Cover Entry Points and Blind Spots
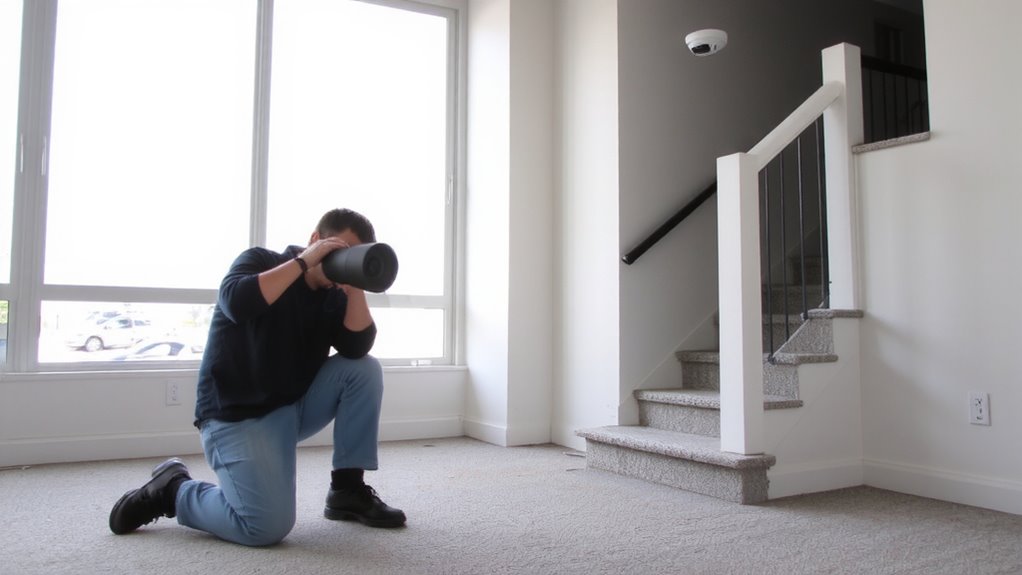
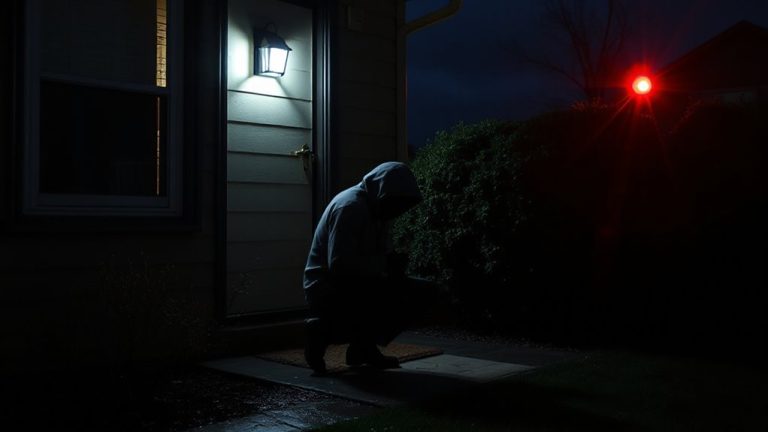
Strategic placement is key to maximizing your smart home surveillance system’s effectiveness. Position cameras at all primary entry points-front and back doors, garage entrances, and ground-floor windows-since these are common access points for intruders. Use best camera angles to capture clear facial features and license plates without glare or obstructions. Avoid pointing cameras directly at bright light sources to prevent washed-out footage. Cover blind spots around corners, alleys, and side yards with additional units or wider-angle models. Overlap camera views slightly to eliminate gaps while minimizing redundant video storage demands. Consider field of view specifications when selecting placement to balance coverage and image clarity. Mount cameras between 8 and 10 feet high for best performance. Proper positioning reduces false alerts and guarantees efficient use of storage capacity, whether you’re using local drives or cloud plans. For optimal results, choose models from the best security cameras based on performance, reliability, and smart features.
Secure Your Network and Enable Remote Access
While having cameras in the right places improves visibility, securing your home network is just as critical to keeping your surveillance system safe from hackers. You should enable data encryption so video feeds and stored footage can’t be intercepted. Most modern cameras support end-to-end or SSL/TLS encryption, which you can turn on in the app settings. Make sure your router has updated firmware and strong firewall configuration to block unauthorized access. Change default passwords on both cameras and your network, and use unique, complex ones. For remote access, rely on manufacturer-approved apps with two-factor authentication. Avoid public Wi-Fi when viewing footage. A properly secured system guarantees only you can view what’s happening at home, even from afar. These steps, though simple, greatly reduce your risk of breaches.
Turn On Motion Alerts, Night Vision, and Automations
How do you guarantee your camera system actively protects your home, even when you’re not watching? Enable motion detection and turn on night vision so your cameras monitor around the clock. Night vision ensures clear footage in low light, while motion detection triggers alerts when activity occurs. Use alert customization to filter notifications by time, zone, or person to reduce false alarms. Automations let cameras record or turn on lights when motion is detected, increasing deterrence.
| Feature | Benefit |
|---|---|
| Motion Detection | Triggers recording and alerts |
| Alert Customization | Reduces unwanted notifications |
| Night Vision | Provides 24/7 visibility |
Set up these features through your camera’s app, test them weekly, and adjust sensitivity as needed. Proper configuration improves reliability and guarantees your system works efficiently, giving you actionable insights without overwhelm.
On a final note
You’ve chosen the right cameras, picked wired or wireless setup based on reliability and cost, and placed them at key entry points and blind spots. You’ve secured your network, enabled remote access, and turned on motion alerts, night vision, and automations. These steps, backed by testing and user data, create a reliable, proactive system. While upfront costs vary, proper planning saves money and improves peace of mind over time.