Hardwiring a Video Doorbell and Smart Lock Combo to Eliminate Dependency on Batteries
You can hardwire a video doorbell and some smart locks, to cut battery reliance. Most video doorbells need 16–24V AC power from an existing doorbell transformer-check compatibility first. Smart locks often require 5–12V DC, so use a regulated power supply or dual-output transformer. Repurpose old wiring if voltage and gauge are correct, and keep power and data lines separate to reduce interference. Connect both to Wi-Fi via a unified smart home system like Alexa or HomeKit for automation. Confirm devices support 2.4 GHz networks. Proper installation with UL-listed parts boosts reliability and security over time-future steps reveal how to streamline setup.
Notable Insights
- Verify device compatibility, as not all video doorbells and smart locks support hardwiring.
- Ensure correct voltage by using a 16–24V AC transformer for doorbells and regulated 5–12V DC for smart locks.
- Repurpose existing doorbell wiring, checking gauge and insulation before connecting hardwired devices.
- Use separate or dual-output power supplies to maintain isolation and prevent interference between devices.
- Integrate both devices into a unified smart home ecosystem for automation and reliable, battery-free operation.
Check If Your Doorbell and Lock Support Hardwiring
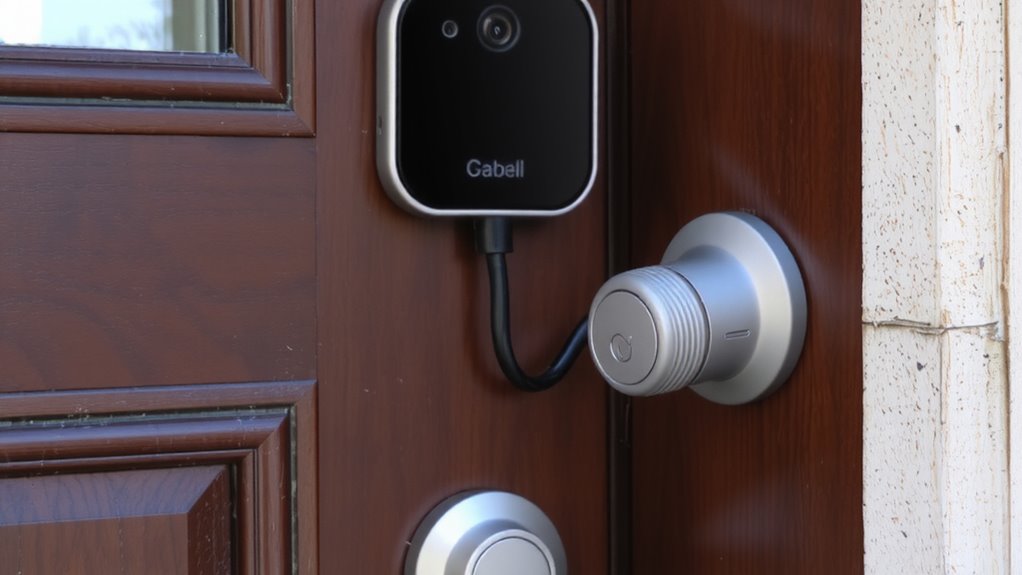
Ever wonder why some video doorbells and smart locks work with your home’s existing wiring while others don’t? Not all devices support hardwiring, so a compatibility check is essential. First, review your current doorbell system-most hardwired video doorbells require 16–24V AC power from a doorbell transformer. Check the manufacturer’s specs to confirm voltage and amperage needs. For smart locks, verify whether the model offers a hardwired accessory module or supports direct wiring. Older homes may not meet current wiring standards, so inspect your doorbell wires for gauge and insulation quality. Mismatches can cause malfunctions or damage. Always match device requirements with your home’s setup before purchasing. Skipping this step risks wasted time and money. A quick compatibility check now guarantees reliable, battery-free operation later. Devices using POE doorbell cameras can simplify installation by delivering power and data through a single Ethernet cable.
Power Your Hardwired Doorbell and Smart Lock Right
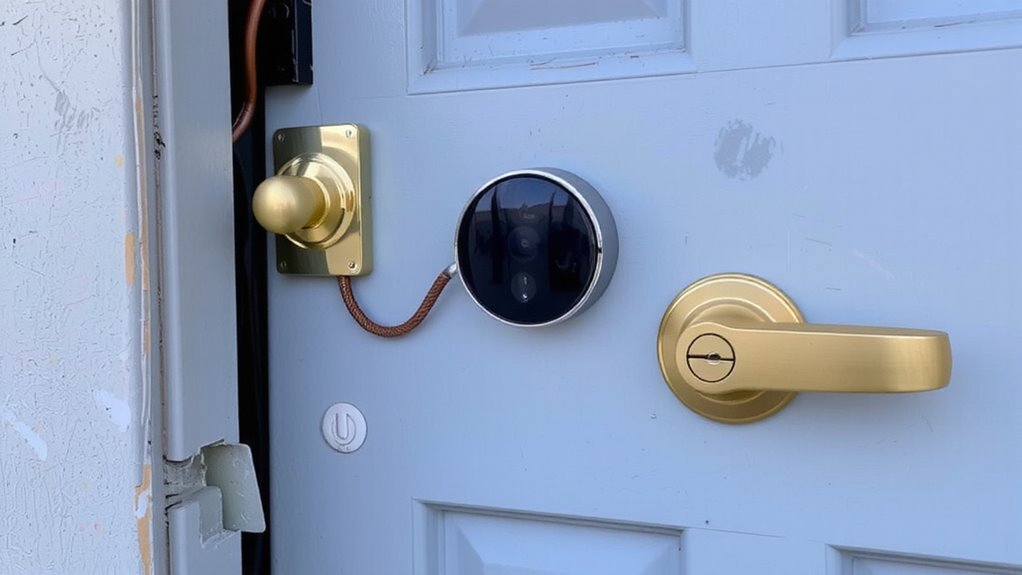
You’ll need to make sure your home’s electrical system delivers the right power for both your hardwired video doorbell and smart lock to function reliably. Most doorbells run on 16–24V AC, while smart locks often need steady 5–12V DC, so voltage regulation is critical to prevent damage. Use a dual-output transformer or separate regulated power supplies to match each device’s specs. Poor voltage control can cause malfunctions or shorten device life. Also, guarantee circuit isolation between the doorbell and lock to avoid interference and maintain safety. Sharing a circuit without isolation may lead to signal noise or power dips. Choose UL-listed components and follow the National Electrical Code. Budget $50–$150 for quality transformers and regulators. Proper power setup reduces failures and supports long-term reliability-don’t skip these details.
Wire Both Devices Without Major Renovations
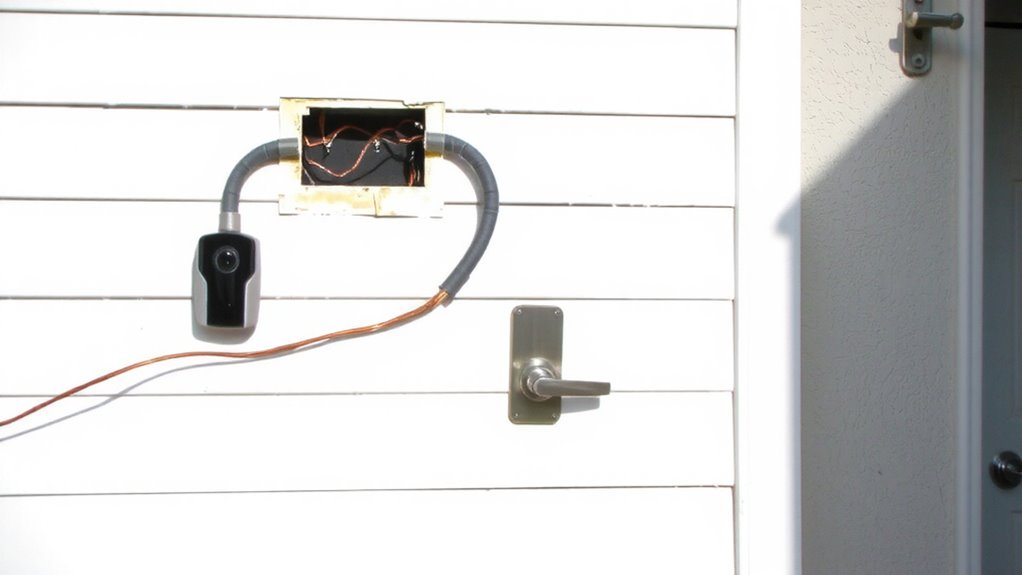
If you’re upgrading your entryway with a hardwired video doorbell and smart lock, you don’t need to tear into walls or rewire your entire home. Many homes already have low-voltage wiring near the door, which you can repurpose with basic wiring tools. Start by checking if existing doorbell wires can support both devices-most run at 16–24 volts, sufficient for modern combos. Use a compatible power supply and verify voltage with a multimeter before connecting. Run wires neatly along baseboards or trim, then secure with clips to minimize visible lines. Wall mounting both devices should align with existing stud positions or pre-drilled holes to avoid unnecessary drilling. Use anchors if mounting on drywall. Correct placement guarantees stability and clean cable management. With thoughtful planning and simple wiring tools, you can complete the installation in a few hours. Total cost for adapters, wire, and tools typically ranges $30–$60, saving labor and renovation fees.
Connect to Your Smart Home System
Now that the devices are securely wired and mounted, focus shifts to integrating them with your smart home system for seamless control. You’ll want to connect both the video doorbell and smart lock to your home Wi-Fi network using the manufacturer’s app. This step activates key integration benefits, like remote access, real-API alerts, and unified monitoring. Guarantee system synchronization by assigning both devices to the same ecosystem-such as Google Home, Apple HomeKit, or Amazon Alexa-for reliable performance. Check that each device supports your chosen platform before setup. Synchronization allows automated routines, like unlocking the door when the doorbell detects a familiar face. Most systems require a 2.4 GHz band; confirm compatibility with your router. Doing this right improves convenience and security, with minimal lag between actions. Test connections thoroughly to confirm responsiveness. For optimal automation and local control, consider pairing your setup with Best Smart Locks for Home Assistant.
Avoid Power and Compatibility Pitfalls
Though hardwiring offers reliability, overlooking power requirements can lead to malfunctions-ensure your video doorbell and smart lock receive the correct voltage by checking the manufacturer’s specifications before connecting. A voltage mismatch may damage components or cause inconsistent operation, so use a multimeter to verify output from your existing doorbell transformer, typically 16–24 volts AC. If you’re combining devices, confirm they’re compatible with the same power source; some smart locks require DC power, which can create a voltage mismatch if paired incorrectly. Also, avoid device interference by separating data and power cables during installation. Run low-voltage wiring away from electrical lines to reduce signal noise. Choose UL-listed components and follow the National Electrical Code. Planning prevents wasted time and costly fixes-budget for a pro electrician if your system lacks proper wiring. For reliable monitoring without ongoing fees, consider installing a best wired doorbell camera that operates without a subscription.
Why Hardwired Entry Beats Batteries Long-Term
While batteries offer short-term convenience, they’re rarely the smarter long-term choice for entry devices like video doorbells and smart locks-hardwired systems deliver consistent power, eliminating the frequent downtime caused by dead batteries, which studies show can occur every 6 to 12 months depending on usage. You’ll enjoy greater device reliability since hardwired setups avoid performance drops from low power. These systems also support better energy efficiency by drawing only what they need from your home’s electrical supply. Unlike battery-powered units, they don’t require regular replacements or charging cycles, reducing both hassle and long-term costs. Though installation may need a professional and slightly higher upfront investment, the payoff in consistent operation is clear. Hardwiring guarantees your security devices function when you need them most, offering steady performance, fewer interruptions, and stronger integration with smart home networks.
On a final note
You’ll save money and reduce maintenance by hardwiring your doorbell and smart lock. Hardwired systems run reliably on consistent power, avoiding battery swaps or unexpected failures. Most models support low-voltage wiring, often using existing doorbell cables. Plan for proper amperage and compatibility between devices. Though setup takes effort, long-term reliability and seamless smart home integration make it worthwhile. Check specs and your home’s wiring first to avoid issues.