Synchronizing Audio and Video Streams Properly Across Multi-Camera DVR Setups
Use a mid-range DVR ($150–$300) with low-latency encoding and built-in NTP support to sync all cameras to one time source, reducing drift. Pair it with clapboards or digital slates for precise reference points. Fix minor sync issues in post with waveform alignment or audio fingerprinting. Enable real-time drift correction if available, and test your setup under actual conditions. Reliable hardware and proper timing guarantee clear, accurate playback when every second counts-further refinements can sharpen results even more.
Notable Insights
- Use DVRs with low-latency encoding and dedicated audio processing to minimize sync delays across multiple cameras.
- Sync all cameras to a single time source using Network Time Protocol (NTP) for precise, drift-free timing alignment.
- Employ clapboards or digital slates at recording start to create frame-accurate audiovisual reference points.
- Correct residual sync issues in post-production by aligning waveforms or using audio fingerprinting in editing software.
- Choose DVRs with built-in drift correction and buffering to automatically adjust timing mismatches in long recordings.
Fix Audio-Video Sync With Reliable DVR Hardware
While a glitchy audio-video sync might seem minor, it can undermine the effectiveness of your security system by making it harder to interpret events accurately, so choosing reliable DVR hardware matters. You’ll want a DVR that minimizes audio latency, ensuring sound matches the action without distracting delays. Poor hardware compatibility often causes these sync issues, especially when mixing cameras or microphones from different brands. Stick to systems that list all components as verified for compatibility. Look for DVRs that support low-latency encoding and have dedicated audio processing. Models with real-time OS (operating systems) handle timing better, reducing drift. Mid-range DVRs ($150–$300) often balance performance and cost. Avoid the cheapest options-they may cut corners on sync accuracy. Always check user reviews for mentions of audio latency or sync problems. Choosing the right hardware upfront saves time and improves reliability. Investing in one of the Top Picks can ensure compatibility and performance tailored for multi-camera setups.
Sync All Cameras Using a Single Time Source
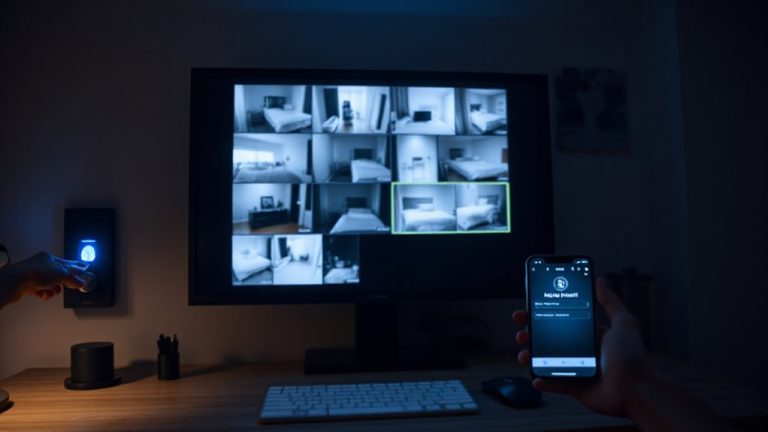
When your security cameras aren’t synced to the same time source, even a few seconds of drift can make it difficult to piece together events accurately. You need precise time alignment across all devices to guarantee video and audio streams match real-world timing. The best way to achieve this is by syncing every camera to a single master clock. Most modern DVR systems support Network Time Protocol (NTP), which connects all cameras to an official time server automatically. This setup minimizes drift and keeps logs consistent. Without a master clock, manual adjustments may seem to work short-term, but they lead to errors during playback or during investigations. Using NTP also helps with legal or insurance documentation, where exact timing matters. For best results, choose a DVR with built-in NTP support and stable network connectivity. It’s a small step that greatly improves reliability, accuracy, and overall system performance. Top systems like those in the best wireless camera security systems offer seamless NTP integration for optimal synchronization.
Mark On-Set Spots With Clapboards or Digital Tools
You’ve made certain all your cameras run on the same time by syncing them to a single master clock, which keeps your footage aligned down to the second. Now, you need clear reference points to match audio and video during review. Use clapboard marks or digital slates at the start of each take to create visual and audio cues. Clapboard marks provide a sharp sound and frame-accurate image of the clap, making sync easy to spot. Digital slates offer timecode overlays and metadata, reducing errors in long recordings. Clapboards are low-cost and reliable, while digital slates work best with advanced DVR systems. Always position the slate clearly in frame and guarantee the audio is picked up by all microphones. These tools save time when reviewing multi-camera feeds, especially in complex setups. Choose based on your system’s capabilities and budget.
Fix Sync in Post Using Embedded Audio Signals
If your audio and video aren’t perfectly aligned despite on-set precautions, you can still correct the timing in post-production using embedded audio signals. You’ll rely on tools that analyze the audio recorded with each video feed, matching them precisely through waveform alignment. Most editing software lets you zoom in and visually line up the peaks from a clap or other sharp sound, giving you accurate sync. For more efficiency, audio fingerprinting identifies unique sound patterns across recordings, automatically aligning clips without manual adjustments. This method works well when audio is clean and consistently captured across devices. While waveform alignment is reliable and free in most programs, audio fingerprinting saves time but may require premium software. Plan for extra processing time if working with long multi-camera footage. Both techniques are effective, but test them during editing prep to see which fits your workflow best.
Catch and Correct Drift in Long Recordings Automatically
Even with accurate initial synchronization, long recordings often develop timing mismatches over time due to slight differences in device clock rates-a problem known as drift. You can catch and correct this automatically by enabling time calibration features in your DVR system. These tools continuously compare audio and video timestamps across devices, adjusting for discrepancies in real time. Signal buffering helps by temporarily storing streams, letting the system align them before recording. Systems with built-in drift correction usually offer more reliable long-term sync, especially for 24/7 home security setups. While some budget models lack advanced time calibration, mid-range and professional DVRs often include it. Look for models that log sync adjustments, so you can review performance. Automatic correction reduces the need for manual fixes in post, saving you time and ensuring coherent evidence when reviewing footage. For reliable performance, consider choosing one of the best DVR recorders based on expert testing and feature comparison.
Test Sync Accuracy in Real Shooting Conditions
How accurate is your system’s audio-video sync when it actually matters-during real-world use? You need to test under actual shooting conditions, not just in controlled environments. Real lighting, movement, and sound sources can expose subtle audio drift others miss. Start by recording a sharp, timed event-like a hand clap or door slam-across all cameras. Play back the footage side by side and check for misalignment. Even a 0.1-second lag affects clarity. Use tools that support automatic time calibration to measure and correct discrepancies. These features reduce human error and improve reliability. Keep in mind that wireless signals and storage delays can worsen audio drift over distance. Testing regularly guarantees your setup stays in sync. Budget systems may require manual checks, while higher-end DVRs offer built-in analysis. Always verify sync after installation or system updates.
Ensure Perfect Multi-Camera Alignment Before Production
When setting up multiple cameras for home security, aligning them properly before production begins saves time and guarantees reliable footage. Proper camera calibration guarantees each unit captures the same visual timeline, reducing errors during playback. You also minimize signal latency issues that can desynchronize audio and video across feeds. Use a synchronized test signal-like a hand clap or visual cue-across all cameras to verify alignment. Adjust camera angles and network settings so all devices record the same moment accurately. Below is a quick reference for alignment steps:
| Step | Action |
|---|---|
| 1 | Perform camera calibration using a central reference point |
| 2 | Check signal latency with a synced audio-visual marker |
| 3 | Adjust network buffers if delays exceed 100ms |
| 4 | Re-test alignment under varying lighting conditions |
| 5 | Lock down camera positions to prevent misalignment |
On a final note
You’ll get reliable audio-video sync by using DVRs with precise internal clocks and a single time source for all cameras. Clapboards or digital slates help align clips in post. Look for systems that automatically detect and correct sync drift over long recordings. Test your setup under real conditions before full deployment. Built-in audio tone markers simplify alignment. Higher-end models offer better timing accuracy, though at a higher cost. Plan carefully to balance performance, ease of use, and budget.