Troubleshooting Frame Drops in NVR Systems During High-Traffic Surveillance Hours
You’re likely seeing NVR frame drops during peak hours due to overloaded bandwidth or outdated firmware. Check your camera count and total resolution-high loads strain older systems. Lowering resolution to 1080p or frame rates to 15 fps helps reduce data. Use H.265 if your NVR supports it-it cuts bandwidth by 50% versus H.264-but avoid it on older units. Test connections with surveillance-grade, shielded cables. Confirm firmware is current. Motion-based recording cuts unnecessary processing. A hardware upgrade may be needed if CPU or storage is maxed. More details on optimizing each fix follow.
Notable Insights
- Update NVR firmware regularly to fix bugs and improve camera communication during peak traffic hours.
- Use shielded, surveillance-rated cables to maintain signal integrity and prevent data loss.
- Ensure total camera bandwidth does not exceed NVR throughput to avoid overload and frame drops.
- Lower camera resolution or frame rates to reduce data load and maintain system stability under high demand.
- Use H.265 codec if supported, as it reduces bandwidth and storage needs without sacrificing video quality.
Fix Your NVR Frame Drops Now
Why are your security cameras missing critical moments? Outdated firmware updates and poor cable integrity are often to blame. If your NVR system drops frames during high-traffic hours, check these first. Manufacturers release firmware updates to fix bugs, improve camera-NVR communication, and boost performance-ignoring them risks instability. Update all devices regularly using the provider’s official software. Next, inspect every cable connection. Damaged, loose, or low-quality cables cause data loss and signal degradation, especially over long runs. Use shielded cables rated for surveillance and verify they’re securely connected at both ends. Replace any showing wear or corrosion. While firmware updates are free and simple, cable replacement may require modest investment and effort. Both are essential for reliable video flow. Addressing these factors strengthens system stability, reduces frame loss, and guarantees no critical footage is missed.
Check Bandwidth and Camera Load
While your NVR might seem powerful on paper, it can still struggle if the total camera load exceeds its processing or bandwidth capacity. You need to check both bandwidth allocation and camera density to prevent frame drops. Each camera uses a share of the system’s bandwidth, and when too many cameras stream high-bitrate video, the NVR can’t keep up. Start by reviewing your camera count and their individual bitrate settings. High camera density-especially in small areas-often wastes resources and strains performance. Make sure your NVR supports the total inbound bandwidth required by all cameras combined. If bandwidth allocation is maxed, even capable NVRs drop frames. Use the manufacturer’s specs to verify maximum throughput and compare it to your setup. Reducing unnecessary cameras or adjusting stream settings can balance the load without sacrificing coverage. For optimal performance, consider choosing systems from the best security camera systems list that are designed to handle high camera counts and bandwidth demands.
Lower Resolution or Frame Rate
If your NVR is still dropping frames after checking bandwidth and camera load, you might need to adjust the resolution or frame rate of your cameras. Lowering the resolution reduces the amount of data each camera sends, easing strain on your NVR. This process, called frame scaling, helps maintain smooth recording during peak hours. You can also use rate limiting to cap how much bandwidth each camera uses. While this may reduce image clarity or motion smoothness, it prevents overload. Consider dropping from 4K to 1080p or reducing frame rates from 30 to 15 fps on less critical cameras. These tweaks improve system stability without sacrificing essential coverage. Test changes during high-traffic times to confirm improvements. Keep in mind that lower settings mean smaller file sizes, saving storage. Though image quality takes a small hit, reliable recording is usually more important. Use these tools thoughtfully-they’re practical fixes when resources are tight.
Pick the Right Codec (H.264 vs H.265)
Since not all video formats are created equal, choosing the right codec can make a noticeable difference in how efficiently your NVR handles footage. You’ll typically choose between H.264 and H.265, and your decision impacts both storage and performance. H.265 offers better compression efficiency, meaning it cuts file sizes by up to 50% compared to H.264 without losing quality. That means more recording time on the same hard drive. It also reduces bandwidth strain during peak hours. However, H.265 demands more processing power, so older NVRs might struggle. H.264 is less taxing on hardware and still delivers solid color accuracy and reliable playback. If your system supports H.265, use it-you’ll save storage long-term. Otherwise, stick with H.264 to maintain smooth operation.
Upgrade or Fix Your NVR Hardware
Your codec choice affects performance, but even the most efficient compression can’t compensate for outdated or failing hardware. If your NVR struggles during peak hours, run hardware diagnostics to check for drive errors, memory leaks, or CPU overload. Many systems log this data automatically-review it regularly. Outdated firmware can also cause instability, so install the latest firmware updates; manufacturers often release patches that improve processing efficiency and fix bugs. If diagnostics reveal failing components, replace them promptly. Consider upgrading to an NVR with better processor specs and more RAM if your camera count is high. While newer units cost more upfront, they handle multiple high-res streams better and reduce frame drops. Always match your NVR’s capabilities to your system’s total bandwidth needs. A well-maintained, modern NVR guarantees reliable recordings when you need them most.
Trim Recording Load With Motion Settings
Though your NVR can record footage continuously, you’ll save processing power and storage space by using motion-based recording instead. Adjusting motion sensitivity guarantees the system doesn’t record false triggers from shadows or small animals, reducing unnecessary load. Set sensitivity too high, and you’ll capture clutter-too low, and you might miss key events. Fine-tune it per camera based on your environment. Pair this with smart recording intervals, like extending capture by 15–30 seconds after motion stops, so you get full event context without constant recording. This combo lowers bandwidth use and extends drive life. Most NVRs allow per-camera scheduling, so busy areas can have longer intervals while low-traffic zones record briefly. You’ll maintain reliable footage during peak hours without overwhelming your system, all while keeping storage costs predictable. For optimal performance, consider pairing your NVR setup with best security cameras for your home.
Test for Smooth, Reliable Video
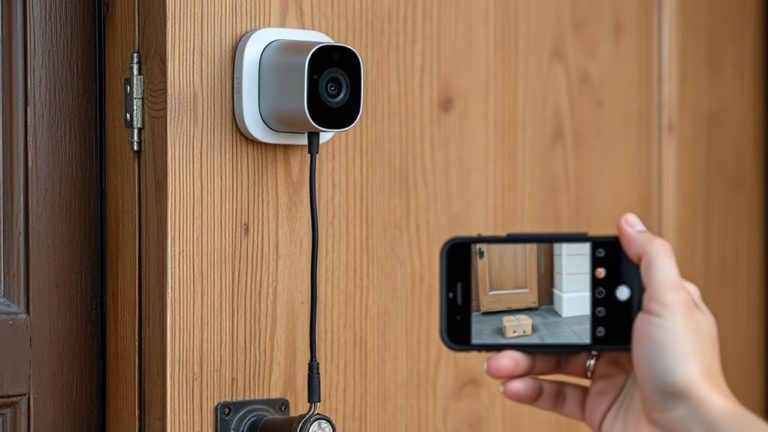
After adjusting your motion settings to reduce unnecessary recording, it’s time to verify that your NVR delivers smooth, reliable video playback. Start by reviewing footage during high-traffic hours to check for frame drops or stuttering. Proper camera placement plays a key role-guarantee each camera has a clear line of sight without obstructions that could cause excessive motion triggers. Poor cable quality can also degrade signal strength, especially over long distances. Use high-grade Siamese or shielded Ethernet cables to maintain consistent data flow. Test each channel individually, noting any lag or pixelation. Reliable playback depends on both hardware integrity and setup precision. If issues persist, consider upgrading cabling or repositioning cameras for peak performance. Consistent testing helps catch problems early and ensures your system stays dependable when you need it most. For optimal performance, choose a system that includes best wired security camera systems with proven reliability in high-traffic environments.
On a final note
You can fix NVR frame drops by checking your system’s bandwidth and camera load, especially during peak times. Lowering camera resolution or frame rate helps reduce strain. Switching to H.265 from H.264 saves bandwidth with better compression. Upgrade your NVR if hardware is outdated, and use motion-activated recording to cut unnecessary data. Test changes to verify smooth, reliable footage.