Selecting the Most Suitable Lighting Setup to Complement Your Camera Network
Choose lighting that matches your camera system’s needs. Use LED floodlights (2,000–4,000 lumens) for constant visibility, mounted 8–10 feet high and angled down to avoid glare. Add infrared illuminators to provide invisible nighttime coverage, ideal for total darkness without light spill. Pair smart lights with cameras to cut false alerts and adjust brightness only when needed, cutting energy use. Thermal imaging works in pitch black but won’t show facial details, while motion-activated lights boost camera identification when paired with color cameras. Costs range from $30–$150 per light, with infrared and smart models offering targeted performance. Proper placement prevents backlighting and improves image clarity. You’ll find setup tips and system pairings that fit your property’s layout and security goals.
Notable Insights
- Choose LED floodlights for consistent 24/7 illumination, ensuring clear camera footage in all lighting conditions.
- Use motion-activated lighting to save energy and enhance camera image quality during critical events.
- Pair infrared illuminators with night-vision cameras for invisible, effective surveillance in total darkness.
- Align infrared emitters with camera fields of view to maximize coverage and avoid blind spots.
- Integrate smart lighting with camera systems to reduce false alerts and improve detection accuracy.
Choose the Right Lighting for Your Security Cameras
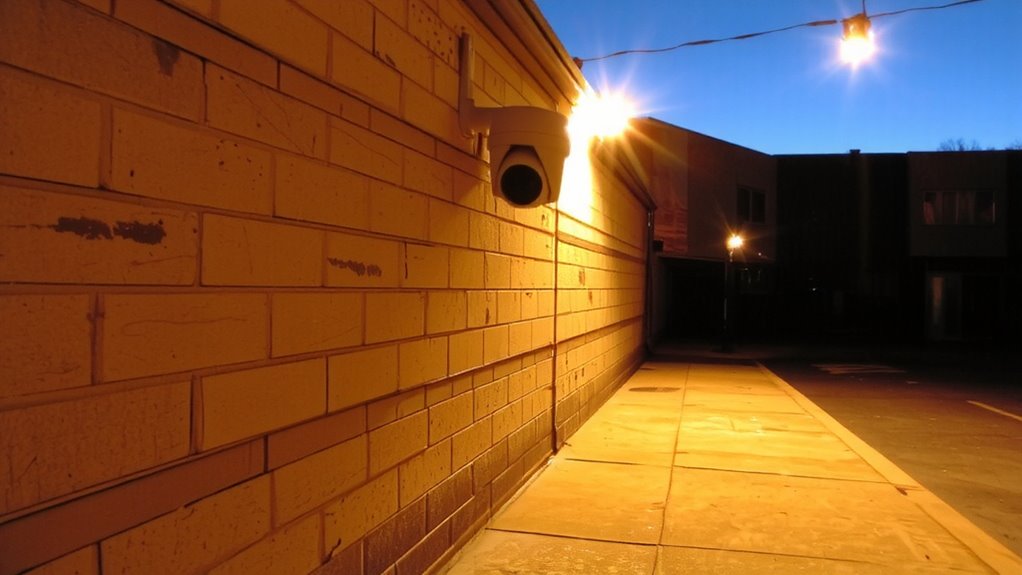
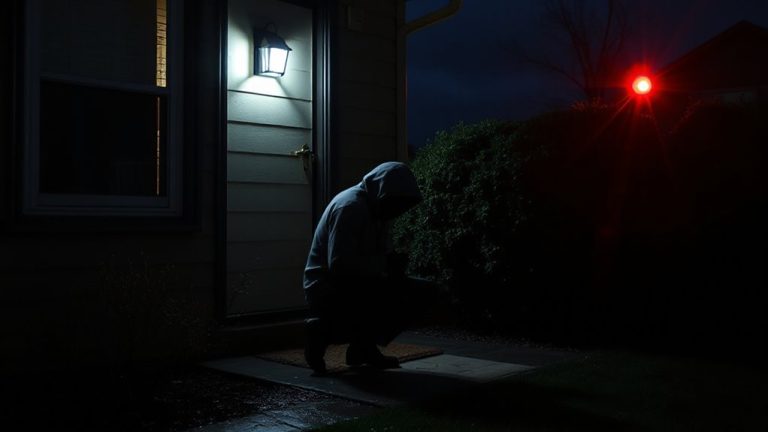
While natural light can help, you’ll usually need supplemental lighting to get clear footage from your security cameras at night. Thermal imaging works well in total darkness and detects heat signatures, so it doesn’t rely on visible light. This makes it reliable for spotting intruders, but it can’t capture facial details or color. For most homes, motion activated lighting is a practical choice-it turns on only when movement is detected, saving energy and reducing light pollution. These lights also alert you to activity and improve camera image quality when needed. Pairing motion activated lighting with color cameras boosts identification accuracy. Thermal imaging systems cost more, often double the price of standard setups, so consider your budget. If you need 24/7 monitoring in dark areas, thermal helps, but for most users, motion activated lighting offers the best balance of cost, clarity, and effectiveness. For optimal performance, consider installing one of the top-rated motion sensor flood lights.
Install LED Floodlights for 24/7 Visibility and Clarity
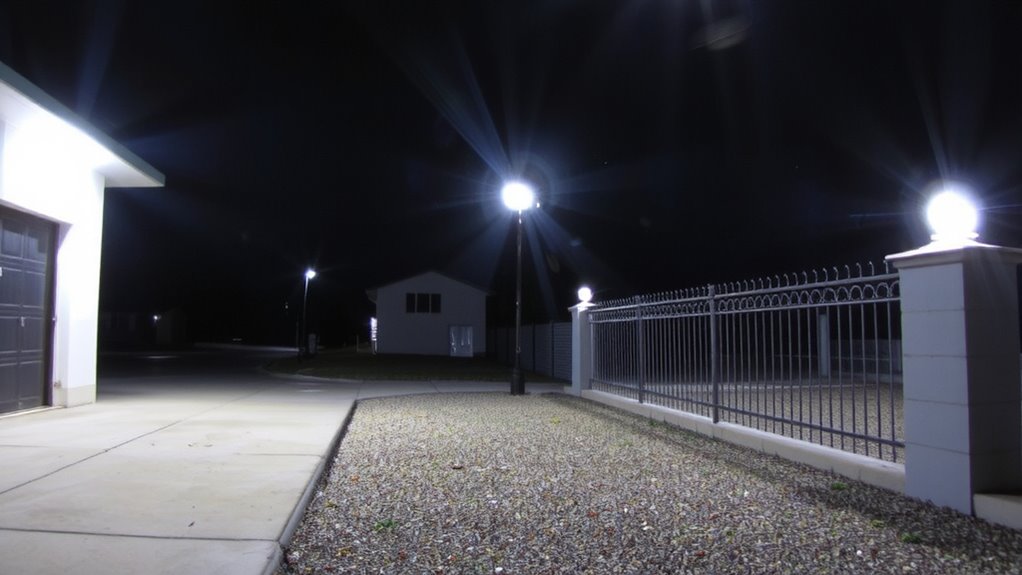
Reliability matters when it comes to keeping your property visible at all hours, and LED floodlights deliver consistent, bright illumination ideal for around-the-clock security. You’ll want to carefully consider LED placement to cover entry points, driveways, and dark corners without creating glare that could wash out your camera’s view. Proper floodlight intensity-typically between 2,000 and 4,000 lumens-ensures clear video footage while minimizing energy use. Look for models with motion sensors and adjustable timers to balance visibility and efficiency. LEDs last longer than traditional bulbs, often over 25,000 hours, reducing replacement costs. Position lights at 8–10 feet high and angle them downward to maximize coverage. Avoid placing them directly across from cameras to prevent backlighting. With smart planning, the right LED placement and floodlight intensity boost both safety and camera performance. Consider installing best wireless motion sensor lights for easy setup and reliable performance without the need for hardwiring.
Use Infrared Illuminators for Night Vision Without Light Spill
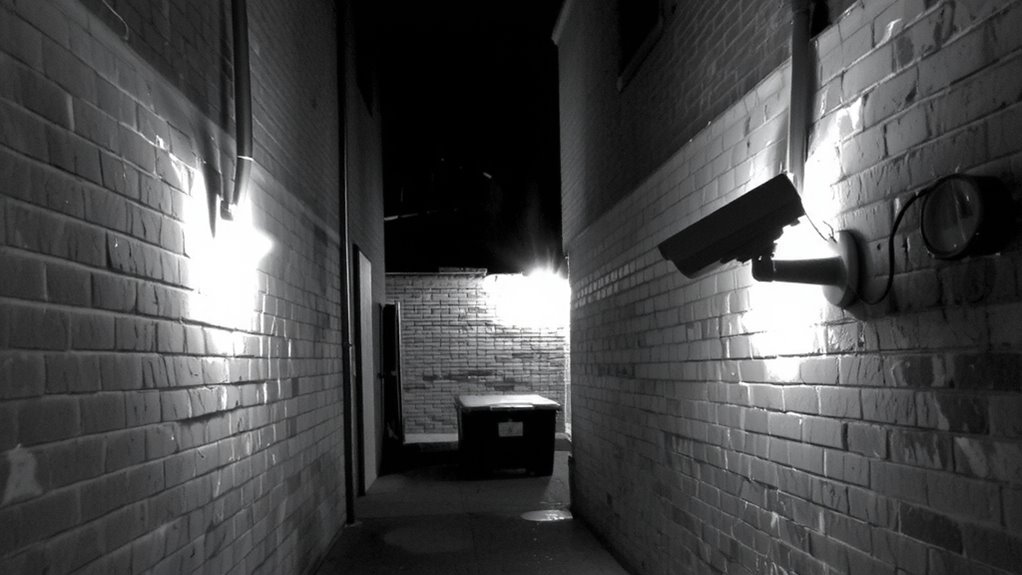
Many homeowners overlook infrared illuminators, but they’re a smart choice for clear night vision without drawing attention. These devices emit light just beyond the visible spectrum, making them invisible to intruders while boosting your camera’s low-light performance. With proper beam focus, you can target specific areas like driveways or entry points, reducing wasted coverage and improving image clarity. Good shadow control minimizes dark spots, ensuring consistent visibility across the monitored zone. Infrared illuminators work best when mounted near cameras to align the light beam with the camera’s field of view. They’re energy-efficient and perform reliably in total darkness, though heavy fog or rain may reduce effectiveness. Most models cost $30–$80 and require minimal setup. For best results, choose units with adjustable intensity and narrow-to-medium beam focus to match your property’s layout and security needs. For reliable performance, consider one of the top-rated IR illuminators recommended for their range, durability, and compatibility with common security cameras.
Sync Smart Lights With Cameras to Reduce False Alerts
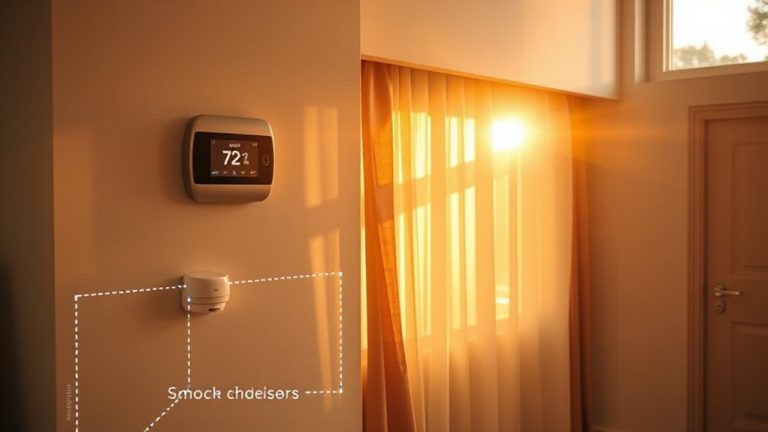
Pairing smart lights with your security cameras can greatly cut down on false alerts caused by motion triggers from animals, passing vehicles, or shifting shadows. When synced, these lights activate only when motion detection confirms human-like movement, reducing unnecessary notifications. Smart lighting systems use ambient adjustment to adapt brightness based on existing light levels, ensuring cameras receive clear footage without sudden changes that confuse motion sensors. This integration relies on intelligent algorithms, so setup should include proper scheduling and sensitivity settings. Look for lights with compatible platforms-like HomeKit, Alexa, or Google-that support联动 with your camera brand. Though initial costs range $50–$150 per light, the reduction in false alerts saves time and improves security accuracy. For best results, test response times and adjust detection zones during installation.
Stop Glare and Overexposure With Proper Light Placement
While placing lights too close to cameras might seem like a good way to brighten dark areas, it often causes glare and overexposure that wash out footage and hide critical details. You’ll want to position lights slightly off-axis from the camera to reduce reflections and balance illumination. Using light diffusion panels or frosted lenses helps soften the output, preventing harsh highlights and improving image clarity. Proper placement also enhances shadow control, minimizing deep, obscuring shadows that could hide movement. Aim for uniform lighting across the area, with fixtures mounted 6 to 8 feet high and angled downward. Avoid pointing lights directly at reflective surfaces like windows or wet pavement. Pair wide-beam lights with adjustable mounts to fine-tune coverage, and consider motion-activated zones to maintain ideal exposure. Planning placement carefully improves both visibility and recording accuracy, making your system more effective overall.
On a final note
You’ll get the best camera performance by matching lighting to your needs. LED floodlights offer bright, consistent coverage, cutting down on shadows, but can cause glare if poorly placed. Infrared illuminators provide invisible night vision, reducing light pollution. Syncing smart lights with motion detection cuts false alerts. Position lights below or beside cameras to minimize glare. Always test placements at night, and budget for energy-efficient LEDs-they cost more upfront but save over time.