Implementing Night Vision Technology in Outdoor Security Camera Systems
You can rely on infrared LEDs to capture clear monochrome video in total darkness, especially with cameras that have at least 20 IR LEDs and a sensitivity of 0.01 lux or lower. For better performance, choose models with a wide f/2.0 aperture and proper IR cut filters to avoid washed-out images. Position cameras 8–10 feet high at entry points, angled slightly downward to reduce glare and cover ground-level activity. Thermal imaging works best in fog or long-range scenarios, while standard IR suits most home setups. Strong IR combined with smart placement guarantees reliable detection up to 100 feet. You’ll find advanced tips and tech comparisons that fine-tune your system’s nighttime effectiveness.
Notable Insights
- Choose cameras with strong infrared illumination and at least 20 IR LEDs for reliable night visibility up to 100 feet.
- Ensure image sensors have high sensitivity (0.01 lux or lower) to capture clear, detailed footage in total darkness.
- Use lenses with a wide aperture (f/2.0 or lower) to maximize light intake and improve low-light image brightness.
- Position cameras at entry points 8–10 feet high, angled slightly downward to reduce glare and cover key areas.
- Regularly clean lenses and housings, and seal units properly to prevent fogging and maintain optimal IR performance.
How Do Night Vision Cameras Work in the Dark?
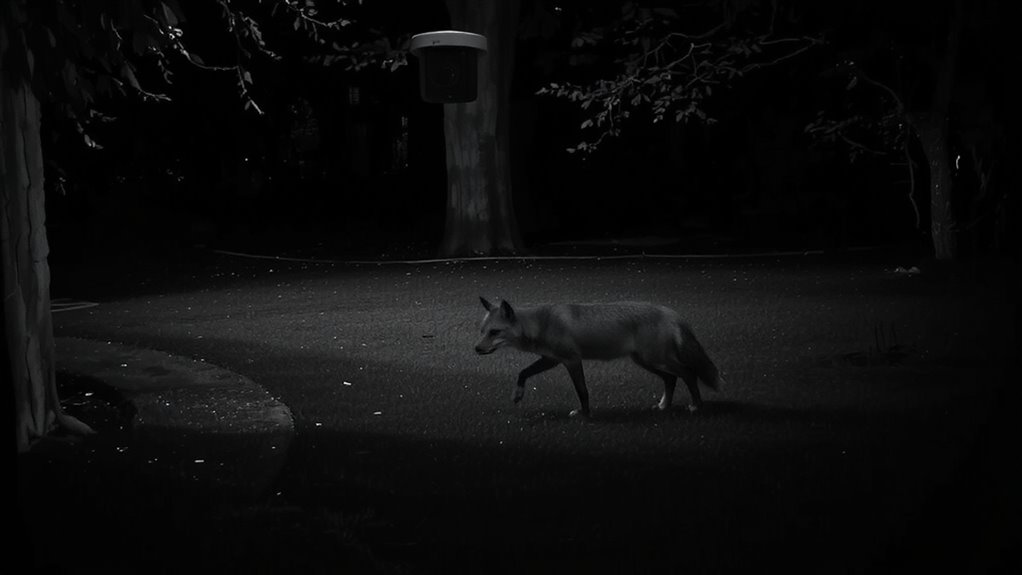
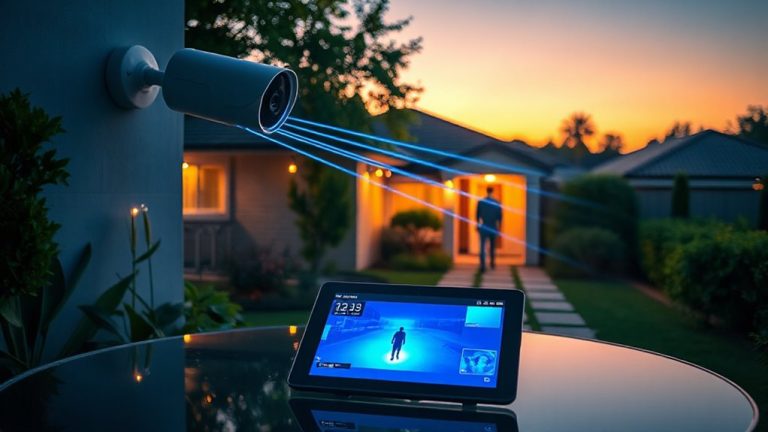
Night vision in security cameras relies on one of two main technologies to capture clear footage in low-light or total darkness. You’ll find that infrared illumination is key-cameras use IR LEDs to emit invisible light that reflects off objects, allowing the camera to “see” in complete darkness. The image sensor sensitivity determines how well the camera captures this reflected light; higher sensitivity means clearer, more detailed video in dim conditions. Most modern cameras adjust sensitivity automatically, balancing light intake without overexposing the image. In practice, cameras with strong infrared illumination and high sensor sensitivity perform best at night, offering up to 100 feet of clear range. For reliable outdoor use, look for models with at least 20 IR LEDs and a sensor sensitivity rating of 0.01 lux or lower. These specs guarantee effective night coverage without blooming or grainy footage. When selecting a device, consider reviewing the best night vision devices to ensure optimal performance in darkness.
What Types of Night Vision Are in Security Cameras?
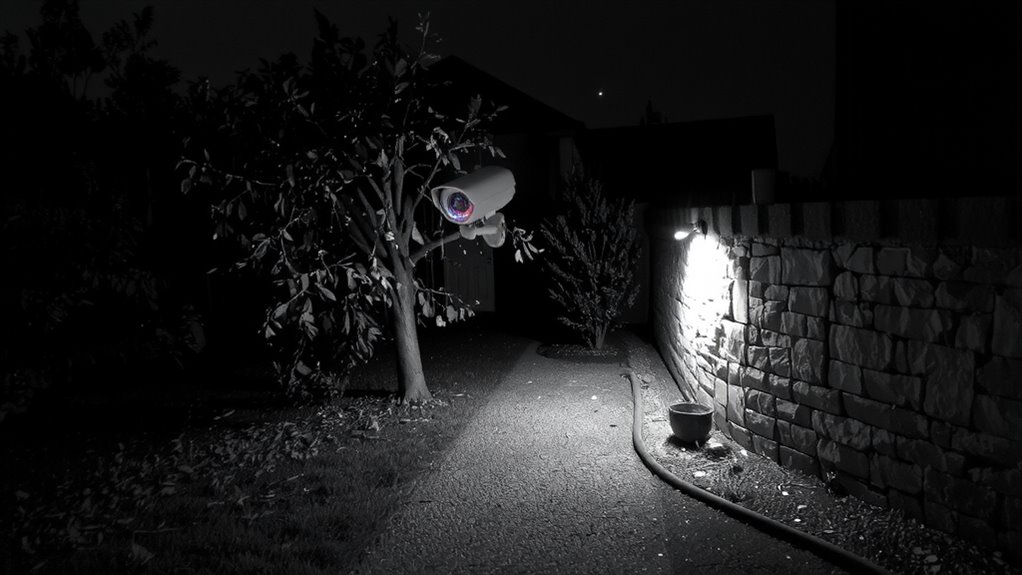
You’ve likely seen how night vision works using infrared light and sensitive sensors, but not all systems use the same approach. The main types are infrared illumination, thermal imaging, and low-light cameras. Infrared illumination uses built-in IR LEDs to light up dark areas, letting the camera “see” in total darkness. Thermal imaging detects heat signatures, so it works even in smoke, fog, or dense foliage. Low-light cameras rely on ambient light and brighter conditions. Choosing the right system often depends on understanding the performance of infrared cameras in various conditions.
| Type | How It Works | Best For |
|---|---|---|
| Infrared illumination | Uses IR light to capture clear monochrome video | Home security, short-range |
| Thermal imaging | Detects heat differences | Long-range, harsh weather |
| Low-light | Amplifies available light | Areas with some lighting |
Each has strengths depending on your needs and environment.
Which Features Matter for Outdoor Night Vision?
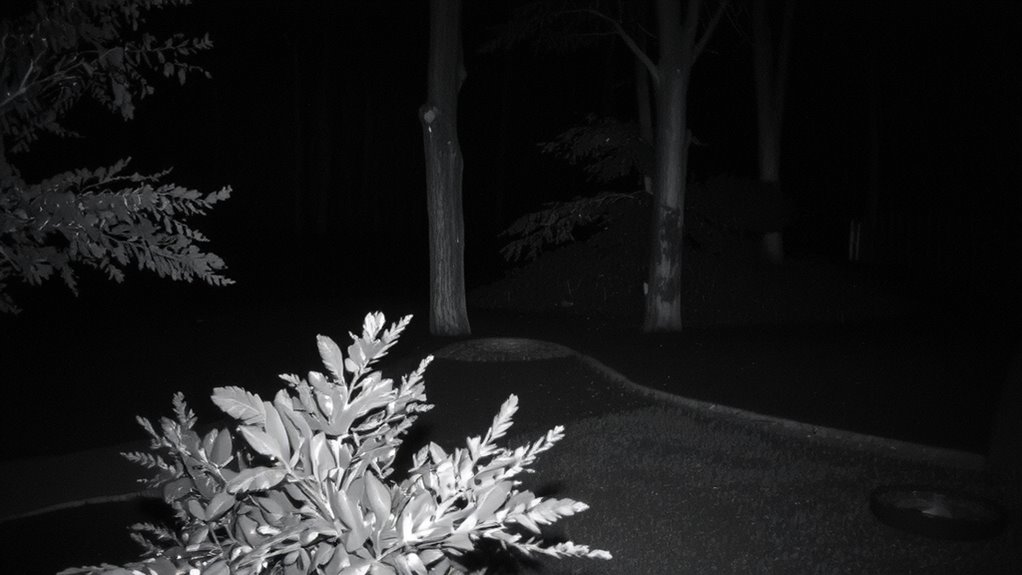
While visible light fades at night, your outdoor security camera still needs to deliver clear footage, so choosing one with the right night vision features matters. Infrared sensitivity determines how well your camera detects low-light scenes; higher sensitivity captures clearer images in total darkness. Look for cameras with strong infrared (IR) emitters and good IR cut filters to avoid washed-out footage. Lens aperture, often labeled as f-stop, also plays a key role-wider apertures like f/1.0 or f/1.2 let in more light, improving image brightness and detail. A camera with f/2.0 or lower is ideal for nighttime clarity. Pair high infrared sensitivity with a wide lens aperture for best results. While these features may increase upfront cost, they improve reliability and reduce false alerts. Always check specs for both metrics before purchasing to guarantee solid nighttime performance. The best 360-degree outdoor security cameras combine these low-light capabilities with a 360-degree field of view to eliminate blind spots and provide comprehensive nighttime surveillance.
Where to Place Cameras for the Best Night View
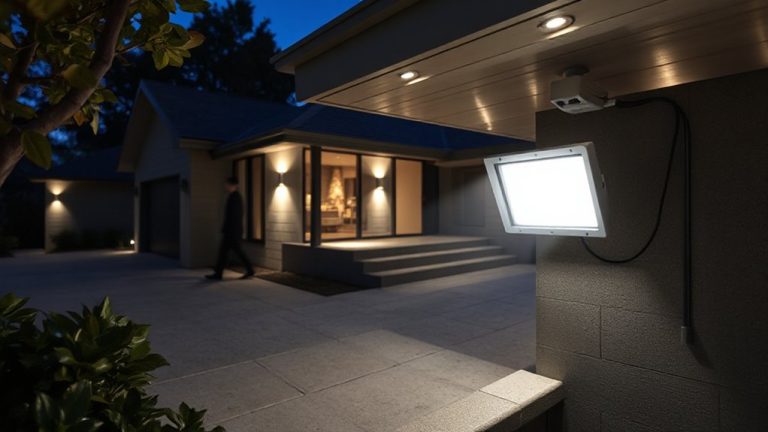
Getting the most out of your camera’s night vision features means thinking carefully about where you install it, not just what it can do on paper. You’ll want to position cameras where they cover key entry points like doors and windows, since that’s where intrusions often happen. Pay close attention to camera angles-tilt them slightly downward to reduce glare from nearby lights and to focus on ground-level activity. Avoid pointing them directly at reflective surfaces or dense foliage, which can create blind spots or false motion triggers. Mounting at 8 to 10 feet high offers a balanced view while staying out of reach. Overlap coverage between cameras to eliminate blind spots, especially along dark pathways or near garage corners. Always test views at night before finalizing placement, guaranteeing infrared light covers the full area without shadows. Proper positioning guarantees reliable footage when you need it most.
How to Fix Glare, Fog, and Blur in Night Footage
If your night footage shows glare, fog, or blur, start by checking the camera lens and housing-smudges, dust, or moisture can distort the image and reduce infrared efficiency, so clean the surface with a microfiber cloth and guarantee the casing is sealed properly. Adjust the camera angle to avoid direct reflection from nearby surfaces, and make certain the infrared LEDs aren’t bouncing off glass or shiny objects. For persistent noise, enable noise reduction in your camera settings to smooth grainy images. Use image stacking for clearer results, combining multiple frames to enhance detail and reduce blur. Here’s how key features compare:
| Feature | Benefit |
|---|---|
| Image stacking | Sharpens footage, reduces motion blur |
| Noise reduction | Cuts grain, improves clarity in low light |
These tools improve video quality without extra hardware. High-end models include both, but mid-tier cameras may lack image stacking. Budget carefully.
How AI and Alerts Boost Night Surveillance
Because modern security systems do more than just record, your night surveillance can get a real upgrade when AI works alongside smart alerts. With real time analytics, your camera doesn’t just capture footage-it identifies people, vehicles, and animals, reducing false alarms from leaves or shadows. You’ll get alerts only when something matters, so you can respond faster. AI also enables predictive monitoring, learning normal activity patterns around your property and flagging unusual behavior, like someone lingering at midnight. This means you’re not just watching-you’re staying ahead. Systems with these features often cost more, but the investment pays off in fewer missed threats and less review time. Look for cameras that support edge processing, so data is analyzed on-device for faster results. Make sure your Wi-Fi can handle the bandwidth. Choosing AI-powered alerts makes your night vision smarter, sharper, and more reliable.
On a final note
You’ll get clearer night footage by choosing cameras with infrared or color night vision, depending on your lighting needs. Look for at least 30 meters of night vision range, weather resistance, and anti-glare features. Place cameras under eaves or shaded areas to reduce reflections. Test angles at night to avoid fog or blur. Use AI motion alerts to cut down on false alarms. Higher-quality models cost more but offer better detection and durability, giving you reliable data and peace of mind.