Step-by-Step Installation of Wireless Door and Window Sensors on Double-Hung Windows
Choose a wireless sensor with dual-point operation for double-hung windows, guaranteeing compatibility with your security system. Mount one component on the upper sash, one on the lower, aligning the magnet and sensor within 1/4 inch when closed. Use peel-and-stick tape on clean, dry surfaces for secure attachment. Pair the sensor with your smart home or alarm app via the “Add Device” menu. Test by opening each sash and confirming real-time alerts; adjust alignment or sensitivity if needed. Lithium batteries last longer, especially in extreme temperatures. Proper placement guarantees reliable detection and seamless integration into your home’s security network-knowing more helps you optimize performance.
Notable Insights
- Choose a wireless sensor with dual-point operation designed for double-hung windows to monitor both upper and lower sash movement.
- Mount one sensor component on the upper sash and the other on the lower sash, aligning magnet and sensor within 1/4 inch when closed.
- Use peel-and-stick tape to attach sensors after cleaning surfaces with isopropyl alcohol for strong, tool-free adhesion.
- Pair the sensor with your security or smart home hub by activating pairing mode and following the app’s “Add Device” instructions.
- Test the installation by opening and closing both sashes, checking real-time alerts and adjusting alignment or sensitivity if needed.
Choose the Right Wireless Sensor for Double-Hung Windows
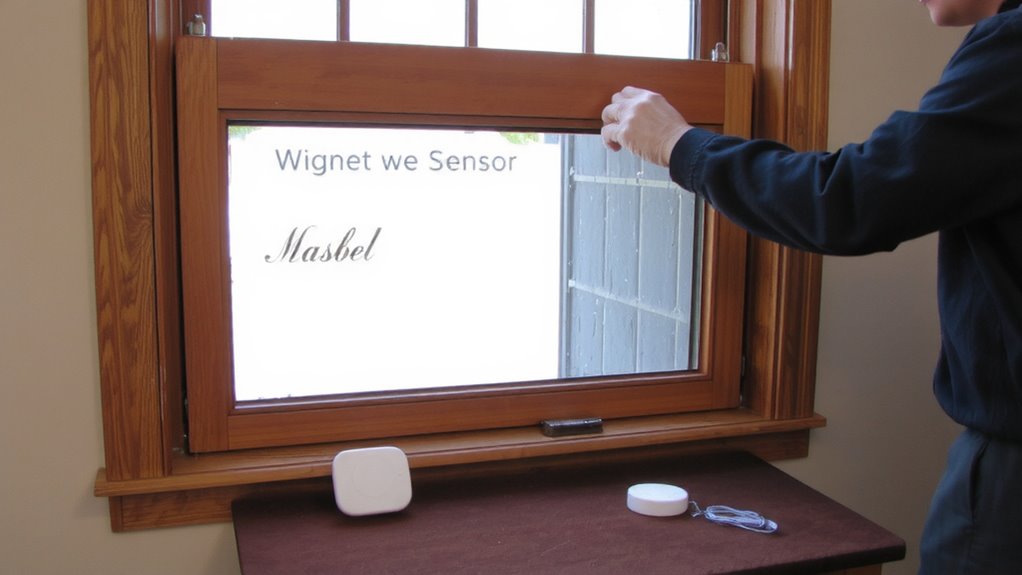
How do you guarantee your double-hung windows are properly monitored without complicating the installation? You start by selecting a wireless sensor designed for dual-point operation. Sensor compatibility with your security system is essential-verify it works with your hub or control panel to avoid malfunctions. Look for models that support both magnetic contact and motion-based detection, ensuring reliable performance. Proper window alignment matters, as misaligned sashes can prevent the sensor from triggering correctly. Choose sensors with adjustable mounting brackets to accommodate minor frame irregularities. Opt for slim, low-profile designs that won’t interfere with window operation. Test fit before final installation. Budget models may save money but often lack durability or precise calibration. High-compatibility sensors cost more, typically $15–$25 each, but reduce long-term maintenance. Prioritize ease of setup and alignment tolerance for consistent monitoring.
Place Sensors on Upper and Lower Sashes
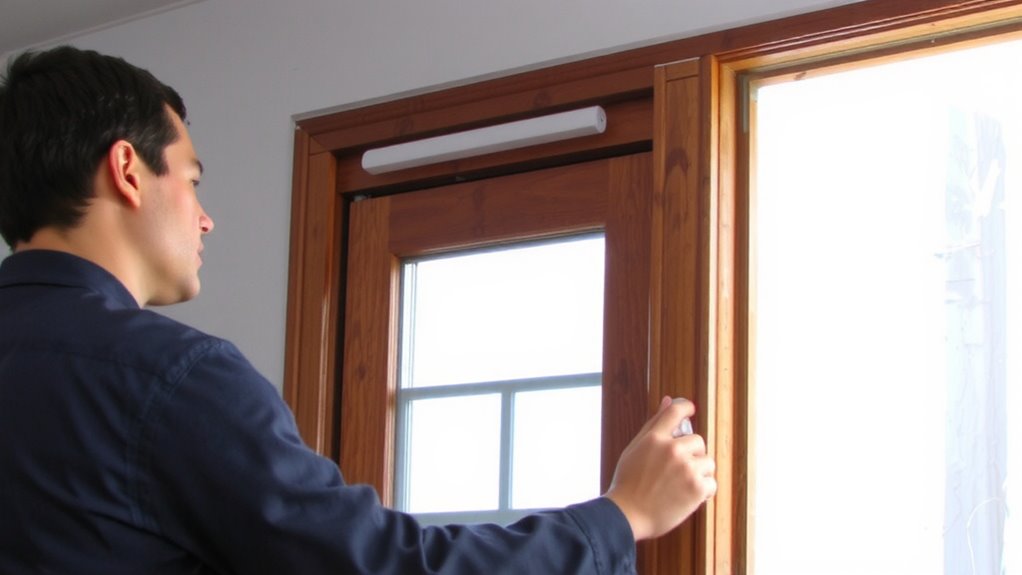
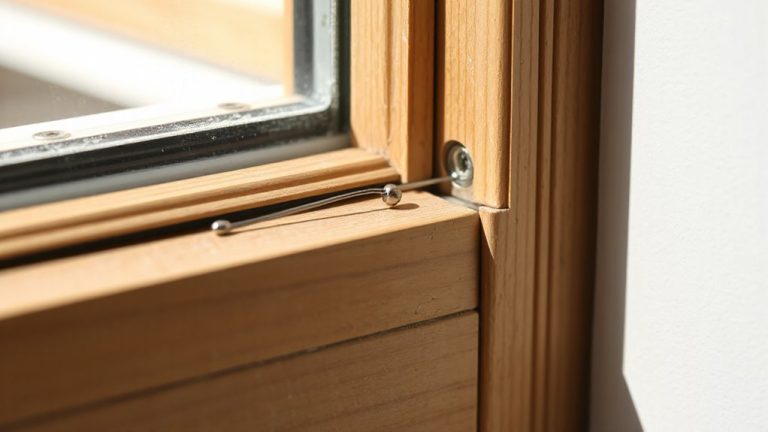
You’ve selected a wireless sensor built for double-hung windows, one that supports dual-point detection and fits your security system’s protocol. Now, position the sensor’s two components-one on the upper sash and the other on the lower sash-so they align when the window is closed. Proper sensor alignment guarantees the magnet and sensor are within 1/4 inch of each other, preventing false alarms and guaranteeing reliable detection. Place both parts near the window glazing, but avoid direct contact with the glass to prevent interference and damage. Center the components vertically on each sash for consistent operation, especially if your window has multiple panes or divided glazing. Test the fit before final mounting, sliding the sash open and closed several times to confirm signal transmission. Accurate placement now improves long-term performance and system responsiveness. For added convenience and enhanced home monitoring, consider integrating your window sensors with garage door alarm sensors to create a unified security network across entry points.
Mount Sensors With Peel-And-Stick Tape
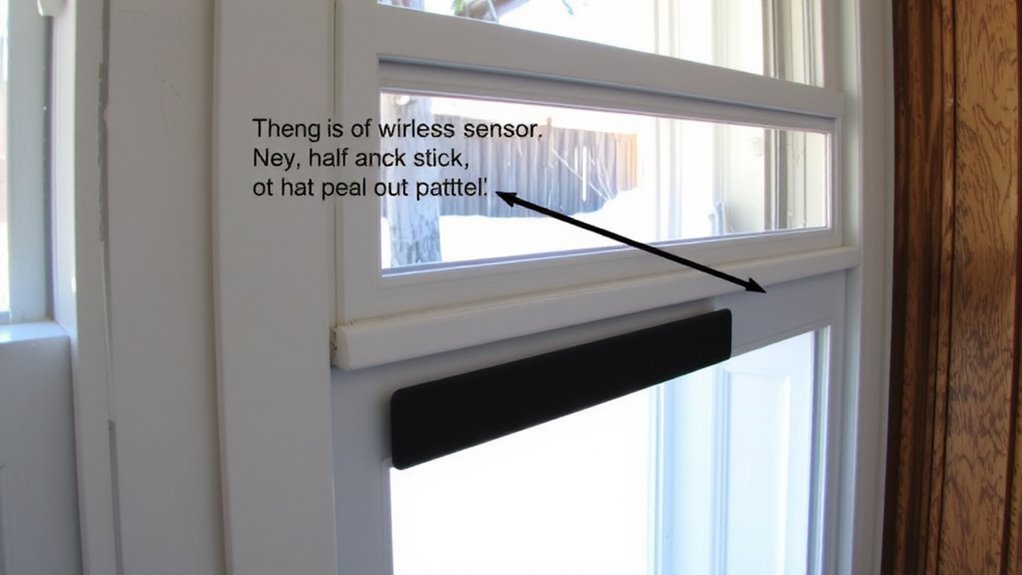
A reliable way to secure your door or window sensor in place is by using the peel-and-stick tape often included with the device. This method offers strong adhesive durability when applied correctly. Begin with proper surface preparation-clean both the window sash and sensor back with isopropyl alcohol to remove dust, oil, or residue. Let the area dry completely before mounting. Press the sensor firmly for 30 seconds to guarantee maximum contact. Avoid installing in extreme temperatures, as cold can weaken initial stickiness and heat may degrade the bond over time. While peel-and-stick tape is quick and tool-free, it may fail on uneven or porous surfaces. For long-term reliability, guarantee both parts of the sensor are aligned and mounted securely. Regularly check for loosening, especially in high-humidity environments where adhesive durability can decline.
Link Sensors to Your Alarm or Smart Home App
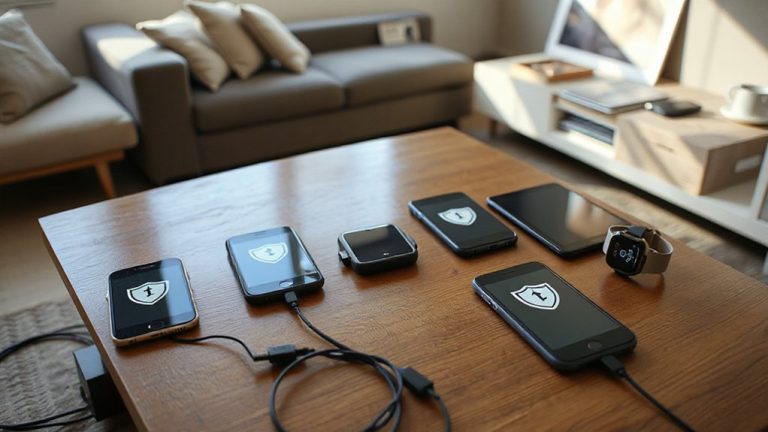
With the sensors securely mounted, the next step is pairing them to your alarm system or smart home platform so they can actively monitor openings and closings. Ensuring sensor compatibility with your hub is key-check manufacturer specs before setup. Open your smart home or security app to begin the linking process, usually found under “Add Device” or a similar menu. Follow prompts to put the system in pairing mode and activate the sensor. Successful app integration means real-time alerts and status updates. Choosing the right smart home hub can significantly enhance your system’s capabilities and device interoperability.
| Feature | Benefit |
|---|---|
| Real-time alerts | Know instantly when a window opens |
| Remote monitoring | Check status from anywhere |
| Sensor compatibility | Works with major hubs like Alexa, Ring, or Nest |
| App integration | Simple control through one interface |
Most systems sync in under two minutes.
Test Sensor Triggers and Fix Common Issues
Start by testing each sensor to confirm it communicates properly with your system-simply open and close the door or window while watching the app or control panel for a response. If the alert doesn’t register, check the sensor sensitivity; some models allow adjustments to prevent false alarms or missed triggers. Make sure the magnet and sensor are properly aligned, as even a small gap can disrupt signals. Low battery life is a common cause of failure, so replace batteries if the signal weakens or delays occur. Most systems notify you when battery levels drop below 20%. Test all sensors monthly to maintain reliability. For consistent performance, use lithium batteries, which last longer in temperature-sensitive areas. If issues persist, re-pair the sensor to your hub or consider interference from metal frames or thick walls. Always verify placement and connection stability before finalizing installation.
On a final note
You’ve installed wireless sensors correctly when both sashes trigger the alarm when moved. Check alignment, guarantee strong adhesion, and test repeatedly. Most issues come from misplacement or weak signals. These sensors boost security with minimal effort and cost, typically $20–$40 per unit. Pair them with a reliable hub or smart system for best results. Proper setup means faster alerts and better home monitoring. Confirm all connections stay stable over time.