How to Position Motion Detectors to Avoid Triggers From Curtains or HVAC Drafts
Point your motion detector away from windows and HVAC vents to prevent false alarms from curtains fluttering or air drafts. Mount it 7–8 feet high for best coverage while reducing pet triggers and floor-level disturbances. Keep sensors clear of heat sources and direct sunlight to avoid temperature swings. Use zone masking to ignore fans or moving objects. Adjust sensitivity and test movements to fine-tune response-small tweaks improve accuracy greatly.
Notable Insights
- Aim motion detectors away from windows and HVAC vents to prevent false triggers from moving curtains or air currents.
- Mount sensors 7–8 feet high to optimize human detection while minimizing disturbances from pets and airflow near the floor.
- Position sensors to avoid direct sunlight and rapid temperature changes that can cause false alarms.
- Adjust detection zones to exclude windows, ceiling fans, and curtains using physical switches or app settings.
- Use dual-tech sensors and test placement by walking through the area to fine-tune coverage and sensitivity.
Aim Your Motion Detector Away From Windows and Vents
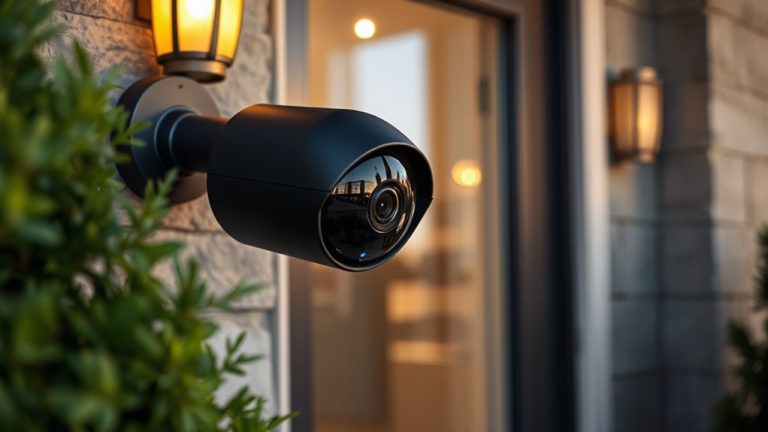
Your home’s security system works best when the motion detector’s placement avoids false triggers, so aim it away from windows and vents. Sensor alignment is critical-pointing it toward a window can cause movements from outside, like swaying trees or passing headlights, to set off alarms. Curtains shifting in the breeze are common culprits. Likewise, airflow interference from HVAC vents or ceiling fans may mimic motion, leading to unnecessary alerts. Position the detector where it won’t face direct air currents or sunlight changes. Proper sensor alignment reduces误 triggers by up to 60%, according to system performance studies. While avoiding vents might limit placement options, most models offer adjustable sensitivity settings to help compensate. Always test the field of view after installation. For best results, use pet-immune models if needed, and guarantee wiring or battery access remains convenient. Consistent placement habits improve long-term reliability. Top-rated models often feature advanced motion sensor technology for improved accuracy in challenging environments.
Mount Motion Sensors 7–8 Feet High to Reduce False Alarms
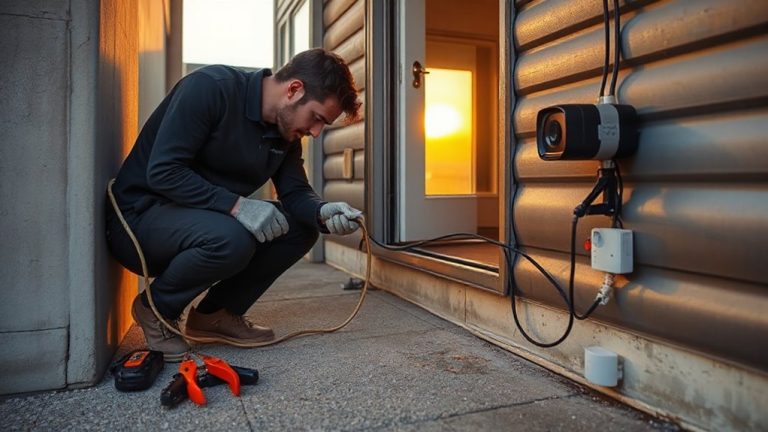
Mounting motion sensors between 7 and 8 feet above the floor helps minimize false alarms by optimizing the detection field and reducing exposure to common triggers. This sensor height places the detection zone at the ideal level for catching human movement while avoiding pets and small disturbances near the floor. At this range, the mounting angle can be fine-tuned to focus on entry points without pointing directly at furniture or airflow paths. Most manufacturers design sensors to perform best at this height, ensuring a balanced spread of coverage. Setting the sensor too low increases the chance of false triggers from pets or falling objects, while mounting too high may reduce sensitivity to crawling intruders. Always follow the maker’s guidance on mounting angle and adjust slightly based on room layout. A level, centered installation at 7–8 feet offers reliable performance and consistent detection with fewer false alarms. For optimal integration, choose sensors from the best motion sensors for Home Assistant.
Keep Sensors Away From Heat and Drafts
Heat sources and air currents can interfere with a motion sensor’s ability to detect movement accurately, even if it’s mounted at the ideal height. Keep your sensors away from heating vents, radiators, stoves, or direct sunlight, as rapid temperature shifts can cause false triggers. HVAC drafts or ceiling fans may also create air motion that disrupts sensor calibration. Place devices where airflow is minimal and thermal changes are stable. Avoid exterior walls prone to cold drafts or sun exposure. Proper placement improves reliability and reduces unnecessary alarms. You’ll save time and avoid frustration from frequent false triggers. Sensor calibration works best in consistent environments, so test your setup after installation. If false triggers persist, reevaluate nearby heat or airflow sources. A well-positioned sensor performs better and lasts longer, maximizing your security investment. Always follow manufacturer guidelines for best operation and coverage. For optimal results, consider models rated among the best motion detectors for every home.
Adjust Detection Zones to Ignore Curtains and Ceiling Fans
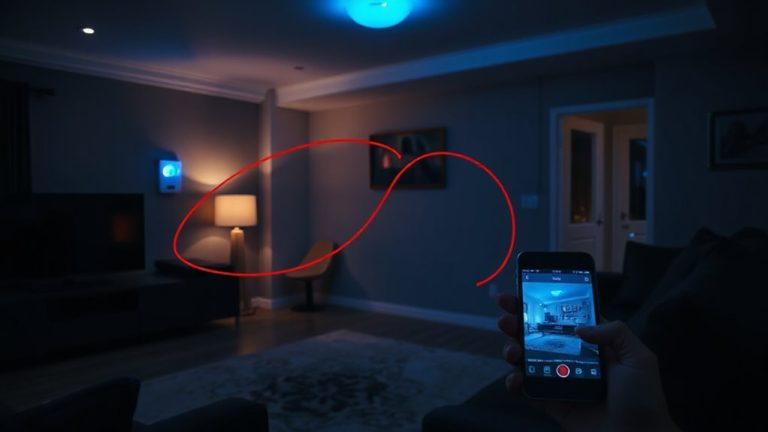
While motion sensors are designed to detect movement, they can’t always distinguish between an intruder and a swaying curtain or the rotation of a ceiling fan. You can reduce false alarms by adjusting your sensor’s detection zones to ignore areas with curtain movement or ceiling motion. Most modern detectors let you mask off specific zones using physical switches or digital settings via an app. Focus coverage on entry paths, not windows or fan blades. Dual-tech sensors combine infrared and microwave detection, requiring both to trigger-this helps ignore random motion like a fan spinning or a light breeze moving a curtain. Though slightly more expensive, they offer better accuracy. Proper zone adjustment may take a few minutes during setup but dramatically improves reliability. Always refer to your model’s manual for specific masking instructions.
Test and Fine-Tune Sensor Placement for Accuracy
After adjusting the detection zones to avoid false triggers from curtains or ceiling fans, it’s time to verify that your sensor works as intended. Walk through your space as you normally would to test detection accuracy. Pay close attention to sensor sensitivity-most models allow you to adjust this setting to better match your environment. If the sensor misses motion, increase sensitivity slightly; if it triggers too often, reduce it. Check the calibration timing, which determines how long the sensor waits before resetting. Shorter intervals help with quick re-entry, while longer ones prevent rapid cycling. Test at different times of day to account for changing light or HVAC activity. Reposition the sensor in small increments if needed. Proper calibration guarantees reliable performance, balancing responsiveness with minimal false alarms. This step saves time and improves overall system efficiency.
On a final note
You’ll reduce false alarms by aiming sensors away from windows, vents, and curtains. Mount them 7–8 feet high and adjust detection zones to avoid moving objects like fans. Keep units away from HVAC drafts and sudden heat changes. Test placements carefully, as proper positioning improves reliability. While some models offer customizable sensitivity, correct installation remains key. This planning helps maintain security without unnecessary alerts, saving time and increasing system effectiveness over the long term.