How to Mount Motion Detectors in Stairwells Without Creating Blind Spots
Use dual-tech or 360-degree microwave sensors mounted between 6.5 and 7.5 feet high, angling them 15–25 degrees downward to catch step-by-step motion. Place one at the top and another at the bottom of each flight to cover landings and tight turns, avoiding single-sensor setups that miss shadows. Avoid heat sources and reflective surfaces to reduce false triggers. Use temporary markers during testing to map undetected zones, then adjust placement or add units for overlap-most stairwells need at least two sensors. Reliable dual-tech models cost $30–$60 each, with ceiling mounts outperforming wall ones in narrow spaces. Best coverage comes from combining strategic placement, proper sensor type, and real-world testing at different times. You’ll get even better results by fine-tuning based on actual movement patterns.
Notable Insights
- Walk through stairwells in the dark with a flashlight to map shadow zones and identify sensor blind spots.
- Use dual-tech or 360-degree microwave sensors for reliable detection across vertical and angular motion paths.
- Mount sensors 6.5 to 7.5 feet high and angle 15–25 degrees down to capture step-by-step movement.
- Place sensors at top and bottom of each flight to maintain line of sight on landings and turns.
- Test coverage by walking actual paths at different times to validate detection and adjust as needed.
Map Stairwell Blind Spots for Better Sensor Coverage
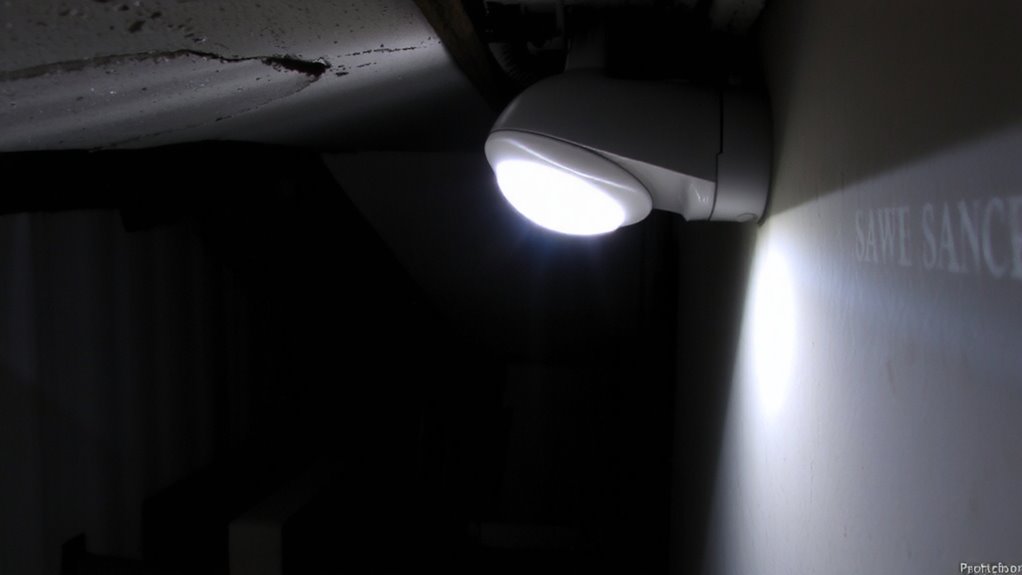
How well does your motion detector actually cover the entire stairreported? You might assume it does, but without careful planning, shadow zones often go undetected. Start by walking through the stairs at night with the lights off, noting where movement isn’t sensed. These blind spots are common near corners, railings, or under landings. Use a flashlight to simulate motion and map these areas. Strategically place temporary markers where detection fades. Then, adjust sensor angles or add units to create detection overlaps-this guarantees one sensor compensates where another falls short. Overlaps improve reliability but may increase false triggers if not calibrated. Avoid over-reliance on a single unit. Multiple sensors with overlapping fields cost more upfront but reduce risk. Record findings on a simple sketch to guide installation. Proper mapping now prevents coverage gaps later. For optimal results, choose best motion sensors compatible with Home Assistant to ensure seamless integration and reliable performance.
Pick the Best Motion Sensor for Stairwells
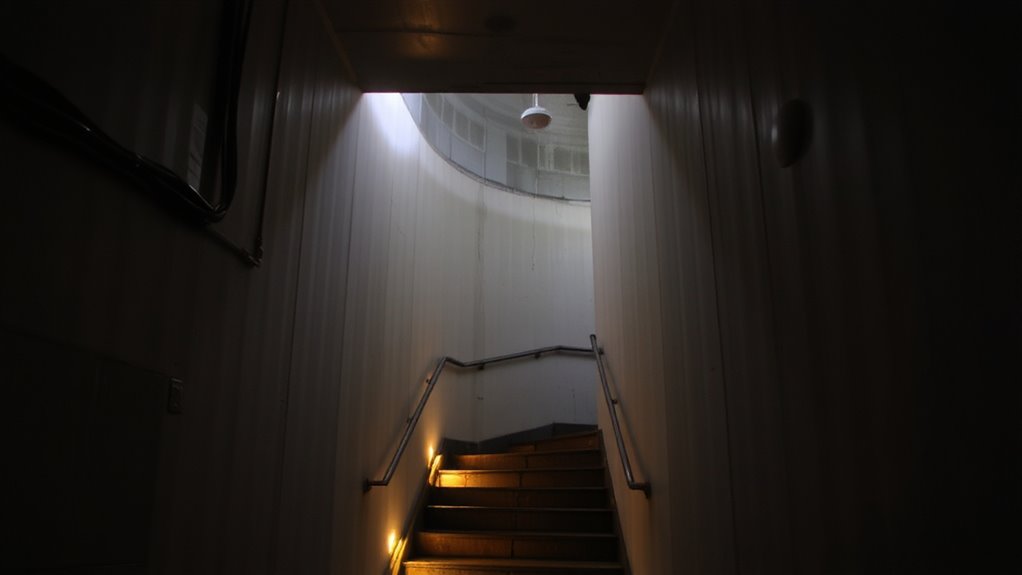
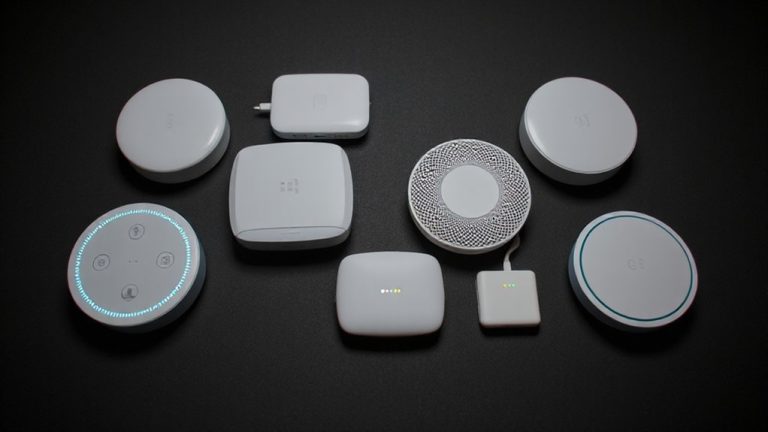
While some motion sensors work well in open rooms, stairwells need models designed for vertical movement and tight angles. You’ll want a sensor type that detects motion across multiple planes, like dual-tech or 360-degree microwave sensors. These reduce false alarms and improve detection as people move up and down steps. Infrared-only sensors might miss motion in shadowed corners, so combining technologies is often best. Your placement strategy should account for the stairwell’s layout, guaranteeing overlapping coverage without gaps. Look for models with adjustable sensitivity to fine-tune performance. Ceiling-mounted units usually outperform wall-mounted ones in narrow stairwells, offering wider detection cones. Expect to spend $30–$60 per sensor for reliable dual-tech models. Choosing the right sensor type upfront improves accuracy, supports your overall placement strategy, and guarantees consistent detection where it’s needed most. For reliable options, consider checking the best motion detectors for every home to match your stairwell requirements.
Mount Sensors at the Right Height and Angle
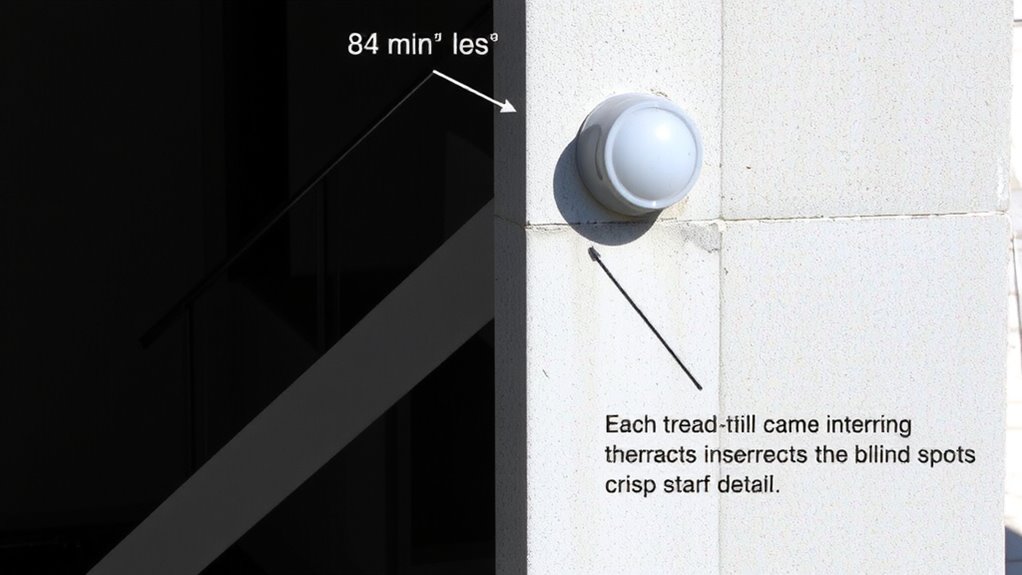
You’ve selected a dual-tech or 360-degree microwave sensor suited for vertical motion in stairwells, and now it’s time to position it correctly for reliable detection. Mounting at the right height and angle prevents blind spots and reduces false alarms caused by signal interference. Aim for 6.5 to 7.5 feet high, angled slightly downward to cover steps without missing movement around turns. Proper sensor calibration guarantees accurate detection across all stair levels. Avoid pointing sensors directly at reflective surfaces or heat sources. Here’s a quick guide:
| Mounting Height (ft) | Angle (degrees) | Notes |
|---|---|---|
| 6.5 | 15 down | Ideal for narrow stairwells |
| 7.0 | 20 down | Balances coverage and clarity |
| 7.5 | 25 down | Risk of signal interference increases |
| 6.0 | 10 down | Too low; may miss upper steps |
| 8.0 | 30 down | Overlooks mid-level motion |
Cover Landings and Turns With Strategic Placement
Since stairwell landings and directional turns can create detection gaps, placing sensors where they maintain line of sight across these changes improves coverage. You’ll want to position detectors so they peer directly onto landings, minimizing landing shadows that hide movement. Mounting units at the top or bottom of each flight allows them to catch foot traffic before it disappears around a corner. Corner reflections can distort detection patterns, so angle sensors slightly inward to reduce false triggers from stray motion bounce. For L-shaped or U-shaped stairwells, use multiple sensors to guarantee full visibility through each turn. Test each placement with actual walking paths to confirm consistent detection. While adding sensors increases cost, the improved security justifies the investment. Proper planning now prevents weak spots later, giving you reliable, whole-stairwell monitoring.
Skip These Stairwell Sensor Blunders
What goes wrong when motion detectors miss key areas or trigger falsely in stairwells? You get unreliable coverage and security gaps. Avoid placing sensors near heat sources or vents-this causes sensor interference and leads to false triggers. Don’t mount detectors too high or too low; most models work best between 6 and 9 feet off the floor. Skip wide-angle lenses unless you’ve mapped the stairwell layout, as they often create overlapping zones that increase false triggers. Never rely on a single sensor for multi-level stairwells-it’s a common blunder. Avoid metal enclosures or reflective surfaces nearby, since they distort detection patterns. Use models with adjustable sensitivity to reduce sensor interference from small animals or airflow. Test placement during different times of day to catch environmental changes. Poor setup undermines safety, so plan carefully, follow manufacturer specs, and double-check detection fields before final mounting.
Use Multiple Sensors to Eliminate Gaps
When stairwell layouts include turns, landings, or multiple floors, a single motion detector often fails to cover all critical areas, leaving blind spots that compromise security and safety. You’ll need multiple sensors to guarantee complete detection across every level and angle. Position them to create sensor overlap, where adjacent detectors slightly cover the same zones-this provides seamless shifts and prevents missed motion. Coverage redundancy is key; if one sensor fails or misfires, others maintain protection. Mount units at different heights and angles to match stairwell geometry, especially on landings and corners. While adding sensors increases upfront cost, it reduces long-term risks and false alarms. Use models with adjustable sensitivity and field-of-view settings to fine-tune performance. Always follow manufacturer guidelines for spacing, typically 30–40 feet between units, depending on model specs.
Test and Adjust for Full Step-by-Step Coverage
You’ve installed multiple motion detectors to cover every landing, turn, and flight in the stairwell, but your work isn’t done yet. Now you need to test and adjust for full step-by-step coverage. Walk through the stairwell slowly, activating each sensor to confirm detection. Use a systematic path to verify no blind spots remain. This process, called coverage validation, guarantees every area triggers the correct detector. If a sensor misses motion, check its angle, height, or range and make adjustments. Fine-tune sensitivity settings to avoid false alarms from drafts or small animals-this is sensor calibration. Test at different times of day to account for lighting changes. Some detectors offer signal strength feedback, which helps optimize placement. Recheck after adjustments. Proper validation and calibration improve reliability, reduce gaps, and enhance security. This step takes time but is essential for effective performance. Skip it, and even well-placed sensors may fail when needed most.
On a final note
You’ve mapped the blind spots, picked the right sensors, and placed them at ideal heights and angles. Cover landings and turns with strategic mounting, and avoid common mistakes like poor alignment or relying on just one sensor. Use multiple units if needed, then test step by step. Adjust until every motion triggers a response. Proper planning guarantees reliable, consistent detection without gaps or false alarms.