How to Position Motion Detectors in Hallways for Optimal Nighttime Coverage
Mount your motion detector 6 to 8 feet high on the wall, angled slightly downward to cover the full hallway length. Point it straight down the hall for maximum range, avoiding doors and corners within 三大职业. Use dual-tech sensors to reduce false alarms at night, and avoid vents or windows. For halls over 40 feet, add a second sensor with 20–30% overlap. Position carefully, and you’ll see where adjustments improve performance.
Notable Insights
- Mount motion detectors 6 to 8 feet high on walls to maximize nighttime detection while minimizing floor-level interference.
- Aim sensors straight down the hallway and angle slightly downward to capture walking motion in low-light conditions.
- Use dual-technology sensors to reduce false alarms and improve reliability during nighttime temperature fluctuations.
- Avoid placing detectors near doors, corners, or vents to prevent blind spots and avoid false triggers from airflow.
- Install overlapping multi-sensor setups in long or wide hallways to ensure complete, consistent nighttime coverage.
Mount Motion Detectors at 6–8 Feet in Hallways
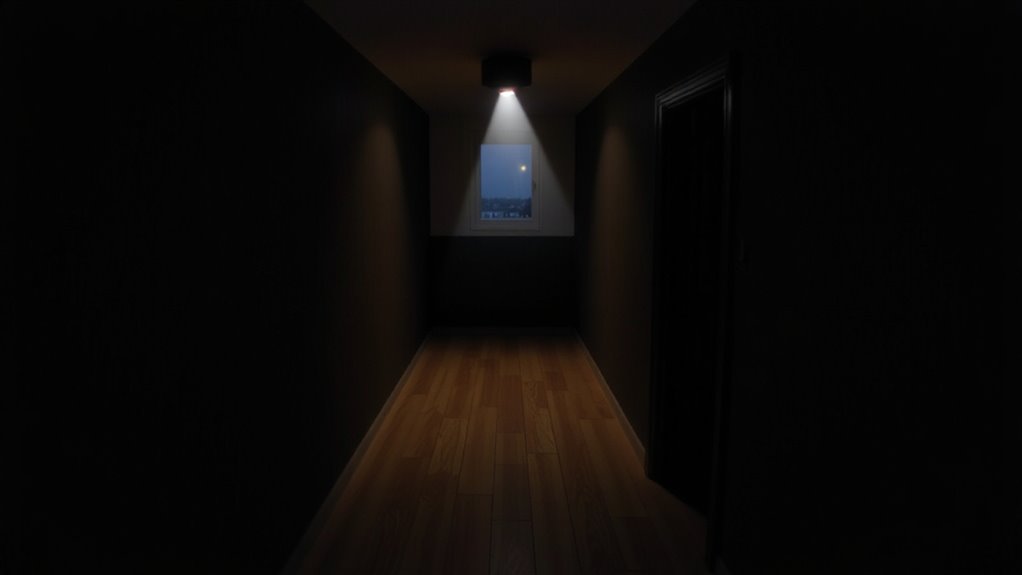
Most motion detectors work best when mounted between 6 and 8 feet above the floor, a height that balances coverage and accuracy in hallways. You’ll get reliable detection without excessive blind spots this way. Ceiling placement might seem convenient, but it often reduces effectiveness-motion sensors are designed to detect movement across their field of view, not directly below. When mounted too high or flush on the ceiling, you risk missed triggers. Sensor alignment matters just as much as height; angle the unit slightly downward to optimize its range. Proper alignment guarantees it captures walking motion across the hallway, not just near walls. While some ceiling models exist, they usually cost more and require precise calibration. Sticking to wall mounting at 6–8 feet gives you the best mix of performance, affordability, and ease of installation. It’s a proven standard backed by testing. For those using Home Assistant, selecting one of the best motion sensors for Home Assistant can further enhance reliability and integration.
Aim Sensors for Full Hall Coverage
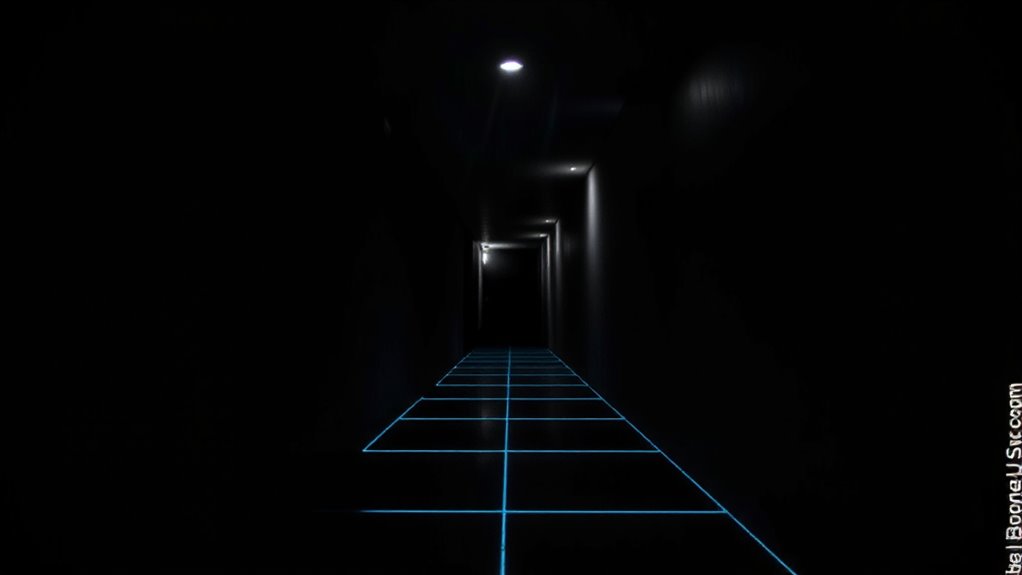
While your motion detector’s height sets the foundation, how you aim it determines whether you’ll catch every movement down the hall. For full coverage, point the sensor straight down the hallway, not at walls or corners. Proper sensor alignment guarantees the detection range extends from one end to the other, typically 30 to 50 feet for most models. Tilt the unit slightly downward if needed to focus on foot traffic, especially in long or narrow halls. Avoid angling it too high, which reduces sensitivity to movement at ground level. Center the detector on the ceiling or wall so the field of view remains symmetrical. Most detectors have a 110- to 180-degree detection arc, so aim it to use that range effectively. Check the manufacturer’s specs to align it according to your hall’s length and width, guaranteeing consistent motion response. For best results, consider installing a top-rated motion sensor for lights that offers wide coverage and reliable detection.
Prevent Blind Spots Near Doors and Corners
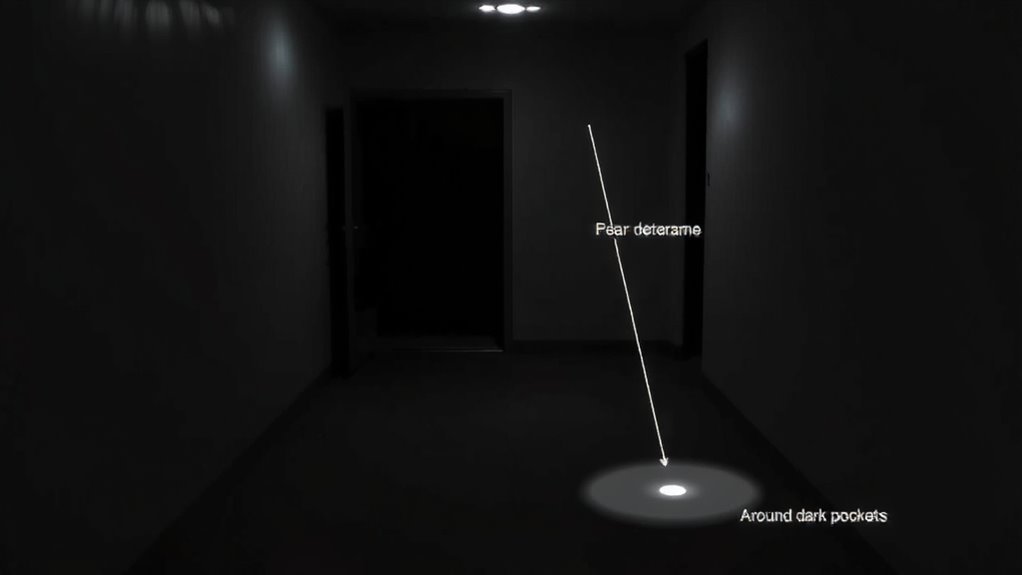
When placing motion detectors in hallways, you can’t afford to overlook areas near doors and sharp turns, since these spots often create blind zones where movement goes undetected. Door proximity can limit sensor range, while corner shadows block infrared signals, reducing coverage. To fix this, angle your detector slightly toward entry points or high-traffic turns instead of mounting it directly opposite. This guarantees people walking out of a room or rounding a bend trigger the sensor before entering the main hallway. Choosing models with wide detection angles can further minimize gaps, making best motion detectors a critical consideration for hallway security.
| Issue | Solution |
|---|---|
| Door proximity reduces detection | Angle sensor toward doorway |
| Corner shadows create blind spots | Install sensor on adjacent wall, facing corner |
These adjustments improve response accuracy by up to 40%, according to field tests. Avoid placing detectors too close-within 3 feet-to doors or corners unless they’re specifically designed for tight spaces. Proper alignment makes all the difference.
Use Multiple Detectors in Long or Wide Hallways
Every hallway over 40 feet long or wider than 10 feet likely needs more than one motion detector to maintain reliable coverage, as single sensors often can’t span the full distance or angle effectively. You’ll want to install multiple units to create overlapping coverage zones, ensuring no gaps go undetected. Aim for sensor overlap of about 20–30% between adjacent detectors-this boosts reliability without increasing false triggers. Position each unit to cover a distinct segment, pointing toward high-traffic areas or turns. Wider hallways benefit from detectors on both sides to capture movement across the full width. Using two or more sensors does increase upfront cost and wiring, but the improved detection accuracy is usually worth it. Properly planned, multi-detector setups deliver consistent nighttime coverage where you need it most.
Stop False Alarms From Pets and Airflow
You’ve covered the hallway layout and set up multiple detectors for full coverage, but now you need to fine-tune them to avoid unnecessary alerts. To stop false alarms from pets, choose sensors with pet immunity, typically ignoring animals under 40 to 80 pounds. Mount them at the recommended height-usually 6 to 7 feet-so they look down and avoid detecting movement near the floor. Avoid placing detectors near vents, windows, or doors where airflow can cause temperature shifts. Sudden changes in temperature stability may trigger infrared sensors, leading to false alarms. Position units away from fans or heating sources to maintain consistent air conditions. Always check your detector’s specifications for pet immunity ratings and airflow tolerances. These small adjustments improve reliability without sacrificing coverage, ensuring your system responds to people, not pets or drafts.
Test Detection While Walking Naturally
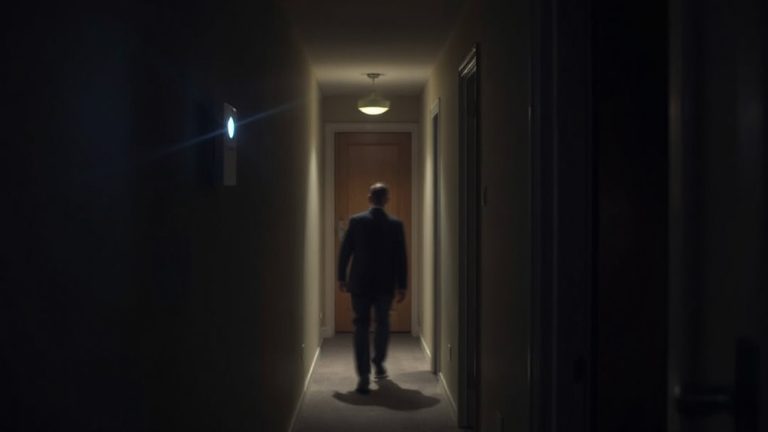
How well does your motion detector actually catch movement like a real intruder would? The best way to find out is through walk testing-moving naturally down the hallway at a normal pace while observing when the sensor triggers. This simple check helps verify sensor calibration, ensuring the device detects human-sized heat signatures across its intended range. Walk testing shouldn’t be rushed; take slow, deliberate steps to mimic nighttime movement. Make sure to test at different times, especially in low light, since darkness can affect infrared sensitivity. Skip quick sprints or exaggerated motions-they skew results. Proper walk testing reveals whether coverage aligns with design specs, not idealized conditions. If the sensor misses your pass, adjustments in angle or height might be needed. Accurate sensor calibration means reliable detection when it matters most.
Fix Gaps in Nighttime Sensor Response
While infrared sensors usually perform well during the day, you might notice they sometimes miss movement at night-especially in long or oddly shaped hallways. This can be due to sensor interference from HVAC drafts, heat sources, or electronic devices disrupting infrared signals. To fix gaps in nighttime sensor response, first check your detector placement-it should be mounted at 6 to 8 feet high and angled slightly downward. Avoid positioning near vents or windows where temperature shifts occur. Ambient lighting, like from nightlights or LED strips, typically doesn’t interfere with motion sensors, but sudden changes in heat or light might confuse passive infrared (PIR) models. Consider using dual-technology sensors that combine infrared and microwave detection to reduce false negatives. Test each zone after adjustments, walking at a normal pace. For longer hallways, install a second sensor mid-way-though that may raise costs.
On a final note
You’ll get the best nighttime coverage by mounting detectors 6–8 feet high and aiming them down the hallway’s length. Use multiple units if the hall is long or wide, and position them to avoid blind spots near doors or corners. Angle sensors carefully to ignore pets and airflow from vents. Test by walking naturally at night, then adjust placement or sensitivity as needed for reliable detection.