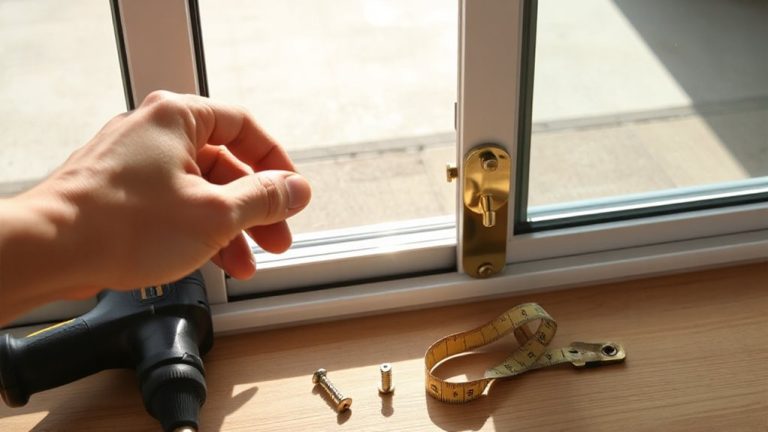
How to Install Door Sensors on Metal Entry Doors Without Interference
Choose a sensor rated for metal doors, as these handle interference better. Mount it at the top or bottom edge, away from hinges and metal reinforcements. Use a 1/8-inch plastic or rubber spacer to reduce signal disruption. Test signal strength by opening and closing the door several times; guarantee response time stays under two seconds. Pair with your system and seal all joints with silicone. Weak signals may need a repeater. Options with low-frequency transmission typically perform more reliably. A well-placed, properly spaced sensor avoids the 40% failure rate common in DIY setups-further improvements are possible with fine-tuned placement and weather protection.
Notable Insights
- Choose a door sensor explicitly designed for metal doors to ensure compatibility and minimize interference.
- Mount the sensor at the top or bottom edge of the door, away from hinges and metal reinforcements.
- Use non-conductive spacers like plastic or rubber to create distance between the sensor and metal surface.
- Test wireless signal strength during installation to identify optimal placement and avoid communication drops.
- Seal sensor units with weatherproofing materials and ensure system sync for reliable, long-term operation.
Choose a Sensor That Works on Metal Doors
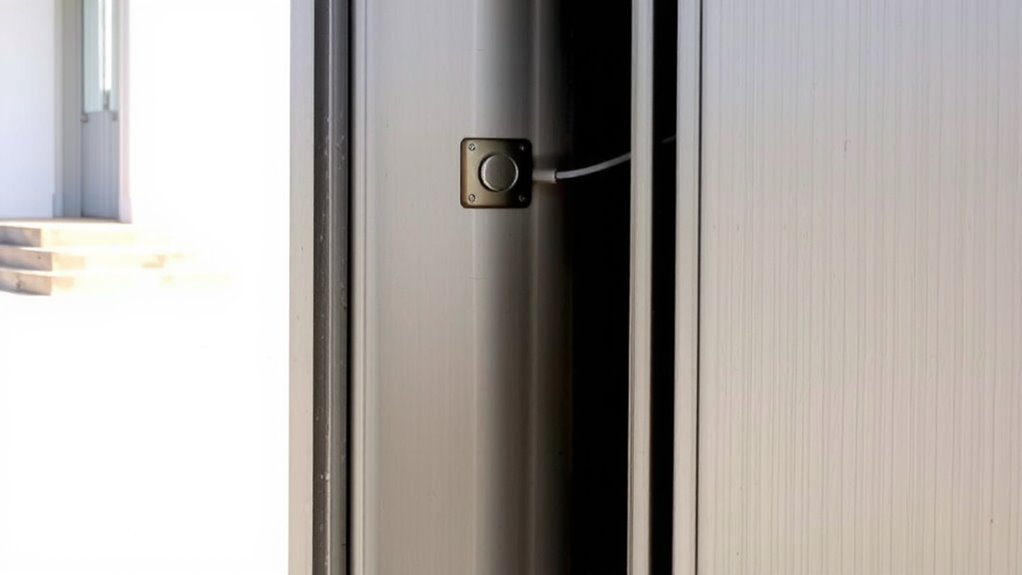
A good door sensor for metal entry doors starts with picking one designed to handle the unique challenges of metal surfaces. You need to check sensor compatibility before buying-some models struggle with conductivity and signal reflection common with metal. Magnetic sensors, for example, work well if the design accounts for metal interference, while certain wireless sensors may suffer from poor signal reflection, reducing reliability. Look for models tested specifically on metal doors; manufacturers often list this in specs. Sensors using low-frequency signals typically offer better performance, as they’re less affected by reflective surfaces. Verify the magnet and sensor align cleanly-gaps cause false alarms. Battery-powered units offer easy setup, but consider long-term replacement costs. Read user reviews focused on metal door installs. Choosing right saves you time, money, and boosts security effectiveness. Don’t assume all sensors work the same-verify compatibility upfront.
Place Sensors Away From Metal Interference
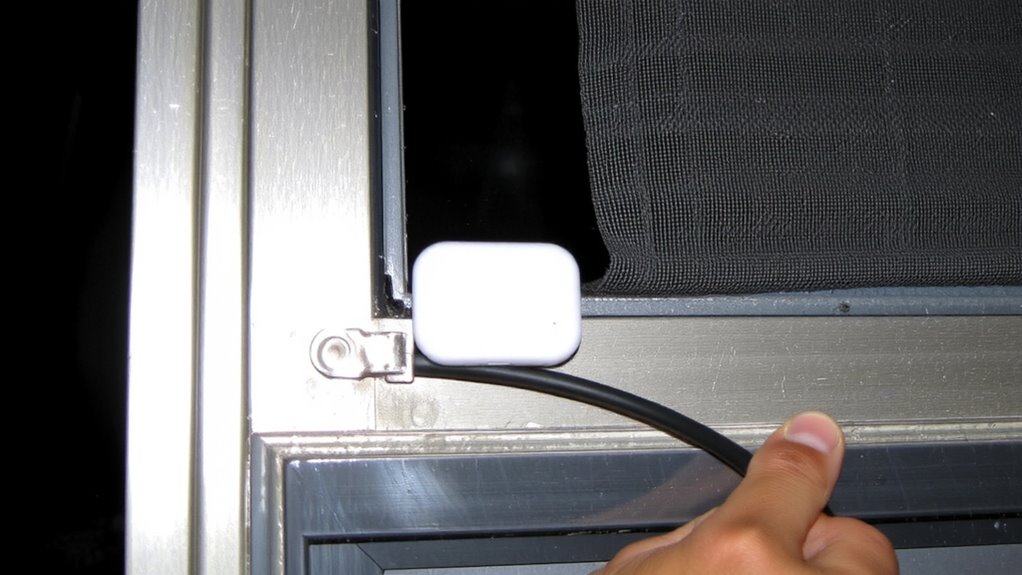
You’ve picked a sensor built for metal doors, but location matters just as much as compatibility. Keep the sensor away from large metal surfaces that can cause signal reflection, weakening wireless transmission to your security system. Proper antenna placement guarantees the signal travels efficiently, not bouncing off metal around the door frame. Mount the sensor near the top or bottom edge of the door, where metal interference is lowest. Avoid placing it directly beside hinges or metal reinforcements, which distort the signal. Test different spots with a signal strength app or your system’s diagnostic mode to verify performance. Even with a metal-compatible sensor, poor placement reduces range and reliability. Best positioning improves communication, minimizing false alarms or dropouts. Plan installation carefully-small adjustments in antenna placement can greatly reduce signal reflection and boost overall system effectiveness. For added reliability, consider pairing your sensor with one of the best garage door alarm sensors that are designed to maintain strong connections in challenging environments.
Mount With Non-Conductive Spacers
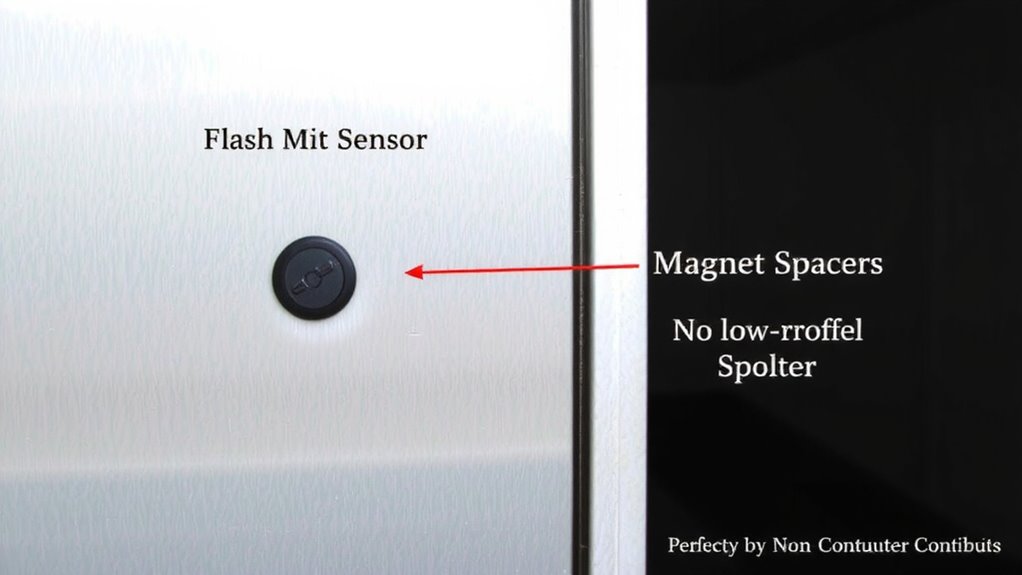
Keep metal from messing with your sensor’s signal by mounting it with non-conductive spacers, which create a small but critical gap between the device and the door surface. This simple step helps prevent electromagnetic interference that could weaken detection. Use plastic or rubber spacers about 1/8-inch thick for best results. Your adhesive selection matters-choose strong double-sided tape or epoxy designed for metal surfaces to guarantee long-term hold. Pair this with a precise alignment technique to keep the sensor and magnet properly positioned. Even slight misalignment can cause faults. For optimal performance, consider the type of garage door sensors best suited for your setup to ensure compatibility and reliability.
| Spacer Material | Adhesive Selection | Alignment Technique |
|---|---|---|
| Plastic | Double-sided tape | Laser level |
| Rubber | Epoxy | Measuring tape |
| Fiberglass | Mounting putty | Template guide |
Test Signal Strength Before Sealing
After securing the sensor in place with non-conductive spacers and the right adhesive, the next step is making sure it actually works as intended. You’ll want to test the signal range before fully sealing or tightening anything. Open and close the door several times while monitoring your system’s response. Check for consistent detection and any drops in communication, especially if the sensor is near metal surfaces that could block transmission. Wireless latency should be minimal-ideally under two seconds-so delays can signal interference. Conduct tests at different times to account for wireless congestion. Confirm the sensor communicates reliably from its mounted position to the control panel. If signal range seems weak or responses lag, adjust the placement slightly or consider a signal repeater. This quick verification saves time and improves reliability, ensuring your security system performs effectively when it matters most.
Sync Sensor to Your Alarm System
Once the sensor is securely mounted and the signal tested, syncing it to your alarm system guarantees it functions as part of your overall security network. Start by putting your alarm system in pairing mode, then activate Bluetooth pairing on the sensor if it supports direct connection. For systems using a hub, make sure Wi Fi connectivity is stable so the sensor can communicate clearly. Follow your system’s app prompts to add the new device, which usually takes under two minutes. If syncing fails, check that the sensor is within range and there’s no interference from metal framing. Most modern sensors auto-report status to the hub every 30–60 seconds. Reliable Wi Fi connectivity reduces false alarms and makes certain of prompt alerts. Bluetooth pairing offers a simple setup but may limit range. Always confirm the sensor appears as “armed” or “active” in the app before finishing.
Seal Against Weather Damage
To protect your door sensor from moisture, corrosion, and temperature fluctuations, sealing it properly makes a big difference in long-term reliability. Use weather sealing like silicone caulk or rubber gaskets around the sensor and magnet housing to block water and debris. This helps with corrosion prevention, especially on metal doors exposed to rain or snow. Apply sealant where wires enter the sensor, and avoid leaving gaps during installation. For best results, choose sensors rated for outdoor use-they often come with built-in weather sealing. While indoor-rated sensors cost less, they lack durable protection and may fail in harsh conditions. Regularly check seals over time, especially in areas with extreme temperature swings. Proper weather sealing doesn’t guarantee perfection, but it considerably improves sensor lifespan. It’s a small step that supports consistent performance-without it, even a well-installed system risks early wear.
Fix Signal Dropouts on Metal Doors
Metal doors can interfere with wireless signals, and even a well-sealed sensor might still struggle with connectivity if this issue isn’t addressed. The problem often comes from signal reflection, where radio waves bounce off the metal surface instead of passing through, weakening transmission. To fix this, you need to optimize antenna placement on both the sensor and the hub. Position the sensor’s antenna away from direct contact with the metal, using a plastic spacer if needed. Mount the sensor near the frame’s edge, where it’s less shielded. Elevate your hub’s antenna and place it higher on a wall to reduce interference. Avoid placing metal objects between the sensor and hub. Test signal strength after installation by checking app alerts or logs. A strong, consistent signal usually means proper antenna placement has minimized reflection. Consider a Wi-Fi extender if dropouts persist.
On a final note
You can install door sensors on metal doors by choosing low-frequency models designed for metal surfaces. Mount them with non-conductive spacers to reduce interference, and test the signal before sealing. Sync the sensor properly with your alarm system and check for dropouts. Seal connections to block moisture. While metal can weaken signals, proper placement and weatherproofing improve reliability. Expect minor setup adjustments, but most systems work well with planning.