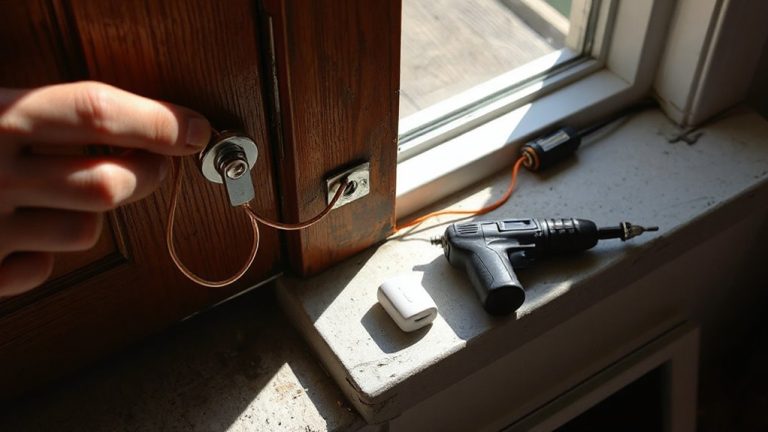
How to Select the Right Control Panel for a DIY Home Burglar Alarm System
Choose a control panel that matches your budget-under $100 for small spaces, $200–$400 for larger homes-and your technical skill. Wired panels are reliable but harder to install; wireless offer flexibility but need strong signal and battery upkeep. Pick one with a proven mobile app for alerts and remote control, plus local or hybrid data storage. Always include 24-hour battery backup. The right panel supports future upgrades and fits your home’s layout and security priorities. You’ll find there’s more to optimizing your system once you understand sensor integration.
Notable Insights
- Choose a control panel that matches your technical skill level to ensure smooth setup and operation.
- Decide between wireless or wired panels based on installation ease, reliability, and home layout needs.
- Ensure the panel supports mobile app integration for remote arming, disarming, and real-time alerts.
- Select a system with reliable data storage-local, cloud, or hybrid-based on privacy and access needs.
- Opt for a panel with built-in battery backup to maintain operation during power outages.
Define Your DIY Alarm Goals: Budget, Skill, and Security
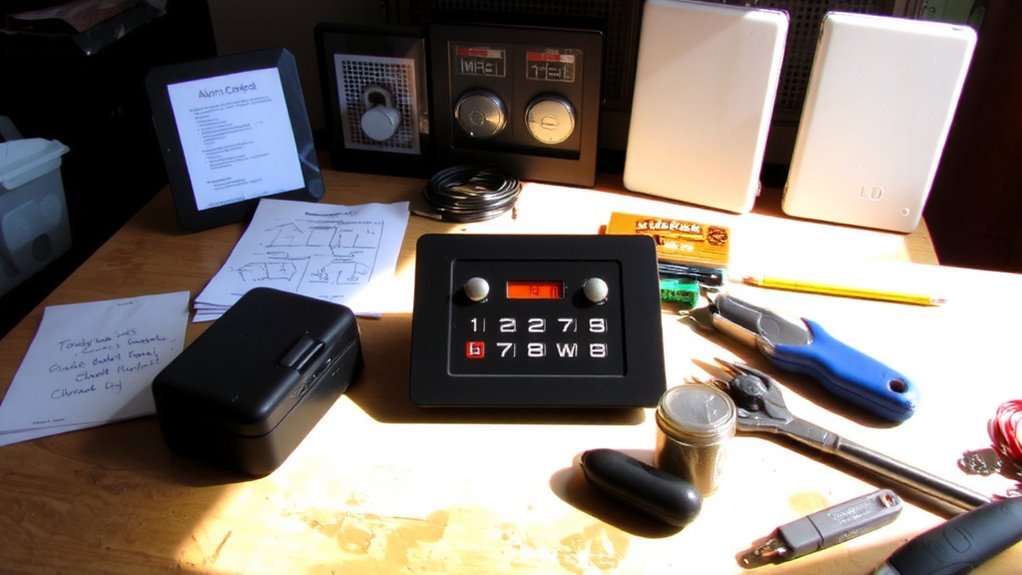
Before diving into components or setups, start by clarifying what you want to achieve with your DIY alarm system-this means setting clear goals around budget, technical skill, and security needs. Your alarm goals will shape every other choice, from panel features to sensor types. If your security needs are minimal, like monitoring a small apartment, a low-cost kit under $100 may suffice. For larger homes or high-risk areas, expect to spend $200–$400 for reliable coverage. Be honest about your technical comfort-some panels require app setup and Wi-Fi integration, while others are plug-and-play. A well-defined budget prevents overspending, and matching your skill level guarantees proper installation. Prioritize systems that support future expansion. Clear alarm goals mean you’ll avoid unnecessary features or gaps in protection, making your system both practical and cost-effective in the long run.
Choose the Right Sensors for Your Home First
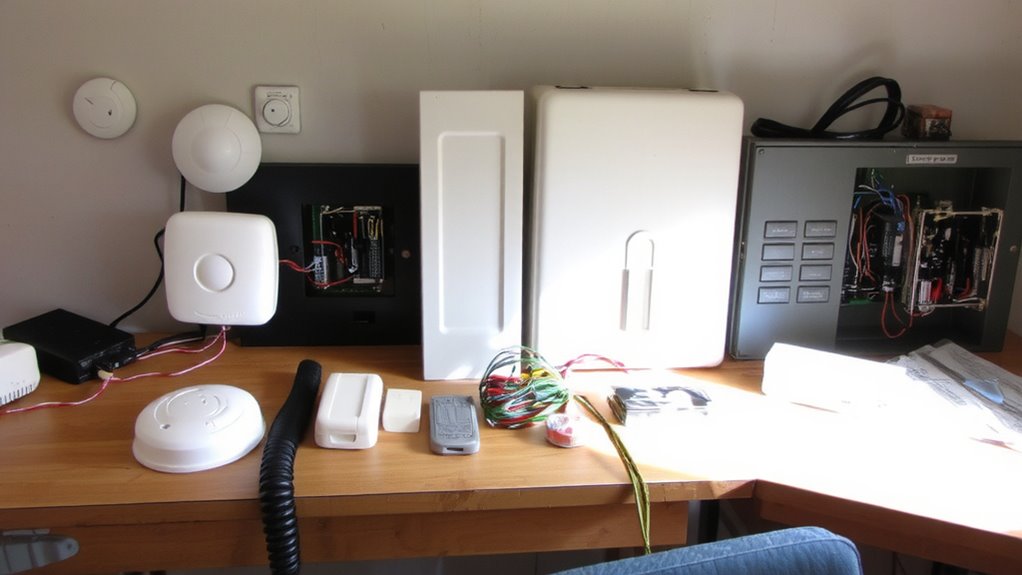
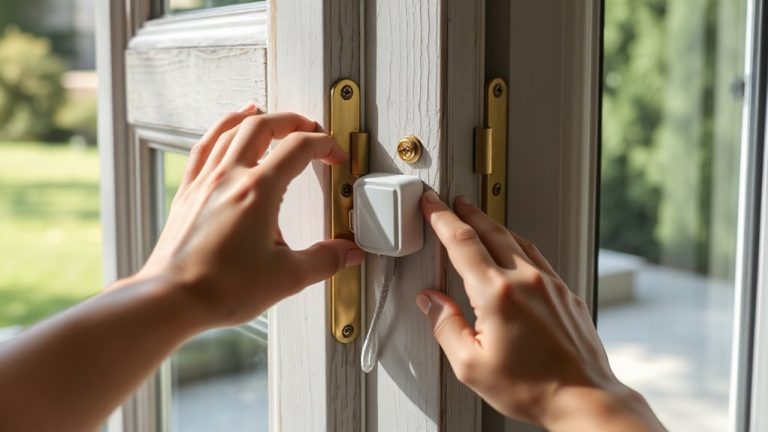
While your control panel acts as the brain of your DIY alarm system, it’s the sensors that do the real work of detecting threats, so choosing the right ones for your home comes first. You’ll need sensors that match your house layout and security goals. Door contact sensors are essential for entry points, alerting you when a door opens. Motion detection sensors help monitor interior spaces, especially hallways or living areas. Consider where threats are most likely and place sensors accordingly. Here’s a quick comparison:
| Sensor Type | Best For | Key Benefit |
|---|---|---|
| Door contact | Windows, doors | Low cost, easy installation |
| Motion detection | Living areas | Covers wide interior zones |
| Combination | High-risk zones | Dual protection, fewer devices |
Choose based on room use, not just quantity. Quality placement beats having more sensors. For motion detection that integrates seamlessly with automation platforms, consider the best motion sensors for Home Assistant.
Pick a Wireless or Wired Control Panel
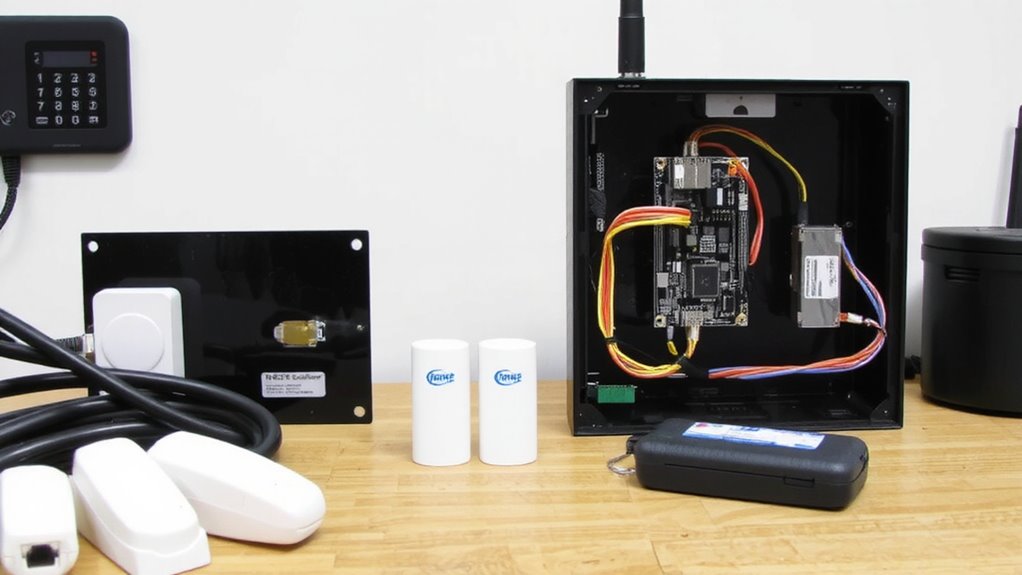
If you’ve already selected the right sensors for your home, the next key decision is choosing between a wireless or wired control panel, as each has distinct trade-offs in installation, reliability, and long-term flexibility. A wired system offers strong reliability and isn’t affected by signal range issues, but comes with higher installation complexity-running cables through walls can be tough, especially in finished homes. Wireless panels are easier to install and allow flexible sensor placement, but you’ll need to check signal range to guarantee all devices communicate clearly with the hub, especially in large or multi-level homes. Battery-dependent sensors require maintenance over time. Wired setups often cost less over the long term, while wireless ones save on upfront labor. Consider your home’s layout, construction, and how much time you can dedicate to setup when deciding.
Get a DIY Alarm Panel With a Reliable Mobile App
How often do you check your home’s security when you’re away? A reliable mobile app makes it easy, giving you real-time updates and control. Look for strong mobile reliability and seamless app integration so you can arm, disarm, and monitor your system from anywhere. Delays or crashes compromise security, so choose a panel with consistent performance and high user ratings.
| Feature | Benefit | Consideration |
|---|---|---|
| Remote access | Control system off-site | Requires stable internet |
| Instant alerts | Get notified of breaches | Test alert delivery weekly |
| App integration | Connect with smart devices | Check compatibility first |
| Mobile reliability | Consistent performance | Update app regularly |
Pick a panel with a proven app, clear interface, and responsive support. Test it monthly to guarantee it works when you need it most.
Keep Data Local or Use Cloud Alerts?
When it comes to your DIY alarm system, deciding where to store data-locally on your device or in the cloud-can shape both security and convenience. If you choose local storage, your footage and logs stay on your device, which reduces privacy concerns since third parties can’t access them. This setup works even if your internet goes down, but you risk losing data if the panel is stolen or damaged. Cloud alerts, on the other hand, send notifications and store data remotely, so you can access them from anywhere. However, they require a stable internet connection and often come with monthly fees. Weigh your need for accessibility against privacy concerns. Systems offering both local storage and encrypted cloud alerts give you flexibility. Look for control panels that let you choose-this hybrid approach balances security, reliability, and ease of use.
Don’t Skip Battery and Power Backup
A solid alarm system keeps running no matter what, and that means preparing for power outages. You can’t rely on grid power alone-during a power failure, your system must stay active. That’s why built-in battery backup is essential. Look for a control panel with at least 24 hours of battery life, so it keeps working if the electricity cuts out. Sealed lead-acid or lithium-ion batteries are common, with lithium offering longer life and lighter weight. Test battery performance every few months to guarantee reliability. Some systems send low-power alerts, which helps you stay ahead of potential downtime. Panels without strong battery support may fail when you need them most. Choose one that automatically switches to battery during a power failure without interruption. It’s a small feature that makes a big difference in security. Always check specs for battery life and replace batteries as recommended.
Arm Your DIY Alarm With Alexa or Google
Why rely on manual arming when you can use your voice? With voice integration, you can arm or disarm your DIY alarm using simple commands through Alexa or Google Assistant. This feature adds convenience, especially when your hands are full or you’re rushing out the door. Look for a control panel with strong smart home compatibility, so it connects seamlessly to your existing ecosystem. Most systems require a hub or app bridge, so confirm that your chosen panel supports your preferred voice assistant. Keep in mind that voice arming usually works only when you’re at home, for security reasons. Disarming via voice is often limited too, to prevent unauthorized access. While voice commands streamline daily use, they shouldn’t replace physical backups. Choose a panel that balances voice integration, reliability, and control-without inflating the price. Top systems in 2025 offer expanded smart home compatibility through unified hubs that support multiple voice assistants and devices.
On a final note
You’ve assessed your security needs, chosen sensors, and decided between wired and wireless. Pick a control panel with a reliable app, local or cloud alerts, and solid backup power. Consider smart home compatibility for easier arming and monitoring. Focus on systems with clear data policies and strong user support. Plan your budget around long-term reliability, not just upfront cost. A well-chosen panel keeps your DIY alarm effective, accessible, and secure over time.