Configuring Event-Based Retention for Alarm-Triggered Home Surveillance Clips
When your alarm triggers, it should automatically start compatible cameras to record clips, so make sure your system supports event-based recording. Choose cameras that accept alarm inputs or work with your smart hub. Set retention from 1 to 30+ days-longer saves more footage but costs more, especially in the cloud. Motion and door sensors work best for triggers, while clip lengths can vary by device to balance storage and detail. Test each sensor to confirm clips save correctly and sync with alerts. You’ll find more details on optimizing each step just ahead.
Notable Insights
- Ensure cameras support alarm-triggered recording by checking compatibility with your security system or hub.
- Configure clip length per camera based on area activity to balance storage and evidence quality.
- Set retention periods according to storage capacity, balancing clip availability and space constraints.
- Use NVR or cloud storage with encryption to securely retain alarm-triggered clips long-term.
- Test alarm triggers monthly to confirm clips are recorded, saved, and retained as configured.
How Alarm Alerts Trigger Video Clips
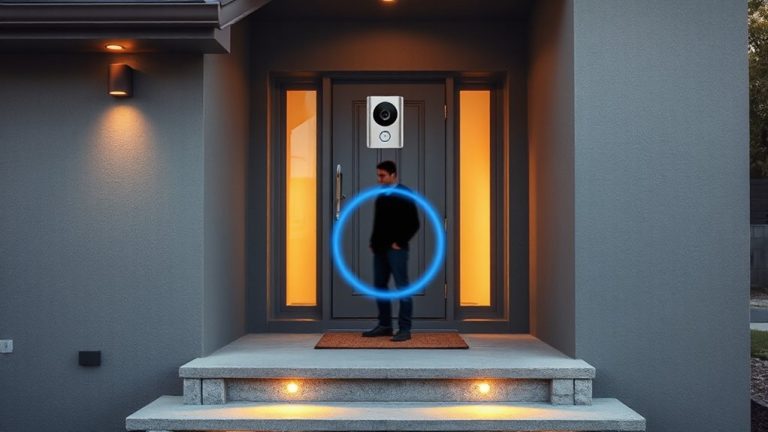
Every time an alarm alert activates, it can automatically trigger your security camera to start recording a video clip, so you don’t miss critical moments. With alarm integration, your system links sensors and cameras to respond instantly when threats occur. When motion detection identifies unusual activity, the alarm sounds and the camera begins recording, capturing evidence. This coordination guarantees clips are created only when needed, saving storage and making review easier. Most modern systems support this feature, but check compatibility between devices. Alarm integration often requires a hub or smart home platform, which may add to initial costs. However, the benefit-automated, reliable recording during real threats-outweighs the price for many users. Plan your setup so every alarm trigger produces a video clip, enhancing both monitoring and response. Top-rated systems offer seamless best home alarm systems performance with built-in video trigger capabilities.
Pick Cameras That Support Event Recording
Not all security cameras handle event-based recording the same way, so choosing the right model matters if you want reliable clip capture when alarms go off. Camera compatibility with your alarm system is essential-ensure the camera supports trigger inputs or integrates with your security platform. Some models only record on motion, not alarm events, so check specifications carefully. Consider storage requirements: higher resolution and longer clips demand more space, especially with frequent alarms. A reputable outdoor security camera brand can offer models designed specifically for reliable alarm-triggered recording. Below are common options:
| Feature | Notes |
|---|---|
| Local Storage (SD) | Lower ongoing cost; limited capacity, backup risk |
| Cloud Storage | Reliable, scalable; ongoing fees, upload speed matters |
Choose models with event recording support and align storage type with your retention and budget needs.
Set How Long Alarm Clips Are Saved
When setting how long your alarm clips are saved, you’ll need to balance available storage with how often alarms occur and how quickly you review footage. Most systems let you choose retention periods from 1 day to 30 days or more. Shorter periods save space but risk deletion before you view important clips. Longer retention requires more storage, which can affect costs, especially with cloud plans. Consider your storage location-on-premise (like an NVR) gives you full control, while cloud storage often includes data encryption for security. Cloud services typically charge monthly, but they protect footage even if hardware is stolen. Data encryption guarantees your clips stay private, whether stored locally or online. Evaluate how frequently alarms trigger to estimate daily data use. A high-activity home might fill storage fast, making shorter retention more practical. Plan based on your review habits, budget, and how much footage matters long-term. For continuous recording needs, consider a system with high-capacity Best Security DVRs compatibility to ensure reliable performance.
Choose Which Sensors Start Recording
You can fine-tune your surveillance system by selecting which sensors trigger clip recording, ensuring you capture important events without overwhelming your storage. Using motion detection and door sensors wisely helps balance security and efficiency. Below is a guide to common sensor types and their recording impact:
| Sensor Type | Recording Trigger Effectiveness |
|---|---|
| Motion detection | High – captures movement in key areas |
| Door sensors | High – alerts on entry/exit events |
| Window sensors | Medium – useful for perimeter zones |
| Glass break | Medium – niche but valuable |
| Smoke detectors | Low – rarely related to intrusions |
Enable only the sensors tied to real security risks. Door sensors paired with motion detection reduce false alerts. Prioritize entry points and high-traffic zones to optimize clip creation. This strategy keeps your system responsive, storage efficient, and focused on actual threats.
Keep Different Clip Lengths by Device
Adjusting which sensors trigger recordings helps control when your system captures footage, but setting different clip lengths for each device gives you finer control over how much data you store. Using clip duration variation, you can assign shorter clips to low-traffic areas and longer ones where events need more context, like a driveway or front door. This approach supports device specific retention by aligning clip length with each camera’s purpose, reducing unnecessary storage use. For example, a backyard camera might record 60-second clips during motion events, while an indoor unit keeps 30-second clips. You’ll save space and make reviews faster. Most systems let you adjust these settings in the app under each device’s recording options. Plan your strategy based on camera placement and expected activity. Clip duration variation reduces costs over time, especially with cloud plans tied to storage use.
Test That Alarms Save Video Automatically
How can you be sure an alarm actually triggers a saved clip? Alarm testing is essential to confirm your system works as intended. Without proper video verification, you might miss critical footage when it matters most. Perform a controlled test-trigger a door sensor or motion detector and check if the clip saves automatically. Review footage in your app to verify timing and retention settings. Below is a quick guide for effective testing:
| Test Type | Expected Result | Verification Tip |
|---|---|---|
| Motion Alarm | Clip saved, 30 sec length | Check time stamps |
| Door Sensor | Clip saved, alert sent | Confirm app notification |
| Manual Trigger | Clip saved immediately | Use live feed to sync events |
Regular alarm testing guarantees reliable video verification. Make it part of your monthly routine. Verify storage settings preserve clips based on event type, and adjust device-specific lengths if needed. This proactive step keeps your home surveillance effective and trustworthy.
On a final note
You’ve set up event-based retention so alarms automatically save video clips. Choose compatible cameras and sensors, then configure clip length and storage duration. Test the system to confirm it records when alarms trigger. This setup helps capture key moments without storing unnecessary footage. While it improves efficiency and security, check device limits and subscription costs. Plan around your needs, balancing retention time and storage space.