How to Test Night Vision Performance Before Installing Outdoor Cameras
Test your camera’s night vision in total darkness to see how well it captures detail. Use a dark yard or room, and check infrared range-good models show clear images up to 60 ft, while premium ones reach 100 ft. Look for glare on shiny surfaces, then adjust the angle slightly to reduce reflection. Walk through the frame to test motion detection and clarity. Compare color night vision with black-and-white IR mode. Performance varies by sensor quality and IR strength, so expect to spend $80–$150 for reliable results. Real-world conditions like trees or weather will affect output, so test early. You’ll learn how small changes improve detection and image sharpness.
Notable Insights
- Test night vision in total darkness to accurately assess infrared range and image clarity.
- Check IR illumination distance by observing visibility at 30, 60, and 100 feet for clear, moderate, or faint detail.
- Adjust camera angle slightly to reduce glare from IR reflections on glass, metal, or wet surfaces.
- Evaluate performance around obstacles like trees or fences to ensure reliable motion detection and coverage.
- Use a person or vehicle moving through the frame to test focus, lag, and frame rate at night.
Understand How Night Vision Works
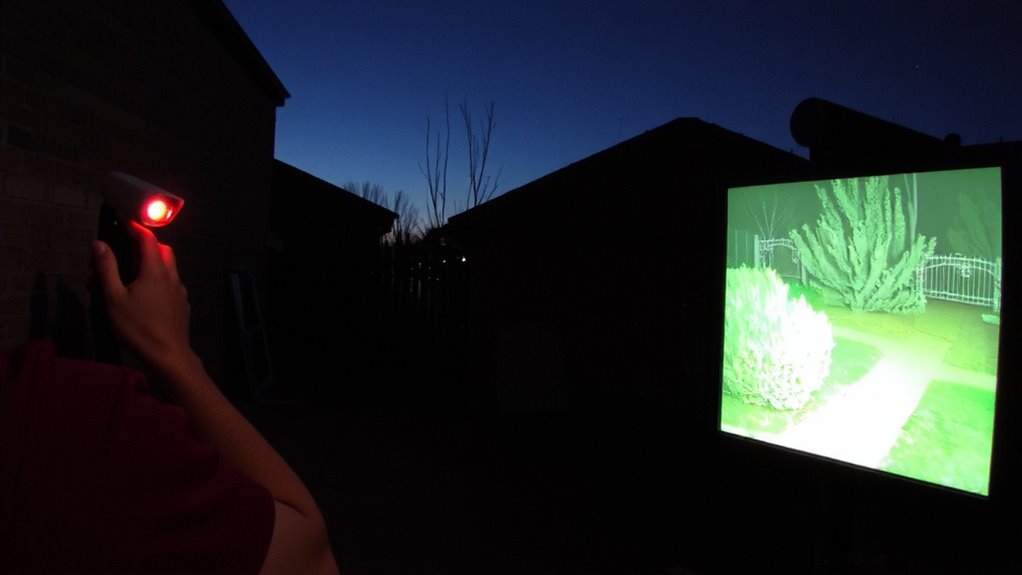
Night vision in outdoor cameras relies on infrared (IR) technology to capture clear images in low-light or total darkness. You’ll see how IR LEDs around the lens emit invisible light that reflects off objects and returns to the camera’s sensor. This process depends heavily on sensor sensitivity, which determines how well the camera picks up faint IR signals. Higher sensitivity improves image clarity, especially at longer distances or in pitch-black settings. You should look for cameras with larger sensors and high-sensitivity pixels, as they perform better in darkness. While color night vision uses ambient light, true night vision switches to black-and-white IR mode when needed, offering stronger detail. Keep in mind, cheap models often sacrifice sensor quality, reducing clarity. For reliable performance, prioritize sensor sensitivity and test image clarity in sample footage before buying. Plan for at least $80–$150 per camera for solid night vision capabilities. Best Cameras for Night Video models typically feature advanced sensors and powerful IR illumination for superior low-light performance.
Test Infrared Range in the Dark
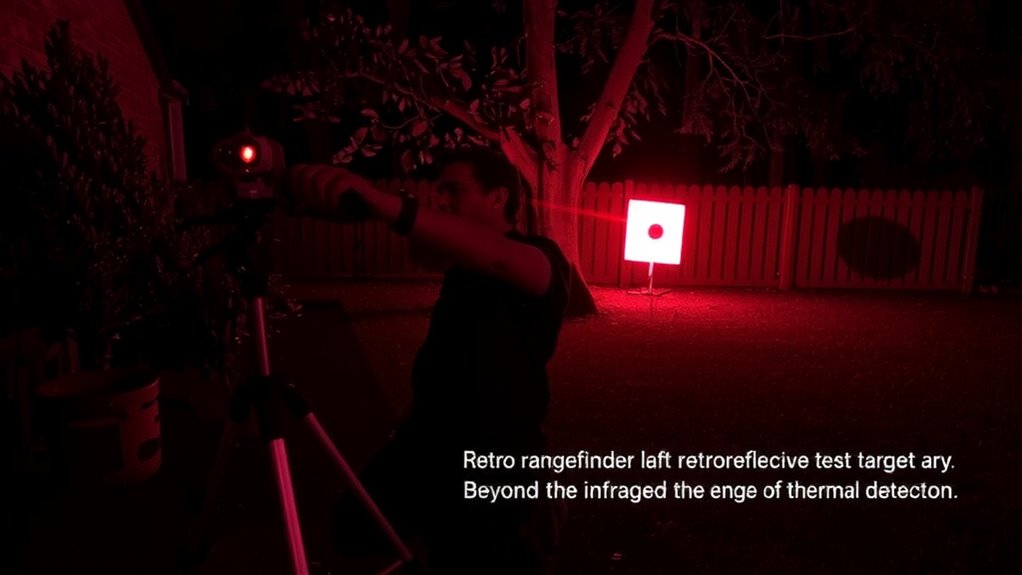
How far can your camera actually see at night? To find out, test its infrared range in total darkness. Turn off all lights and stand at increasing distances from the camera, checking when your outline becomes unclear. Most standard cameras offer 30–60 feet of effective infrared range, but high-end models with thermal imaging can detect motion beyond 100 feet. Be mindful of signal interference from nearby electronics or Wi-Fi routers, as they can reduce video clarity or range performance. For more accurate results, consider testing with cameras featuring thermal imaging sensors which are designed for long-range night vision performance.
| Distance | Visibility | Notes |
|---|---|---|
| 0–30 ft | Clear | Ideal for most homes |
| 30–60 ft | Moderate | Standard IR range |
| 60–100 ft | Faint | Thermal imaging helps |
| 100+ ft | Poor | Requires advanced tech |
Plan placement accordingly and retest periodically.
Find and Fix Glare in Night Shots
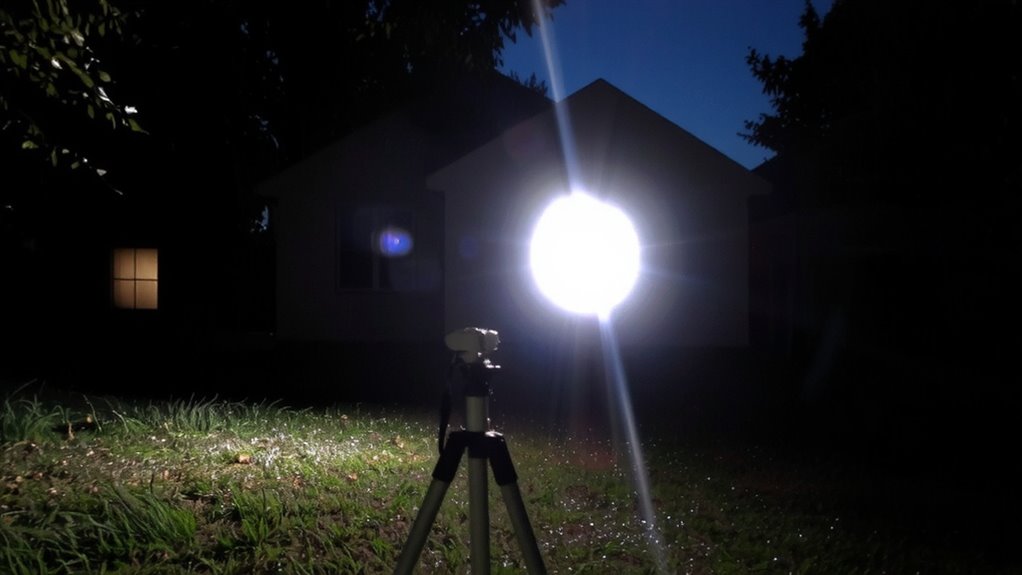
Why do your night vision recordings sometimes show bright halos or washed-out areas? You’re likely dealing with light reflection or lens flares from nearby surfaces. These issues occur when infrared light bounces off glass, metal, or wet surfaces, creating glare that degrades image clarity. To fix this, adjust your camera angle slightly-just a five- to ten-degree shift often reduces reflections markedly. Avoid pointing the lens directly at light sources or shiny surfaces. Check for built-in anti-glare features like lens hoods or hydrophobic coatings; they help minimize lens flares. Clean the lens regularly, since smudges increase unwanted reflection. Test the view at night before final mounting, using your phone screen to preview the shot. A small repositioning now saves poor footage later. Glare reduction improves detail capture without added cost-making it a smart, effective upgrade to your camera’s performance. For even better results in dark environments, consider cameras with superior low light performance.
Test With Obstacles and Moving Targets
While your camera may capture clear footage in open, well-lit conditions, it’s equally important to test how well it performs when faced with real-world challenges like obstacles and moving targets. Set up trees, fences, or plants to create 遮挡干扰 and see if your camera can still detect motion accurately. Then, walk or drive through the frame to test how well it captures moving objects without blurring or lag. Look for consistent focus, minimal delay in recording, and reliable detection. Some cameras struggle with rapid movement or partial obstructions, leading to missed alerts or gaps in footage. Test multiple angles and distances to understand performance limits. Cameras with higher frame rates and advanced motion tracking typically handle these conditions better, though they may cost more. This hands-on evaluation helps guarantee your system works when it matters most.
Test Color vs. Black-and-White Night Vision
Now that you’ve checked how well your camera handles motion and obstructions, it’s worth examining the quality of the actual night vision footage it captures. Some cameras switch to black-and-white in low light, while others maintain color. Color accuracy and white balance play key roles in how true-to-life the images appear. To compare, observe how well your camera renders familiar objects at night.
| Mode | Color Accuracy | White Balance |
|---|---|---|
| Color Night Vision | Moderate to High | Can appear warm or cool |
| Black-and-White | Not applicable | Crisp, high-contrast |
Cameras with color night vision require more light and may use built-in spotlights, which can increase power use. Black-and-white mode typically offers clearer contrast and better performance in total darkness. Choose based on your lighting conditions and surveillance needs.
Check Visibility at Different Distances and Angles
How far can your camera really see at night, and does the image stay clear when viewed from the side? You need to find out before installation. Start field testing in total darkness, placing objects at 10, 20, and 30 feet to check detail recognition. Note how far the camera captures usable images-many claim 100 feet but perform poorly beyond 50. Then, adjust the viewing angle slightly left, right, up, and down to assess clarity loss. This angle calibration guarantees you don’t miss key areas like walkways or doors. Some cameras lose focus or brightness at wider angles. Record your results to compare models. Poor side visibility could leave blind spots. Always test under real conditions, not just manufacturer settings. Proper field testing and precise angle calibration help you plan placement, avoid gaps, and get the most value-saving time and money in the long run.
On a final note
You should test night vision in total darkness to check infrared range, ensuring the camera captures clear images at the desired distance. Look for glare from nearby surfaces and adjust angles to minimize reflections. Test with moving objects and obstacles to gauge real-world performance. Compare color and black-and-white modes, noting that B&W often offers better clarity. Check visibility across distances and angles, confirming the field of view meets your security needs.