How to Set Up Privacy Zones on Security Cameras (Step-by-Step)
Set up privacy zones by choosing a camera with built-in zone blocking, ideally 1080p+ resolution and night vision, priced $80–150. Use the app to black out areas like neighbor windows or sidewalks, ensuring you avoid recording private spaces. Check local laws-some restrict audio or direct monitoring of adjacent properties. Test your view at different times and adjust the mount between 7–9 feet for best results. Regular updates keep coverage accurate and effective. You’ll learn how to fine-tune each step next.
Notable Insights
- Identify and map areas to exclude, such as neighbor windows or private yards, to respect privacy boundaries.
- Choose security cameras with built-in privacy zone features to digitally block off specific regions.
- Use the camera’s app to draw masked zones on the live view, ensuring sensitive areas remain obscured.
- Test camera angles and adjust mounting height to maintain coverage while minimizing unintended recording.
- Regularly review and update privacy zones to account for environmental changes or new privacy concerns.
Why You Should Use Privacy Zones
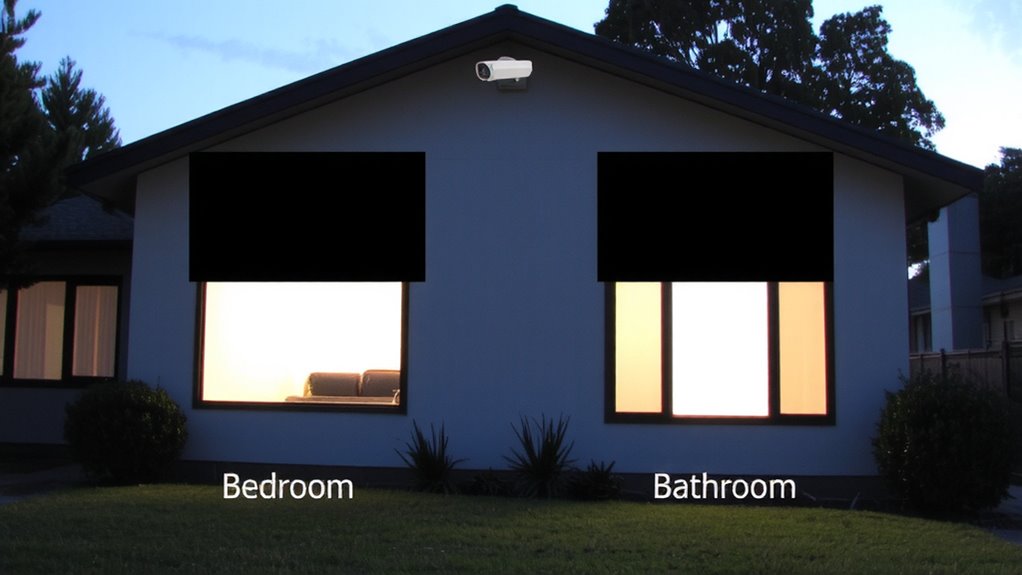
While you might want full visibility around your property, there are valid reasons to limit what your security cameras capture-especially when it comes to privacy zones. Setting visual boundaries helps guarantee ethical monitoring, protecting both your household and those nearby. Most modern cameras let you digitally block off areas like windows, driveways, or neighboring yards, preventing unwanted footage. This doesn’t just reduce privacy complaints-it strengthens trust within your community. Ethical monitoring means collecting only what’s necessary for security, not constant surveillance. Cameras with built-in privacy zone features often cost slightly more, but they offer peace of mind and compliance with best practices. You can typically adjust these zones through an app, making setup simple. By defining clear visual boundaries now, you avoid conflicts later.
Understand Camera Laws and Neighbor Rights
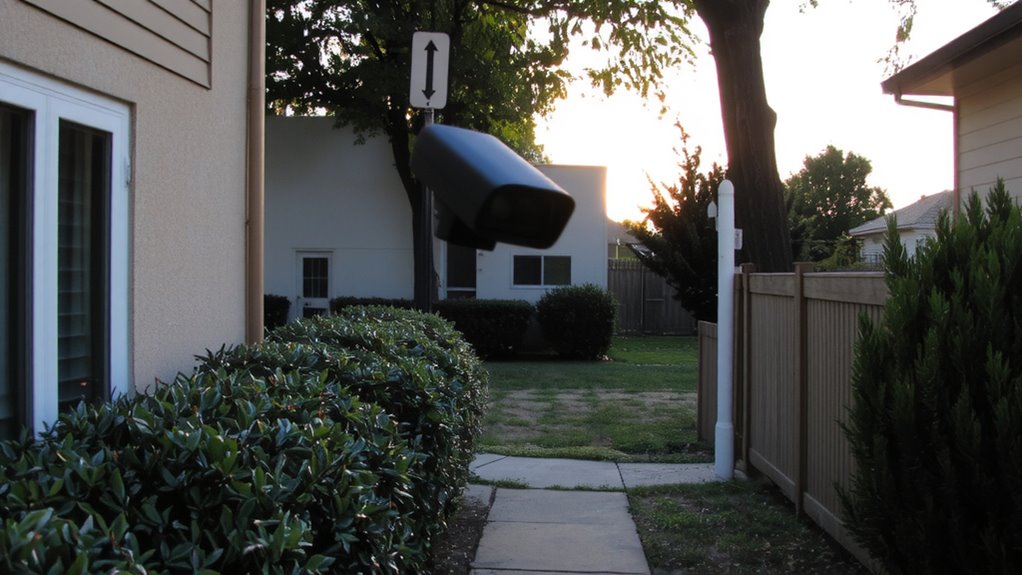
Because privacy laws vary by location, you’ll need to check local regulations before setting up your cameras, as some areas restrict recording in places where people expect privacy, like bathrooms or private yards. Understanding camera legality helps you avoid fines and legal issues. Generally, you can record on your own property, but pointed directly at a neighbor’s home or yard may cross legal lines. In many places, you don’t need neighbor consent if the camera captures only incidental footage, like someone walking past on a public sidewalk. However, if your setup records private activities, such as inside their home or backyard, getting neighbor consent is both respectful and often required. Always document discussions about camera placement. Some states have two-party consent laws for audio recording, so check whether audio features comply. Stay informed to balance security and privacy responsibly.
Pick a Camera With Privacy Zone Support
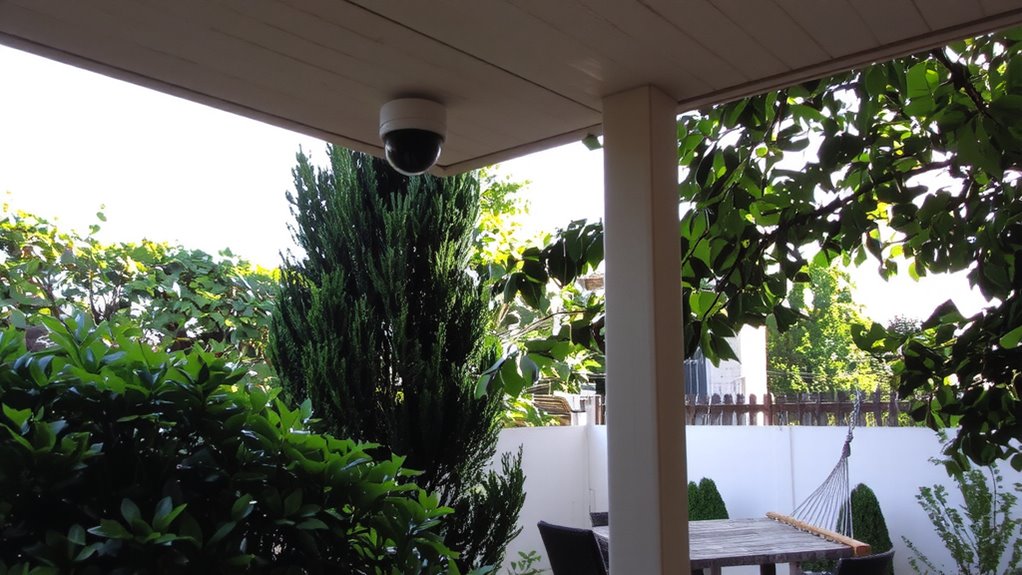
If you’re looking to protect your security setup without overstepping on privacy, choosing a camera with built-in privacy zone support makes a meaningful difference. These cameras let you block out specific areas from recording, guaranteeing ethical monitoring. High camera resolution ensures clear footage where it matters, while strong night vision keeps your property visible in darkness-without compromising restricted zones. According to recent expert reviews, the top home security cameras offer reliable privacy zone functionality alongside other essential features.
| Feature | Benefit |
|---|---|
| Privacy zone masking | Blocks unwanted areas like neighbor windows |
| 1080p+ camera resolution | Clear, identifiable footage in monitored zones |
| IR night vision | Reliable low-light coverage up to 30 feet |
| Two-way audio | Communicate through the camera remotely |
Cameras with these features typically range from $80–$150. Look for models with easy app controls for setting zones and adjusting night vision sensitivity.
Map Where to Block Off on Your Property
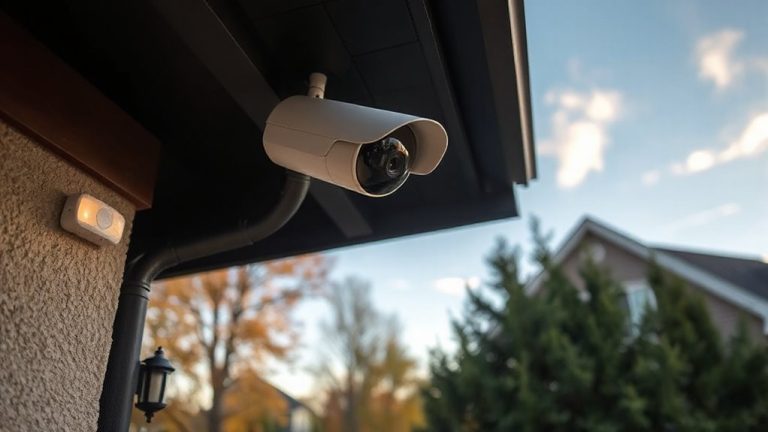
When setting up privacy zones, start by walking around your property to identify areas that should remain out of view, such as neighboring windows, public sidewalks, or shared driveways. Pay close attention to front yard boundaries and backyard boundaries, since these often border public spaces or adjacent homes. Blocking off views beyond these lines helps prevent overreach and maintains ethical monitoring. Use tape or markers to temporarily designate zones you plan to obscure. Consider sightlines from different camera angles and heights, as some views change with elevation. Note where natural barriers like fences or shrubs already limit visibility. This step guarantees only necessary areas are monitored, reducing privacy risks. Mapping now saves time later when configuring settings, and it supports responsible use of surveillance without compromising security. Be thorough-accuracy here improves both compliance and trust.
Set Up Privacy Zones in Your App
You’ve mapped out which areas to shield from camera views, so now it’s time to put that plan into action using your security system’s app. Open the app and select the camera you want to adjust, then navigate to the privacy zone or masking feature. Most apps let you draw blacked-out sections directly on the live view, guaranteeing sensitive areas like neighbors’ windows or bathroom vents stay hidden. Make sure your system uses data encryption to protect recorded footage from unauthorized access. Assign user permissions carefully, so only trusted people can change or view camera settings. Some apps allow tiered access, which helps maintain control in shared households or rental properties. Not all cameras support privacy zones, so check specs before buying. Higher-end models often include advanced privacy tools and stronger encryption. This step guarantees ethical monitoring while maintaining security.
Test and Fix Your Camera’s View
How well is your camera actually capturing what it should? Test your setup by walking through your property and checking live footage from each camera. Poor camera angles can create blind spots, leaving key areas unmonitored or capturing unintended views. Adjust mounts to cover entry points while avoiding windows or neighboring homes. Use a ladder to reposition cameras at ideal heights-usually 7 to 9 feet-for wider visibility. Test at different times of day to spot lighting issues that hide faces or details. Look for obstructions like bushes or signs that block views. After adjustments, confirm privacy zones still protect sensitive areas. Recheck periodically, especially after weather events or landscaping changes. Proper testing guarantees reliable coverage, reduces gaps, and supports ethical monitoring by avoiding overreach. Small tweaks now prevent security failures later.
Keep Your Privacy Zones Up to Date
Even if your cameras were set up perfectly at first, changes over time can undermine your privacy settings, so it’s important to review them regularly. Trees grow, furniture moves, and buildings get remodeled-each potentially exposing areas you meant to keep private. Make it a habit to inspect your camera views every few months. Also, don’t overlook software updates; they often include fixes for security flaws and improved privacy zone tools. These updates can also strengthen data encryption, guaranteeing your footage stays protected from unauthorized access. Without strong encryption, sensitive video might be vulnerable, even if privacy zones are active. Check your camera manufacturer’s app or website for update notifications. Finally, keep a simple log of changes you make to privacy zones and update dates. This small step helps guarantee consistent monitoring and accountability. Staying proactive protects both your neighbors’ privacy and your own security.
On a final note
You should set up privacy zones to respect legal boundaries and protect neighbor privacy while maintaining security. Most modern cameras support this feature through simple app controls. Map sensitive areas like windows or driveways, then block them digitally. Test views regularly and adjust as landscaping or structures change. Keeping zones updated guarantees reliable monitoring without overreach, balancing safety and ethics effectively over time.