Configuring Motion-Based Recording Schedules on a Hybrid NVR System
You’ll enable motion detection on your hybrid NVR by selecting standard or intelligent modes based on your needs, then open the recording settings to access the schedule menu. Turn on motion recording per channel, using grouping to apply settings across cameras efficiently. Adjust sensitivity and draw custom zones to reduce false triggers from pets or weather. Schedule motion recording during key times, like evenings, to save storage. You’ll fine-tune accuracy with calibration and test results-each tweak improves reliability. Better results come with detailed setup and environmental adjustments.
Notable Insights
- Log in to the NVR and navigate to the Recording or Schedule section to access motion-based recording settings.
- Enable motion activation for specific channels to start recording only when motion is detected.
- Customize motion sensitivity and define detection zones to reduce false alerts and focus on key areas.
- Schedule motion recording by time of day using the calendar interface for efficient storage management.
- Use intelligent detection modes and adjust settings per camera to match environmental conditions and activity patterns.
Enable Motion Detection on Hybrid NVRs
To get the most out of your hybrid NVR system, you’ll want to enable motion detection since it helps cut down on unnecessary footage and saves storage space. Start by selecting the right detection modes, like standard or intelligent, depending on your surveillance needs. Standard modes capture all motion, while intelligent modes use filters to reduce false alerts from pets or shadows. You’ll also need to perform motion calibration for each camera, adjusting sensitivity and zones to focus on key areas. Proper calibration guarantees reliable alerts without overwhelming your storage. Keep in mind that higher sensitivity increases detection rates but may also raise false triggers. Balancing detection modes and calibration settings improves efficiency. These steps require a few minutes but greatly enhance system performance. Always test settings in real-time to confirm accuracy before finalizing your schedule.
Open Recording Settings on Your NVR
You’ve set up motion detection and calibrated your cameras to reduce false alerts, so now it’s time to control when your system records that activity. Log in to your NVR using your access credentials to guarantee secure entry. Depending on your model, open the main menu and navigate to the Recording or Schedule section. Here, you’ll see options to define when recordings occur. Make sure your user permissions allow changes-you might need admin rights to modify settings. If you’re using a shared account, verify that restrictions aren’t limiting access. Most hybrid NVRs display a calendar-based timeline, making it easy to assign specific recording windows. Use this interface to align recording periods with high-traffic times. Double-check settings across all connected channels before saving. Always confirm changes take effect by reviewing the schedule preview. This step guarantees reliable, efficient motion-based recording tailored to your needs.
Turn On Motion Recording by Channel
Each camera channel on your hybrid NVR operates independently, giving you precise control over when and how motion recording activates. To enable motion recording, navigate to the recording settings and select the specific channel you want to configure. Toggle motion activation on for that channel, ensuring it only records when movement is detected. This reduces unnecessary footage and saves storage space. You can apply these settings individually or use channel grouping to enable motion recording across multiple cameras at once, which is helpful for synchronized coverage. Channel grouping streamlines setup, especially if cameras monitor similar areas. Always verify each channel’s status after changes, as misconfigurations can lead to gaps in recording. Keep in mind that motion activation relies on proper camera alignment and stable power. Using this feature wisely improves efficiency and extends hard drive life, making it a practical choice for most home security setups. For optimal results, consider pairing your NVR with one of the best security camera systems recommended for reliable performance and compatibility.
Customize Motion Sensitivity and Zones
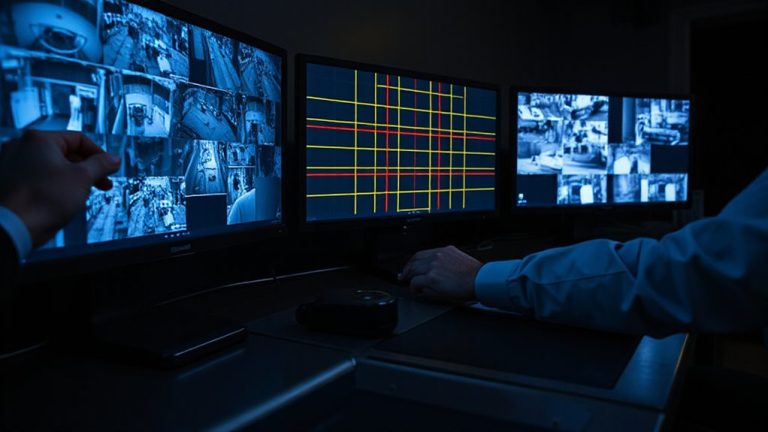
While your cameras are now set to record on motion, fine-tuning sensitivity and defining detection zones guarantees you capture meaningful activity without false alerts. You can adjust sensitivity levels to match your environment-lower settings reduce false triggers from small animals or swaying trees, while higher levels detect subtle movements. Too high, though, and you risk recording noise from shadows or weather. Motion zones let you specify where detection occurs, so you’re not wasting storage on irrelevant areas like busy streets or tree branches. Most NVR systems let you draw up to four custom motion zones per camera, giving you control over what matters. Combine proper sensitivity levels with smartly placed motion zones, and you’ll boost accuracy, save storage space, and get reliable alerts only when needed. For optimal results, consider pairing your NVR with one of the Best Motion Detectors for enhanced detection performance.
Schedule Motion Recording Times
Why limit motion recording to all hours when you only need coverage during specific times? You can save storage and reduce clutter by scheduling motion recording to active periods, like evenings or work hours. Most hybrid NVRs let you assign different motion detection modes per camera, so you’re not stuck with a one-size-fits-all approach. For example, use high sensitivity at night and lower settings during busy daytime hours. This customization helps prevent false alerts and unnecessary recordings. When multiple events occur simultaneously, recording conflict resolution guarantees critical footage isn’t lost by prioritizing inputs or managing disk writing efficiently. Always align your schedule with real-world activity patterns-like enabling motion recording when the house is empty. It’s a smarter way to balance performance, storage needs, and surveillance goals without overloading your system.
Test Motion Triggers and Adjust Settings
How do you know your motion recording will actually trigger when it matters? You test it. Walk through the detection zones during different times of day to confirm the system captures movement reliably. Pay attention to false alarms, like swaying trees or headlights, which can waste storage and reduce alert effectiveness. Environmental factors such as rain, fog, or direct sunlight may also affect sensor accuracy. Adjust sensitivity settings to balance responsiveness and reliability-too high, and you’ll get false alarms; too low, and real events might be missed. Use the NVR’s preview mode to fine-tune detection zones, excluding areas with frequent non-threatening motion. Regular testing guarantees your settings stay effective over time. This small effort improves security performance and maximizes your system’s value.
On a final note
You’ve now set up motion-based recording on your hybrid NVR, balancing storage use and security. Test each camera’s motion trigger, then fine-tune sensitivity and zones to reduce false alerts. Scheduling guarantees recording only happens when needed, saving drive space. While motion recording cuts down unnecessary footage, it may miss events without movement. For best results, combine it with regular system checks and consider a mix of motion and continuous recording on high-risk channels.