Deploying Surveillance Station Packages on Consumer NAS Devices for Advanced Analytics
You can install Surveillance Station on your consumer NAS to run advanced analytics like motion detection and facial recognition locally, avoiding cloud fees. Pick a reliable NAS with ECC memory and strong CPU support to handle 24/7 recording. Connect IP cameras via wired links for stable streaming, then use built-in tools to enable alerts and encryption. Configure storage early-plan 1–4 TB per camera monthly-and secure access with two-factor login and firmware updates. There’s more to optimizing performance and retention efficiently.
Notable Insights
- Install Surveillance Station from the Package Center on Synology or QNAP NAS for centralized camera management and analytics.
- Choose NAS models with ECC memory and high MTBF ratings to ensure reliability for 24/7 surveillance and data processing.
- Connect IP cameras via wired Ethernet to ensure stable streaming and optimal performance for advanced video analytics.
- Configure motion detection with adjustable sensitivity and scheduling to enable intelligent alerts and reduce false positives.
- Secure the system using TLS/AES encryption, firewall rules, and regular firmware updates to protect analytics data and feeds.
Install Surveillance Station on Your NAS Fast
While getting your surveillance system up and running might seem complex, installing Surveillance Station on your NAS is actually a straightforward process if you follow the right steps. You’ll start by opening the Package Center on your Synology or QNAP device, then search for Surveillance Station and click install. The interface guides you through a quick setup, which covers adding cameras, assigning storage, and configuring basic motion detection. This initial phase teaches you surveillance basics like frame rates, resolution settings, and network bandwidth needs. Once installed, you can expand features later, but the core system runs efficiently even on mid-tier models. Remember to enable automatic updates to maintain security and performance. A quick setup doesn’t sacrifice control-it gives you immediate access to live feeds and recording management, laying a reliable foundation for long-term monitoring without requiring advanced technical skills or extra hardware.
Pick a NAS That Can Handle 24/7 Surveillance
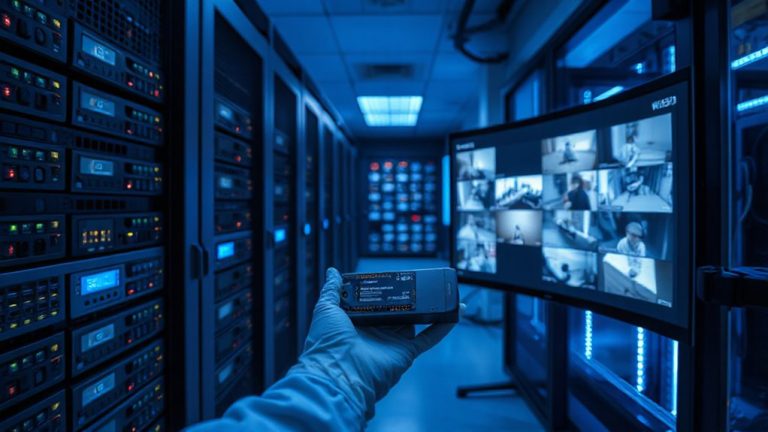
Reliability isn’t just a feature-it’s a requirement when choosing a NAS for 24/7 surveillance. You’ll need a model built for constant operation, with proven hardware reliability and solid cooling. Look for units with error-correcting code (ECC) memory and redundant power supplies to reduce downtime. Consumer-grade NAS devices often lack durability under continuous load, so check reviews and MTBF (mean time between failures) ratings. Energy efficiency matters too-models with low-wattage CPUs and spin-down drives save power over time, cutting costs. Prioritize NAS units with surveillance-specific firmware and support for multiple camera streams. Avoid overspending on unnecessary features, but don’t compromise on build quality. A reliable, energy-efficient NAS guarantees your system runs smoothly year-round without overheating or failing when you need it most. Top models from the best NAS devices list often include surveillance-optimized features like dedicated transcoding and high-drive bays.
Connect and Configure Your IP Cameras
Once you’ve chosen a reliable NAS for your surveillance setup, the next step is connecting and configuring your IP cameras so they work seamlessly with the system. Proper camera placement guarantees full coverage of entry points and high-traffic areas while minimizing blind spots. Mount cameras at a height of 8–10 feet for best viewing angles and tamper resistance. Use wired connections when possible to support consistent video streaming and reduce lag or interruptions. Most NAS-based surveillance software automatically detects IP cameras on the same network-just follow the setup wizard to add each device. Confirm that your network can handle the combined video streaming bandwidth, especially with multiple high-resolution cameras. Allocate sufficient NAS storage based on retention needs, typically 1–4 TB per camera per month, depending on settings. Test each camera’s feed to verify alignment and clarity before finalizing placement. For optimal performance, consider selecting models from the best IP cameras list that are known for reliability and high-resolution streaming.
Turn on Motion Detection and Alerts
Since motion detection helps you capture only relevant activity, it’s a smart way to save storage space and make monitoring easier. You can enable it through Surveillance Station’s interface by selecting each camera and turning on motion detection. Adjust the motion sensitivity to avoid false alerts from things like moving shadows or pets-lower settings reduce triggers, while higher ones catch subtle movements. Combine this with alert scheduling so you only get notifications during times you choose, like when you’re away or asleep. This helps prevent alert fatigue and keeps your system efficient. You’ll receive email or push alerts when activity occurs, letting you check footage right away. Make sure your NAS has enough processing power and storage to handle continuous detection, especially with multiple cameras. Proper setup means you get reliable alerts without wasting resources. For optimal performance, consider pairing your NAS with best motion detectors that complement Surveillance Station’s analytics capabilities.
Activate Facial Recognition for Family and Visitors
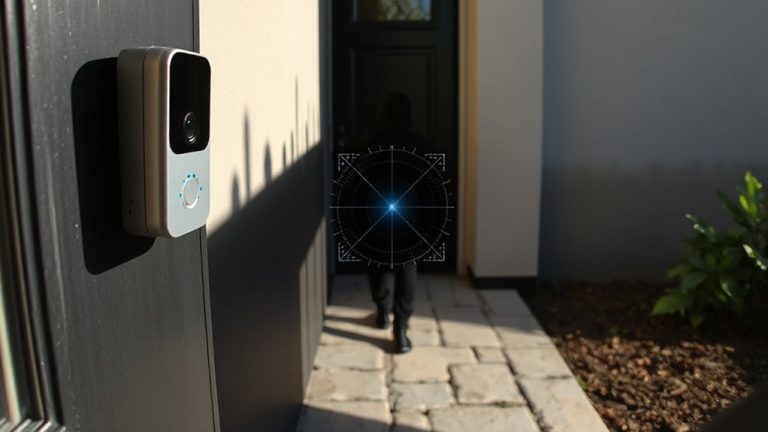
How would you like to know instantly when a family member arrives home or get notified when an unfamiliar face appears at your door? Activating facial recognition on your NAS-based surveillance system makes this possible. The software learns household faces and distinguishes visitors from strangers. You’ll receive alerts tailored to specific people, improving awareness without constant camera checking. Still, privacy concerns exist-storing facial data locally on your NAS, not in the cloud, reduces risk. Make sure data encryption is enabled so images stay protected, even if the device is compromised. While setup takes time, the feature improves accuracy over time with regular use. Some false matches may occur, especially with similar-looking individuals. Consider reviewing access logs and disabling recognition when unnecessary. This feature works best when paired with strong passwords and updated firmware. Evaluate whether benefits outweigh privacy tradeoffs for your household.
Keep Hours of Footage Without Filling Your Drive
A few days’ worth of high-resolution footage can quickly fill your NAS drive, but smart retention settings help you keep hours of video without running out of space. You can use retention policies to automatically delete older clips after a set period, ensuring you always have recent footage without manual cleanup. Adjusting recording schedules-like capturing only during motion events-boosts storage optimization and extends usable space. Some Surveillance Station packages let you tier footage, saving high-res video for 48 hours and switching to lower resolution afterward. This balances quality and capacity. Allocate disk space wisely: dedicate a portion of your drive just for surveillance to prevent other files from interfering. With proper planning, even a 4TB drive can store over a week’s worth of video from multiple cameras. You’ll get reliable coverage without constant maintenance.
Protect Your Camera Feeds From Hackers
When your cameras stream to a NAS system, they become potential targets unless properly secured, so taking proactive steps now keeps your footage private and your network safe. You should enable strong encryption standards like TLS and AES to protect data both in transit and at rest, preventing unauthorized access even if the feed is intercepted. Configure your firewall settings to limit incoming connections, only allowing trusted IP addresses and closing unused ports. Disable remote admin access unless absolutely necessary, and use two-factor authentication where supported. Regularly update your NAS firmware and Surveillance Station package to patch known vulnerabilities. Avoid using default usernames and passwords. While these steps require a bit of setup time, they greatly reduce risk without high costs. Proper configuration is key-security gaps often stem from oversight, not product flaws.
On a final note
You’ve set up Surveillance Station on a capable NAS, connected secure cameras, and enabled motion alerts and facial recognition. You’re saving storage with efficient recording schedules and keeping footage safe with strong passwords and encryption. This setup gives 24/7 monitoring, clear analytics, and home privacy-without relying on cloud subscriptions. Plan for drive space, camera compatibility, and power needs. Done right, it’s a reliable, cost-effective security solution built to last.