How to Test Panic Buttons: 5 Steps to Confirm Signal Transmission
Check each panic button’s light-green means it’s on, red or flashing could mean trouble. Replace batteries regularly, even if the light looks fine. Press the button and watch your control panel for an instant signal. Then call your monitoring center to confirm they received the alert. Run surprise drills to test response times. Fix issues like weak batteries or interference from walls or electronics. Keep logs to track performance-this helps catch problems early and guarantees every button works when needed.
Notable Insights
- Check that each panic button emits a green light to confirm power and basic functionality.
- Test signal reception by pressing each button and verifying an instant alert appears on the control panel.
- Contact the monitoring center immediately after triggering each button to confirm they received the emergency signal.
- Perform multiple button presses during testing to ensure consistent response and rule out intermittent failures.
- Schedule regular emergency drills to validate end-to-end performance, including signal transmission and response coordination.
Check Your Panic Button’s Lights and Status
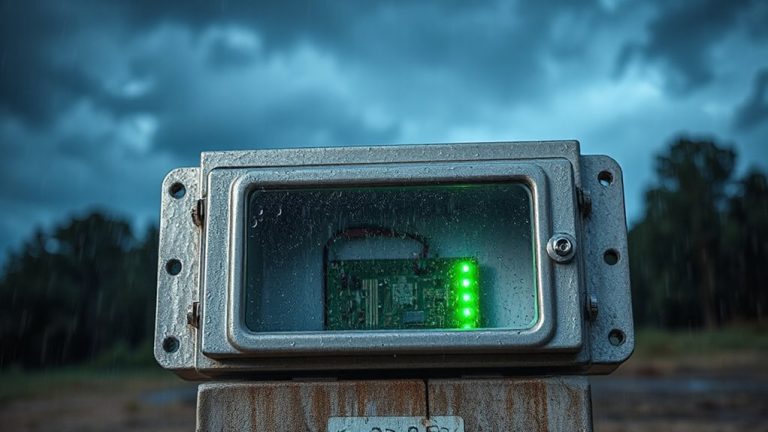
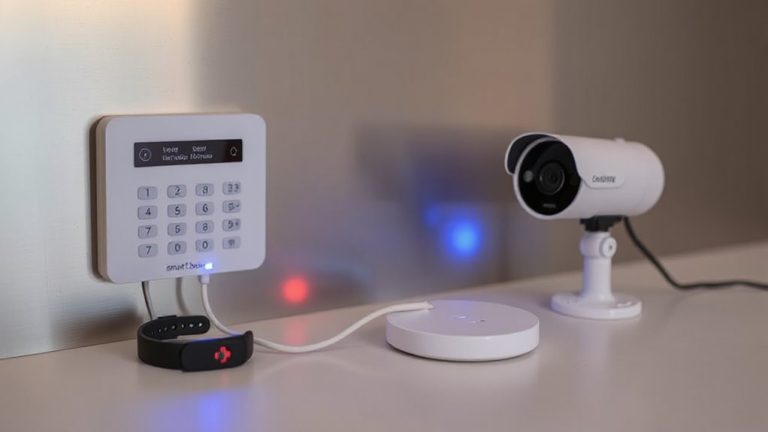
A quick glance at your panic button’s indicator lights can tell you a lot about its readiness. Green usually means power is on and the device is functioning. Red or flashing lights may signal trouble. Always start with a battery check-low power reduces reliability. Replace batteries as the manual suggests, even if the light looks fine. A weak battery can weaken signal strength, delaying or blocking transmission. Check the manufacturer’s specs for ideal operating conditions. Most systems update status every 12 to 24 hours, so wait no longer than that between checks. Signal strength is often shown indirectly through indicator patterns. If lights blink rapidly or erratically, signal strength may be low. Avoid thick walls or metal barriers near the button. Make this check part of your monthly routine. It takes under a minute but guarantees faster emergency response. No tools needed-just eyes and consistency. For reliable protection, choose from the best panic buttons based on expert testing and user feedback.
Test the Panic Button Signal at the Control Panel
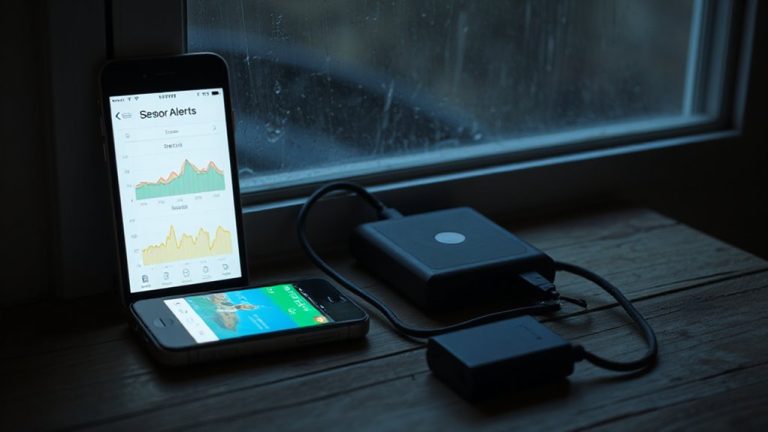
Now that you’ve checked the panic button’s lights and confirmed it’s powered and within range, the next step is verifying the signal actually reaches the control panel. Press the button and watch the panel’s display-it should show an instant alert indicating reception. A strong signal strength means the connection is reliable, while weak readings suggest interference or distance issues. Note any transmission delay; delays longer than two seconds may point to system lag or network congestion. Test each button multiple times to guarantee consistent responses. If the panel doesn’t register the signal, reposition the button or add a signal repeater. Avoid metal obstructions and thick walls that degrade performance. Regular testing guarantees your system remains responsive, especially during real emergencies. Document results to track performance trends over time.
Confirm the Monitoring Center Got the Alert
How can you be sure your panic button did more than just alert the panel? You need signal confirmation from the monitoring center. After triggering the button, contact the center directly to verify they received the alert. This step guarantees alert verification is complete and the system functions end-to-end. Most professional monitoring services send a follow-up call or message to confirm the emergency. If they don’t reach you, that could indicate a transmission issue. Ask your provider how they handle alert verification and whether they log response times. Some systems offer mobile notifications for real-time updates. Keep records of each test, including date, time, and the field the center’s response. Written documentation supports system reliability checks. Without confirmation, you can’t be certain help would arrive. Always insist on verified communication-not just panel signals-for full protection.
Run Realistic Panic Button Drills With Your Team
Testing signal delivery to the monitoring center sets the foundation, but real readiness comes when everyone who relies on the system knows exactly what to do under pressure. You need to run realistic panic button drills with your team to guarantee smooth team coordination during actual emergencies. Schedule drills at random times to test response speed and accuracy-consistent drill timing helps identify weaknesses in communication or procedure. Involve all team members, assign roles, and simulate real scenarios like intrusions or medical events. After each drill, review response times, clarify responsibilities, and note how quickly alerts were acknowledged. These exercises improve muscle memory and reduce hesitation. Realistic practice doesn’t replace system testing, but it strengthens human response. You’ll find gaps in coordination early, allowing fixes before a real crisis. Regular, unannounced drills are key to preparedness.
Fix Common Issues and Avoid False Alarms
Why do panic buttons sometimes fail when you need them most? Often, it’s due to battery failure or signal interference. You should check each button’s battery monthly-most last 1–3 years, but older models drain faster. Replace them proactively, not just when the low-battery alert appears. Signal interference from thick walls, metal structures, or nearby electronics can block transmission. Test signal strength by activating the button near and away from these obstacles. Place repeaters if needed to boost range. Avoid false alarms by training everyone on proper use-don’t carry buttons near water or in pockets where they can be pressed accidentally. Confirm your system logs each test, so you can track issues over time. A well-maintained panic button system reduces risks and guarantees reliability when seconds count.
On a final note
You should test your panic button monthly to guarantee it sends signals properly. Check the lights, verify the control panel receives the alert, and confirm the monitoring center logs it. Run practice drills with your household or team to catch issues early. Fix faulty batteries or interference quickly to avoid false alarms. Regular checks keep your system reliable and ready when needed most.