How to Create Custom Voice Alerts for Different Alarm Triggers
You can create custom voice alerts by pairing motion or door sensors with a smart hub like Echo or Hubitat that supports audio playback. Record short, clear messages such as “Garage door open” and assign them to specific triggers. Match each sensor to the right alert in your app, then test response times and speaker clarity. For best results, use WAV files and place sensors away from obstructions. A well-planned setup guarantees reliable alerts-what you do next could improve your system’s effectiveness.
Notable Insights
- Choose compatible smart home sensors and verify integration with your hub for reliable trigger detection.
- Select a hub that supports text-to-speech and your preferred audio formats for voice alert flexibility.
- Record clear, short voice messages using a calm tone and test them for clarity through the hub speaker.
- Map each sensor to a specific alert and route it to the correct speaker via your system’s app.
- Test alerts regularly to ensure fast response time, clarity, and proper sensor-to-voice alignment.
Choose Smart Home Triggers for Voice Alerts
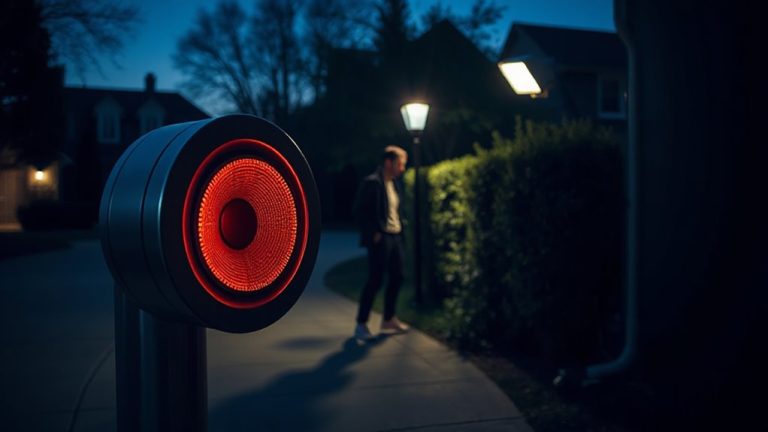
What if your home could warn you the moment a door opens or the laundry finishes? You can set up custom voice alerts using smart devices that respond to specific triggers. Start by choosing reliable motion detection sensors for rooms where activity should be monitored, like hallways or home offices. These detect movement and can prompt alerts if someone enters during off-hours. Pair them with door access sensors on entry points to know when a door opens or closes, whether it’s a front door, garage, or basement. Check device compatibility-some sensors work only within certain ecosystems. Consider battery life and placement: avoid heat sources or obstructions. Alerts are only useful if timely and accurate, so test triggers regularly. Using these features gives you awareness and control, helping enhance security and daily convenience without complexity. A reliable setup often includes a central smart home hub to streamline communication between devices.
Select a Hub That Supports Text-to-Speech
A growing number of smart home hubs now support text-to-speech (TTS), but not all offer the same reliability or flexibility. You’ll want a hub that handles voice modulation and audio formatting cleanly so alerts sound clear and natural. Poor TTS can make warnings hard to understand, especially in emergencies. Below is a comparison of top hubs based on key TTS features:
| Hub Model | Voice Modulation | Audio Formatting |
|---|---|---|
| Echo Hub | High | MP3, WAV |
| Google Nest | Medium | AAC, MP3 |
| Samsung SmartThings | Low | MP3 |
| Hubitat Elevation | High | WAV, OGG |
| Home Assistant | Custom | All formats |
Choose one that supports varied audio formatting and strong voice modulation. Hubitat and Home Assistant offer the most control, while Echo and Nest balance ease of use with solid output. Consider compatibility with your existing devices and whether local processing matters for speed and privacy.
Record Voice Messages for Each Alert Type
While some hubs generate speech automatically, recording your own voice messages guarantees clarity and personalization for each alert type, especially in high-stress situations. You’ll want clear voice clarity so every word is understood quickly, no matter the environment. Keep message length short-ideally under five seconds-to guarantee alerts are fast and actionable without cutting off. Speak in a calm, firm tone and record in a quiet space to avoid background noise. Use simple phrases like “Front door open” or “Motion in hallway” so the message is direct. Test each recording through your hub’s speaker to confirm volume and intelligibility. Re-record if any words sound muffled or unclear. Most systems allow up to 30 seconds per message, but shorter alerts improve response time. Planning these recordings early guarantees your system communicates exactly what you need, when you need it.
Link Sensors to Activate Alerts
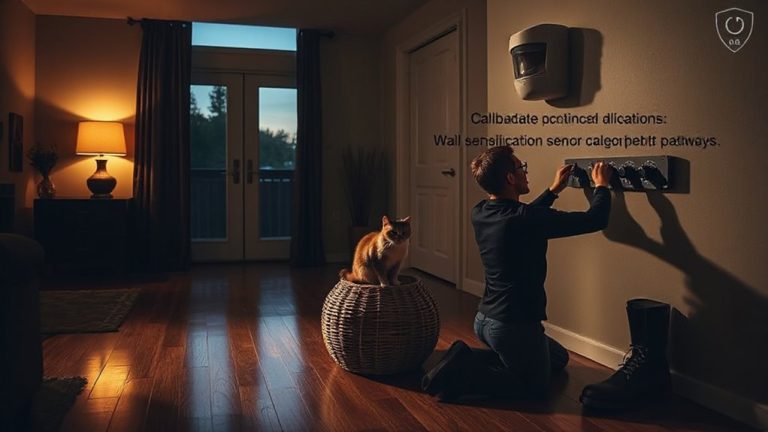
You’ve recorded clear, personalized voice alerts, and now it’s time to connect them to the right triggers. Sensor mapping lets you assign specific sensors-like door, motion, or smoke detectors-to the correct alert. For example, a bedroom window sensor should activate a bedroom-specific alert, not a garage one. Accurate mapping guarantees the right message plays in the right place. Alert routing determines how the signal travels from sensor to speaker, often through a central hub or smart home system. Most systems allow you to configure routing in their app, where you can match each sensor to its voice file. This setup reduces confusion during emergencies. Make sure your system supports multiple audio zones and reliable response times. Poor routing can delay messages, so choose hardware with proven sync performance. Take time to label sensors clearly and double-check connections before moving on. For optimal results, consider integrating your setup with one of the best home alarm systems that support custom voice alerts and smart sensor compatibility.
Test Alerts for Clarity and Response Time
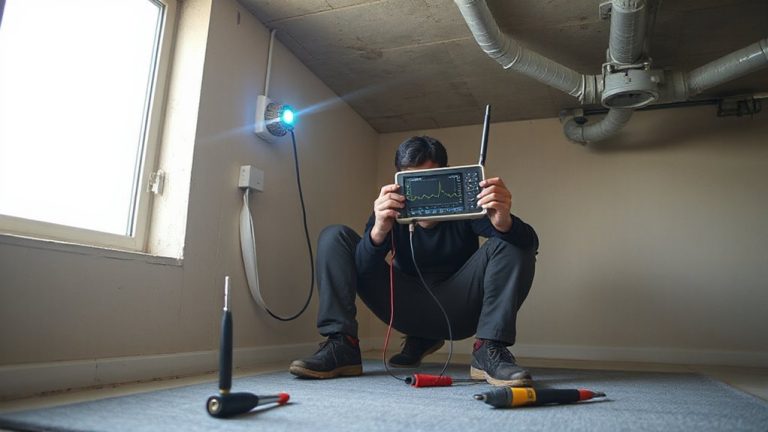
Once your sensors are mapped and alerts routed, it’s time to verify they work as intended. Begin with audio testing to guarantee each voice alert is clear and loud enough to hear in key areas. Stand in different spots-near and far-to check volume and word clarity. If the message sounds muffled or cuts off, adjust speaker placement or increase volume settings. Next, perform a timing evaluation: trigger each sensor and note how quickly the alert plays. A delay longer than three seconds could reduce effectiveness during emergencies. Use a stopwatch or phone timer for accurate results. Test multiple times to confirm consistency. If response time varies, check your network connection or device processing speed. Both audio testing and timing evaluation help guarantee reliability. Document your findings so you can fine-tune system settings. This step shouldn’t be skipped-it’s critical for confidence in your setup.
Add Voice Notifications to More Rooms
Since your core alert system is working reliably, expanding voice notifications to additional rooms can improve overall awareness and safety. Voice expansion lets you cover more areas, ensuring alerts are heard clearly no matter where someone is in the home. Start by evaluating which rooms lack coverage-like bedrooms, basements, or garages-and prioritize based on occupancy and risk. Room integration often requires extra smart speakers or compatible devices, so check compatibility with your existing system. Most platforms support multi-room syncing, but latency can vary. Wired systems offer better reliability, while wireless provides easier setup. Consider the cost: adding three devices might run $150–$300. Test each new room after installation to confirm volume and clarity. With proper voice expansion and room integration, your system becomes more effective, ensuring timely responses across all areas of your home.
On a final note
You’ve set up custom voice alerts by choosing reliable triggers, a compatible hub, and clear recordings. Test each alert to guarantee it’s loud and understandable. Link sensors correctly so warnings respond quickly to real events. Adding alerts to more rooms improves coverage, but avoid overlapping messages. Systems vary in price and setup time, so plan for wiring, updates, and power needs. This approach increases awareness, helping you respond faster to risks.