Strategies for Minimizing Pet-Induced False Alarms With PIR Sensor Calibration
Choose pet-immune PIR sensors that ignore animals under 40–80 lbs, depending on model, and mount them 6–8 feet high to keep detection zones above your cat’s path. Aim sensors slightly downward but away from pet areas like counters or beds. Adjust sensitivity settings or enable pet-immunity modes to reduce false triggers. Use adhesive baffles or lenses to block low-level motion. Test system responses over several days using your cat’s typical movement patterns to guarantee reliable performance. More nuanced strategies follow.
Notable Insights
- Use pet-immune PIR sensors designed to ignore animals under 40–80 pounds using advanced detection algorithms.
- Mount sensors at 6–8 feet high to keep detection zones above typical pet movement levels.
- Aim sensors slightly downward, ensuring the lower detection arc clears pet pathways and furniture.
- Adjust sensitivity settings to reduce range and heat detection, minimizing false triggers from small animals.
- Install detection shields or baffles to block lower sensor angles where pets commonly move.
Why Your Cat Sets Off the Alarm
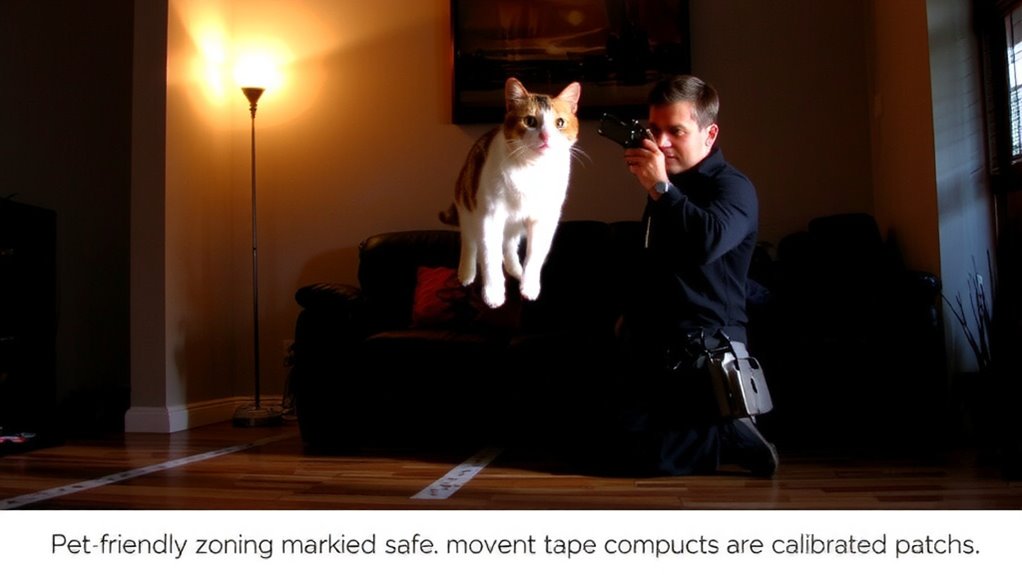
Why does your cat suddenly trigger the alarm when no one’s broken in? It’s likely due to how pet behavior interacts with sensor placement. Motion detectors, especially PIR sensors, detect heat and movement. If your cat jumps on furniture or walks near a poorly placed sensor, its body heat and motion can mimic an intruder. Sensors mounted too low or aimed at common pet pathways increase false alarms. To reduce this, install sensors higher-six to eight feet-so pets stay below their detection zone. Avoid pointing them toward shelves, counters, or pet beds. Adjusting sensor placement early accounts for your pet’s typical movement patterns. While ceiling-mounted corner sensors offer wider coverage, they require careful angle calibration. Proper placement doesn’t eliminate all risk, but it markedly reduces false triggers. Planning during installation saves time and avoids frustration.
Pick Pet-Immune PIR Sensors That Ignore Animals
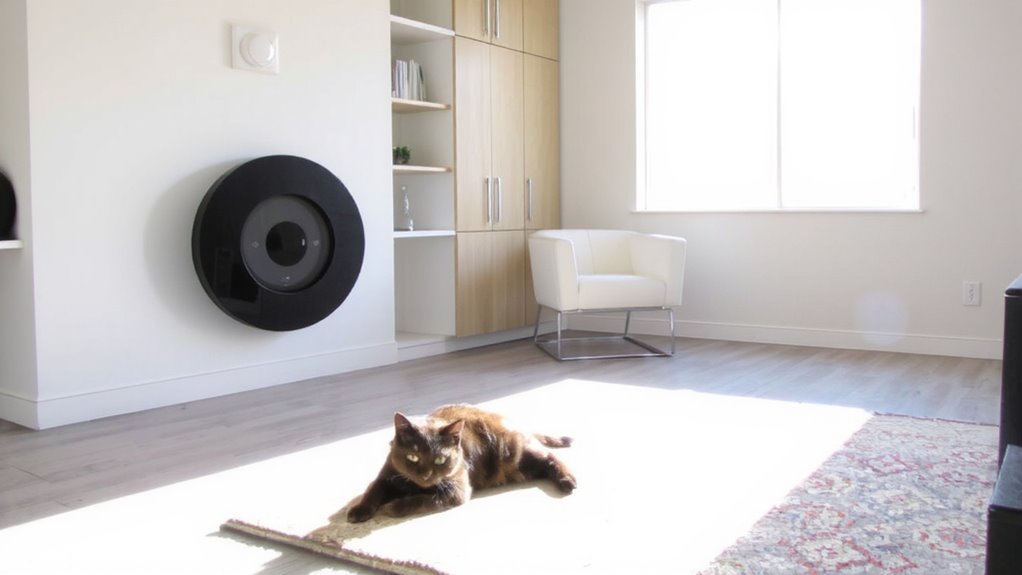
Many newer PIR sensors can reliably ignore pets under 40 pounds, so you don’t have to choose between security and your pet’s freedom. These pet-immune sensors use advanced algorithms and dual-element detection to distinguish small animal heat signatures from humans. When selecting one, check the specs-some handle pets up to 80 pounds, but performance varies. Proper sensor placement matters just as much as the unit itself; install it where it won’t have a direct line of sight to pet pathways. Understanding animal behavior helps too-cats jump, dogs roam, and their movement patterns can trigger poorly calibrated sensors. Look for models with adjustable sensitivity and pet immunity settings. Prices range from $30–70, and while higher-end versions offer better accuracy, they still require correct setup. Always test after installation to confirm it ignores your pet’s typical motions.
Aim Sensors Above Floor Level to Skip Pet Zones
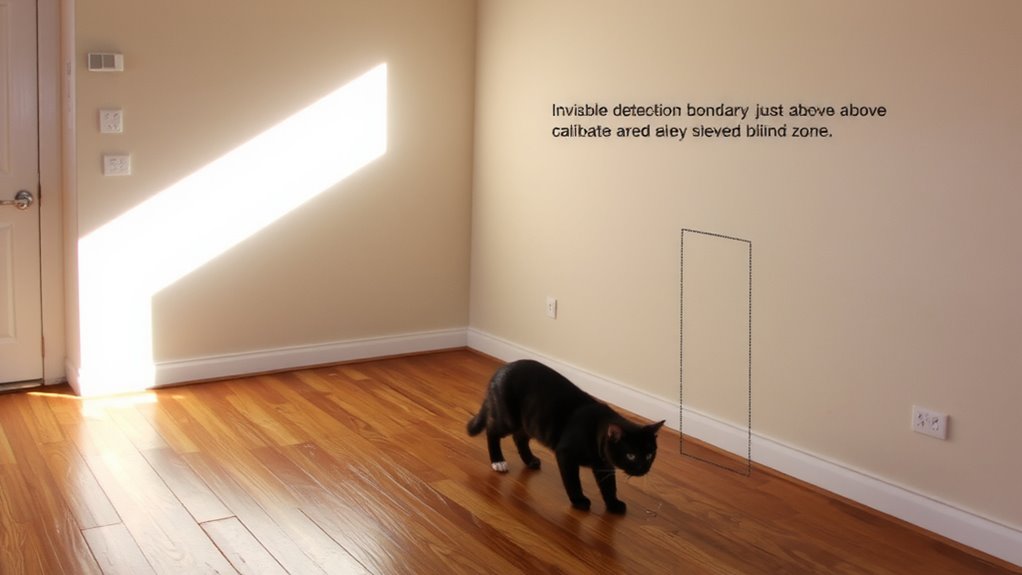
While pets naturally move close to the ground, adjusting your motion sensor’s angle upward can reduce false alarms by focusing detection above their typical range. Proper mount placement matters-install the sensor on a wall or corner where it can cover entry points without pointing directly at pet pathways. A height adjustment to 6–7 feet off the floor usually avoids most pet activity zones, especially for cats and small to medium dogs. Aim the sensor slightly downward but guarantee the lower detection arc clears your pet’s usual height. This strategy works best when combined with sensors rated for pet immunity, though it isn’t foolproof for large, active dogs. Always test the field of view after installation. Correct alignment minimizes blind spots while reducing nuisance alerts, improving overall system reliability without compromising security coverage. For optimal results, consider pairing this placement technique with one of the best motion sensors for Home Assistant.
Tune PIR Sensitivity to Avoid False Triggers
You’ve already taken steps to reduce false alarms by mounting sensors above floor level, but another key factor is adjusting the sensitivity of your passive infrared (PIR) sensors. Proper sensor placement matters, but calibration techniques fine-tune performance. Most PIR sensors have adjustable sensitivity dials-turn them down if pets trigger alarms. Lower settings reduce detection range and heat differentiation, helping ignore small animals. You’ll want to test the sensor after each adjustment, walking through the area like your pet would. Some models offer pet-immunity modes up to 40 or 80 pounds-check your specs. While lower sensitivity reduces false triggers, it may slightly decrease coverage. Balance is key. Combine smart calibration techniques with correct sensor placement for reliable results. Always consult the manufacturer’s guide for model-specific advice, as settings vary. This step doesn’t cost extra but saves time and frustration.
Use Shields to Block Low-Level Motion Detection
A pet owner’s best bet for reducing false alarms without sacrificing coverage is using PIR sensor shields to block low-level detection zones. Sensor shielding helps filter out motion from pets under 40 lbs, especially when they roam near baseboards or furniture. By installing motion blocking barriers like pet immunity lenses or adhesive baffles, you narrow the sensor’s view below 3 feet-where pets move, not people. This targeted approach maintains upper-field sensitivity for intruders. Most shields are low-cost and retrofit easily onto existing sensors. Best Motion Detectors offer built-in pet immunity features that work seamlessly with external shielding for optimal performance.
| Shield Type | Coverage Adjustment |
|---|---|
| Adhesive Baffles | Blocks lower 30 degrees |
| Pet Immunity Lens | Filters motion under 2 ft |
| DIY Cardboard | Temporary, customizable |
| Factory Built-in | Pre-tuned, no install |
| Adjustable Hood | Fine-tune angle manually |
Sensor shielding is a practical, data-backed method for smarter motion blocking and reliable home security.
Test Alarms Using Your Pet’s Real Movement Paths
Your home’s security system needs to distinguish between a prowling intruder and your dog’s nightly wanderings, and the best way to guarantee accuracy is by testing alarms using your pet’s actual movement patterns. Start by observing your pet’s common routes-like walking to their bed or following you through rooms-then simulate those motion patterns during testing. Pay close attention to sensor placement, ensuring units are angled to avoid direct views of low zones where pets move. Use trial runs to verify alarms trigger only for human-level motion. Testing under real conditions helps identify blind spots or over-sensitive areas. Adjust sensitivity settings if needed, and retest. This evidence-based approach improves reliability. Proper calibration takes time, but it reduces false alerts. Plan testing over several days to account for changes in your pet’s behavior. A reliable method involves using insights from top-rated monitoring tools, such as those highlighted in reviews of the best pet cameras.
On a final note
You can reduce pet-triggered false alarms by choosing pet-immune PIR sensors, which ignore animals under 40–80 lbs. Mount sensors high on walls or corners to avoid detecting low motion, and adjust sensitivity settings based on your pet’s size and activity. Use physical shields to block detection zones near the floor. Test the system using your pet’s usual paths to confirm reliable coverage. These steps, backed by sensor performance data, improve accuracy without sacrificing security.