Strategic Placement of Motion Sensor Lights to Maximize Yard Surveillance
Place motion sensor lights at all entry points-doors, gates, and corners-set to cover at least 3游戏副本 feet with overlapping zones to eliminate blind spots. Focus first on dark, hidden areas like rear alleys and shed backs, mounting lights 6–8 feet high for maximum detection of adult movement. Aim sensors away from trees and pet areas, using adjustable sensitivity to reduce false alarms. Choose LED models with shielding for accuracy and efficiency. Set duration to 30 seconds for effective threat assessment. Fine-tune angles and test at night for full coverage-maximizing now guarantees every approach is monitored.
Notable Insights
- Install motion sensor lights at all entry points with at least 30 feet of coverage to detect intruders early.
- Prioritize dark zones like rear alleys and shed areas by mounting sensors low to detect ground-level movement.
- Avoid aiming lights at trees or pet areas to reduce false alarms from wind or animals.
- Mount sensors at 6 to 8 feet high to optimize detection of human movement while minimizing false triggers.
- Overlap coverage zones and adjust sensitivity and timer settings for consistent, reliable yard-wide surveillance.
Cover All Entry Points With Motion Sensor Lights
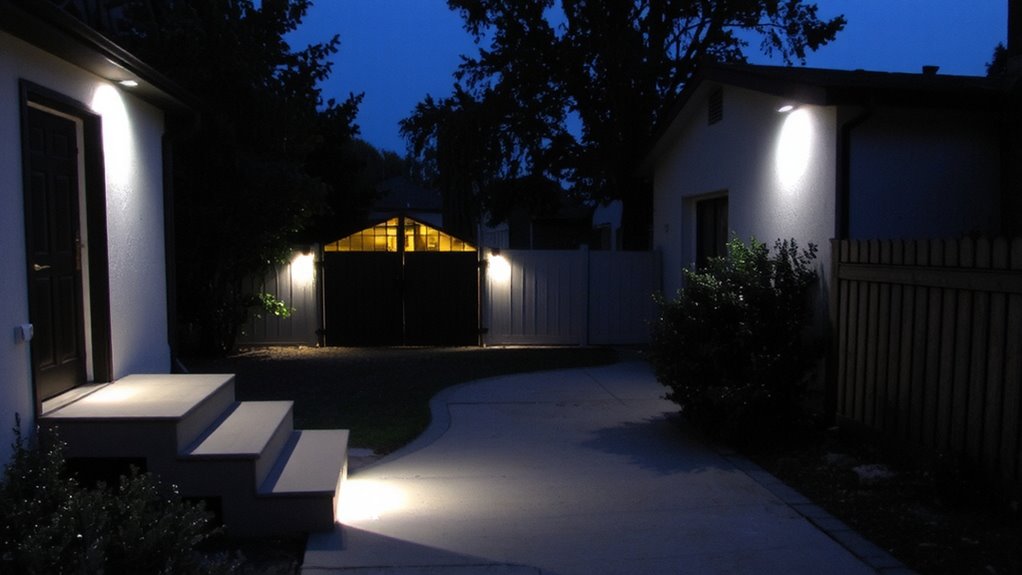
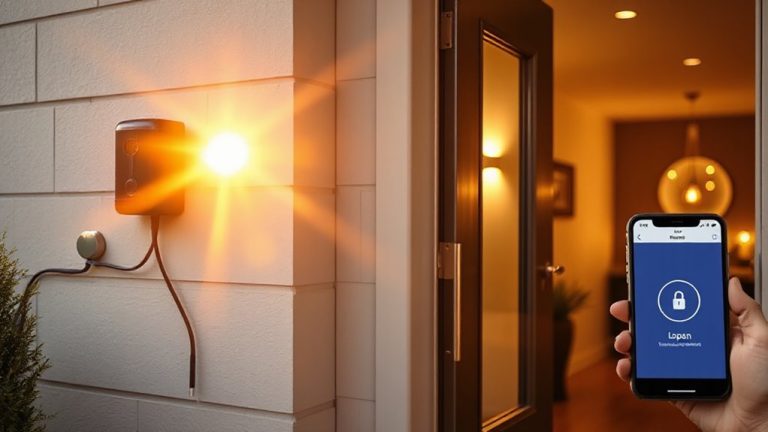
While you might not think about every possible entry point, securing your yard means making certain all potential access areas are covered with motion sensor lights. You’ll want lights with the right light intensity-bright enough to illuminate pathways but not so intense they cause glare. A coverage range of at least 30 feet makes certain motion is detected well before someone reaches your door. Place units at corners, gates, and garage entries, angling them to minimize blind spots. Opt for LED models with adjustable sensitivity to reduce false triggers. Higher lumen output improves visibility, while wider detection angles expand coverage range. Installation height matters-6 to 8 feet optimizes both light intensity and detection. Most systems cost $30–$60 per light, with hardwired offering reliability and solar providing easy setup. Plan spacing so overlaps in coverage range eliminate dark zones entirely. For reliable performance and easy installation, consider one of the best outdoor motion sensor lights recommended for year-round durability and advanced motion detection.
Target Dark Doorways and Hidden Corners First
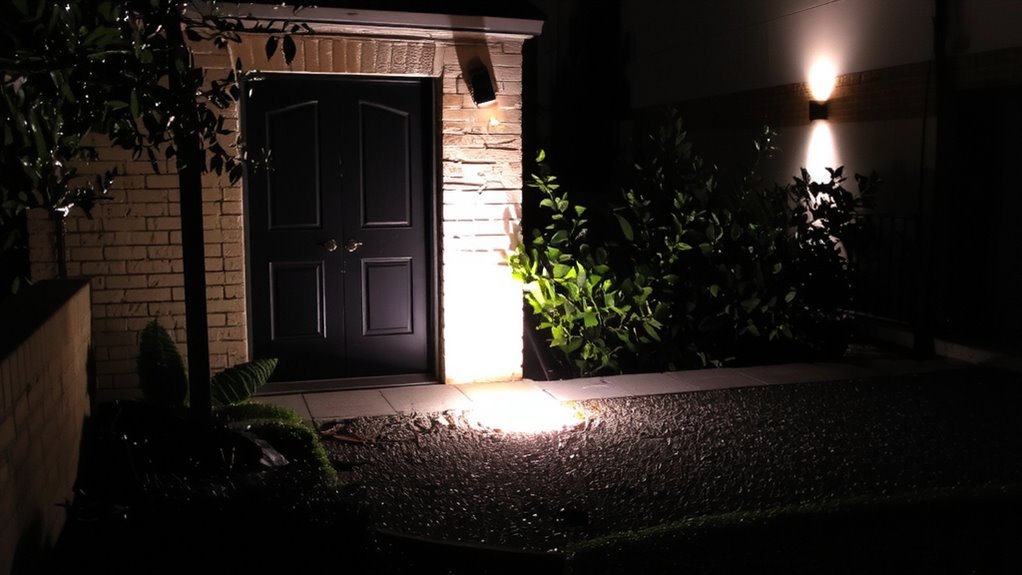
Start with the shadows-those unlit doorways and tucked-away corners are your yard’s weakest links. Criminals exploit these spots because they offer cover and access points you might overlook. That’s why shadow detection is critical: motion sensors placed here catch movement before intruders reach entry doors. Focus on areas like side gates, rear alleys, or spaces behind sheds-exact spots where blind zone monitoring pays off. These zones often lack natural light or visibility from neighbors, making them high-risk. Use lights with adjustable sensitivity and a wide detection angle to maximize coverage. Position them low to avoid false triggers, and guarantee they point directly at ground-level pathways. While basic models start around $30, investing in weather-resistant, dusk-to-dawn sensors improves reliability. You’ll gain actionable visibility, reduce vulnerabilities, and create a stronger perimeter-without overspending. Prioritize these dark zones first, then expand outward.
Aim Motion Sensor Lights Away From Trees and Pets
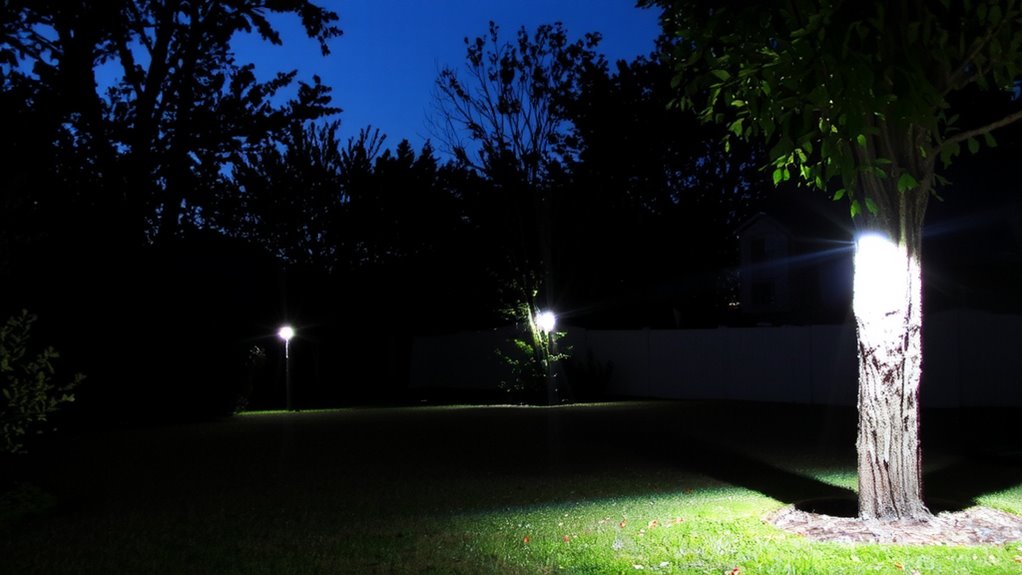
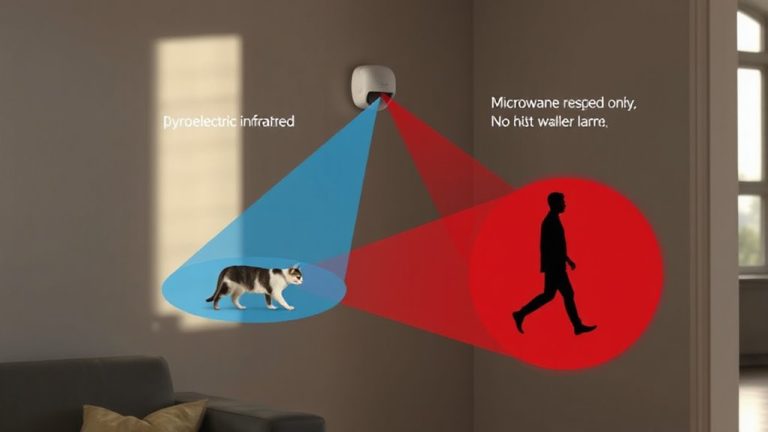
Since motion sensor lights react to changes in movement, pointing them toward swaying branches or active pet areas increases the chance of false alarms, which can dull your response over time. You’ll want to avoid light interference caused by wind-blown foliage, as it can trigger unnecessary lighting cycles and wear down your system’s effectiveness. Animal triggers from dogs or cats roaming your yard are common too, especially if lights sit low or face pet pathways. To reduce these disruptions, angle sensors away from gardens, trees, and known pet zones. Choose models with adjustable sensitivity settings so you can fine-tune detection zones and exclude small animals. Proper positioning cuts down on wasted energy, extends bulb life, and guarantees alerts are meaningful. This small step improves reliability, so real threats don’t get lost in the noise. Top-rated models often feature customizable motion detection ranges and shielding to minimize false triggers, making best motion sensor flood lights a smart investment for dependable outdoor security.
Install at 6–8 Feet for Best Detection
Positioning your motion sensor lights at a height of 6 to 8 feet gives you the most effective coverage for detecting people while reducing false triggers from pets or nearby vegetation. This installation height aligns the sensor’s field of view with adult torso movement, which boosts detection accuracy. Mounting too low increases pet false alarms; too high reduces sensitivity and wastes light. At 6–8 feet, you also improve energy efficiency by focusing illumination where it’s needed, avoiding unnecessary skyward or ground-level spill. Most manufacturers design sensors with this ideal range in mind, so following it guarantees peak performance. Use a ladder to check alignment during installation, and adjust the angle slightly downward if needed. This height works well for both wall-mounted and post-mounted units, offering a balanced mix of security, visibility, and power savings. It’s a simple step that greatly enhances your yard’s surveillance capability. For optimal results, consider pairing your setup with one of the best outdoor security lights recommended by experts.
Overlap Zones for No-Corner Blind Spots
Three or more motion sensor lights work better than a single unit when covering complex yard layouts, especially around corners where visibility drops. You need sensor overlap to eliminate blind spots and guarantee seamless detection. Creating coverage redundancy means if one light fails or misses motion, others still activate. This is essential near garages, sheds, or back doors where intruders might lurk. Position lights so their detection zones intersect at corners and entry points. Below is a comparison of placement strategies:
| Zone Type | Sensor Overlap | Coverage Redundancy |
|---|---|---|
| Single Light | Low | Minimal |
| Dual Light | Medium | Moderate |
| Triple Light | High | High |
| Corner Focus | High | High |
| Perimeter Ring | Ideal | Maximum |
Use triple-light setups for corner zones to maximize reliability.
Set Lights to Flash Brightly and Stay On 30 Seconds
Now that you’ve set up overlapping detection zones to cover every corner and entry point, it’s time to fine-tune how your lights respond when motion is detected. Set your lights to flash brightly the moment motion triggers them-this sudden burst of light intensity startles intruders and alerts you immediately. A high light intensity also improves camera visibility if you have surveillance systems. Keep the duration settings at 30 seconds; this gives enough time to assess the situation without wasting energy. Shorter durations might cut off too soon, while longer ones can lead to light fatigue and higher electricity use. Most modern motion lights let you adjust both sensitivity and duration, so use these settings wisely. Thirty seconds strikes the best balance between security and efficiency. Make sure all lights are set consistently so responses across your yard are predictable and effective.
Test and Adjust Your Motion Sensor Light Placement
Why do some motion sensor lights miss movement or trigger too often? It’s usually due to poor placement or incorrect settings. Testing and adjusting your setup guarantees reliable detection. Walk through your yard at night to check coverage and tweak the angle or height if needed. Pay attention to light sensitivity-too high, and you’ll get false alarms from small animals; too low, and intruders might go undetected. Timer calibration matters, too: set it long enough to assess threats but not so long it wastes energy. Use this table to guide adjustments:
| Setting | Too High | Too Low |
|---|---|---|
| Light Sensitivity | Frequent false triggers | Misses real movement |
| Timer Calibration | Wastes energy, stays on | Cuts off too soon |
| Mounting Height | Reduces coverage area | Increases blind spots |
Fine-tune until performance improves.
On a final note
You’ve covered all key entry points and eliminated dark zones with smart light placement. Overlapping detection areas and proper height improve security, while avoiding false triggers keeps the system reliable. Set lights to stay on for 30 seconds and flash brightly to alert you effectively. Test each sensor’s range and adjust as needed. This data-backed setup offers clear, practical protection without unnecessary cost or complexity.