Guide to Installing Home Security Systems in New Construction Homes
Install your security system during new construction to hide wires in walls and align with framing. Choose wired for reliability, wireless for flexibility, or hybrid for both. Cover all entry points with sensors and place cameras 8–10 feet high for clear footage. Run low-voltage cables before drywall, using in-wall rated wire and clear labels. Guarantee dedicated power and a strong internet connection with Cat 6 and a Gigabit router. There’s more to optimizing your setup efficiently.
Notable Insights
- Plan security during the design phase to integrate wiring and devices into construction timelines efficiently.
- Choose between wired, wireless, or hybrid systems based on reliability, flexibility, and installation timing needs.
- Map sensors and cameras to cover all entry points, optimizing placement for visibility and privacy.
- Run low-voltage wiring before drywall to conceal cables and enable reliable, battery-free system performance.
- Ensure stable power and high-speed internet with dedicated circuits and network infrastructure for seamless operation.
Install Security Early in New Construction
While you’re still in the planning stages of building a new home, it’s the ideal time to integrate security systems into the design, since wiring and camera placements can be hidden within walls and framing. Planning early aligns with construction timelines, reducing delays and extra labor costs. You’ll need to secure security permits before work begins, so check local regulations early. These permits guarantee your system meets code and can impact inspection approval. Install sensors, alarms, and monitoring hubs during the rough-in phase, after framing but before insulation. This avoids retrofitting later. Coordinating with your builder guarantees correct placement for doors, windows, and utilities. Early installation typically costs $800–$1,500, depending on system complexity. Security systems add long-term value and deter break-ins by up to 300%, according to FBI data. Proper timing and compliance save money and improve effectiveness.
Choose Wired, Wireless, or Hybrid Systems
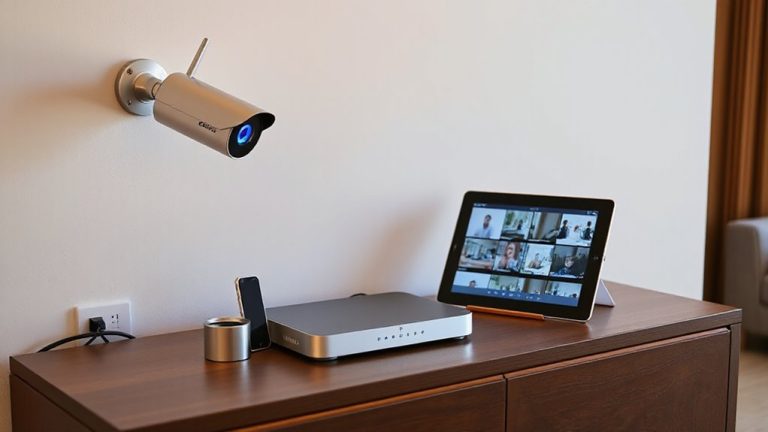
If you’re deciding between wired, wireless, or hybrid home security systems, your choice will shape installation complexity, reliability, and long-term costs. Wired systems offer high system reliability and aren’t prone to signal interference, making them ideal for whole-home coverage. However, they require running cables during construction, which limits flexibility later. Wireless systems are easier to install and adjust, but they depend on Wi-Fi, increasing risks of signal interference and reduced reliability during outages. They also need regular battery replacements, adding to maintenance. Hybrid systems combine both: they use wired components for critical areas and wireless for expandability, balancing reliability with flexibility. Though slightly more expensive upfront, hybrids offer strong system reliability and adaptability. Choose wired for maximum stability, wireless for convenience, or hybrid for the best of both-just plan power and access points carefully to avoid interference issues. A reliable option for wireless outdoor coverage is investing in top-rated outdoor security cameras.
Map Cameras and Sensors by Entry Points
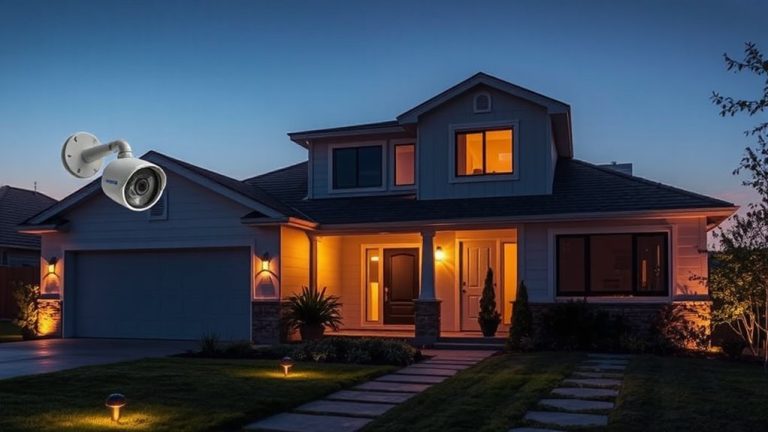
Once you’ve picked the right system type-wired, wireless, or hybrid-you’re ready to plan where your cameras and sensors go. Start by identifying all entry points: doors, windows, and garages. For each, match the right sensor types-door/window sensors, motion detectors, or glass break sensors-based on risk and layout. Position cameras to cover these zones with clear camera angles, ensuring no blind spots. Mount outdoor cameras at eight to ten feet high, angled to capture faces and license plates. Avoid pointing them into bright sunlight to reduce glare. Entry sensors should trigger instantly, so use reliable, low-latency models. Interior cameras work best in hallways and stairwells, monitoring movement toward exits. Balance coverage with privacy-don’t point into bedrooms. A well-mapped system increases detection accuracy by up to 60%. Think through placement now to avoid gaps later. For discreet monitoring in sensitive areas, consider installing best hidden cameras that blend seamlessly into the environment.
Run Wires Before Drywall Installation
Since you’re working during new construction or a major renovation, now’s the ideal time to run wires for your security system before drywall goes up. You’ll want to conceal wires inside walls, floors, and ceilings, which makes the system both discreet and secure. Running wires early helps you avoid obstructions like studs, plumbing, or electrical lines that could complicate installation later. Plan wire paths from each camera and sensor back to your control panel or hub, using low-voltage cable rated for in-wall use. Label each wire at both ends to simplify connections during setup. Wired systems offer reliable performance and don’t depend on batteries, but require more planning than wireless. By installing now, you save time and labor costs, and guarantee a clean, professional look. This step is critical for a seamless, effective setup. A reliable choice for this setup is a best wired security camera system.
Set Up Power and Internet for Security
You’ve already routed the wires through walls and labeled them, so now it’s time to guarantee your security system has stable power and internet connections. Choose dedicated power sources for each security component to prevent outages-battery backups alone aren’t reliable. Hardwiring cameras and control panels assures consistent performance. For internet, your router should support at least 100 Mbps upload speed if using multiple high-resolution cameras. Insufficient internet bandwidth causes lag, dropped feeds, and delayed alerts. Use a Gigabit-capable router and assign a separate VLAN or guest network for security devices to reduce congestion. Cat 6 cables are best for wired connections, offering faster, more stable data transfer than Wi-Fi. Avoid sharing bandwidth-heavy devices like smart TVs on the same network. Proper power and bandwidth planning now prevents failures later-both are foundational for long-term reliability and performance.
Connect Security to Smart Home Systems
A well-integrated security system works smarter when connected to your smart home ecosystem, letting you monitor and control devices from one central app. Smart integration allows cameras, locks, and motion sensors to interact with thermostats, lights, and smart assistants. You can set up automation rules, like turning on lights when motion is detected or locking doors automatically at bedtime. Most modern systems support voice control through Alexa, Google Assistant, or Siri, so you can arm your system or check camera feeds hands-free. This convenience improves response time and daily use. For best results, choose devices using the same communication protocol-like Z-Wave or Zigbee-to reduce interference and guarantee reliability. While setup varies, having a unified platform simplifies troubleshooting and future upgrades. Always confirm compatibility before purchasing, as not all brands support full smart integration. Consider a hub if connecting multiple device types, as it improves stability and expands voice control options.
Schedule Professional Installation or DIY Test
Choosing between professional installation and a DIY setup depends on your technical comfort, time, and system complexity. If you’re confident with tech, a DIY test lets you save money and customize placement, but incorrect sensor setup may trigger false alarms. Professional installers guarantee proper wiring and device alignment, reducing mistakes that cause false alarms. They also integrate system monitoring right away, which notifies authorities during emergencies. With DIY, you’ll need to manually test each component-door sensors, motion detectors, cameras-to confirm they communicate with the hub. Consider paying for professional help if your system includes 24/7 system monitoring, as experts verify signal strength and backup power. While DIY can cost $100–$300 less, professionals offer warranties and faster setup. Weigh long-term reliability over short-term savings. Either way, test the entire system thoroughly before finalizing walls or insulation.
On a final note
You’ll save time and money by installing security during new construction. Choose wired for reliability, wireless for flexibility, or hybrid for balance. Run wires before drywall, and map sensors at all entry points. Guarantee dedicated power and strong internet. Connect to smart home systems for seamless control. Plan early, compare costs, and decide between professional help or DIY setup. Proper planning now improves safety later.