Maximizing Coverage: Tips for Setting Up Perimeter Detection Cameras Around Your Property
Walk your property’s perimeter to mark entry points and divide it into security zones, focusing on low-visibility areas. Use bullet cameras for long driveways, domes for tight corners, and PTZ models for irregular spaces. Mount cameras 8–10 feet high, angled down 15–20° to cut glare and improve facial capture. Overlap views by 20–35% at key zones so motion tracking stays smooth. Set custom motion zones to ignore trees or streets, reducing false alerts by up to 70%. Proper layout and placement can cut maintenance by nearly half-fine-tuning begins with understanding your coverage gaps.
Notable Insights
- Map your property’s perimeter to identify all entry points and divide into security zones based on risk.
- Choose camera types like bullet, dome, or PTZ to match specific areas and layout challenges.
- Mount cameras 8–10 feet high and angle them downward 15–20 degrees for optimal detection and tamper resistance.
- Overlap camera fields of view by 20–35% to ensure continuous coverage and improve threat tracking.
- Configure motion zones to focus on entry points and exclude false alarm triggers like trees or public paths.
Map Your Property’s Vulnerable Entry Points
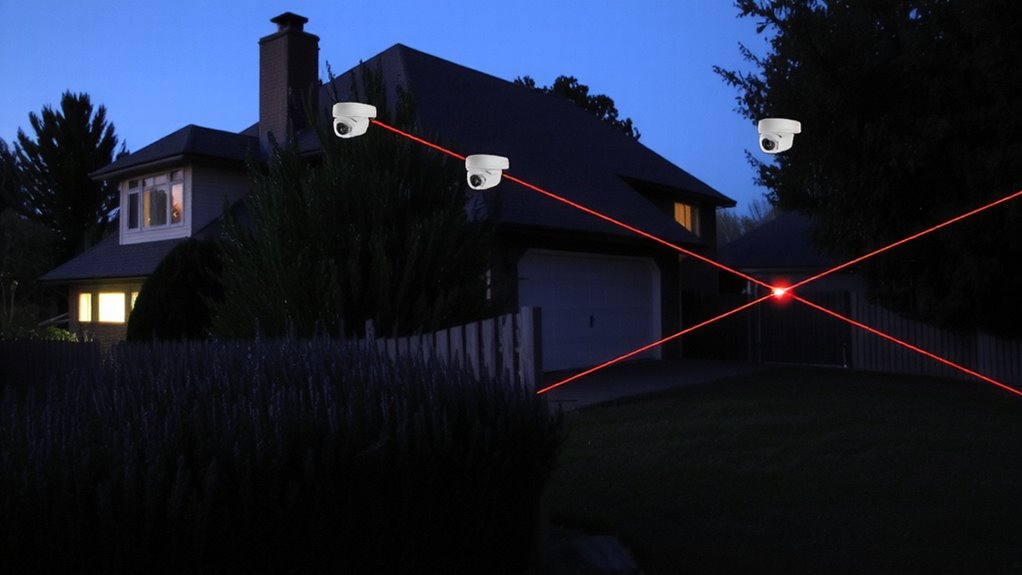
Once you’ve decided to install perimeter detection cameras, the first step is identifying where threats are most likely to enter your property-mapping these vulnerable points guarantees your system covers every critical zone. Start by walking the full perimeter, noting all access points along your property lines, including gates, fences, doors, and blind spots. Divide your property into clear security zones based on risk, such as entry points near the garage or backyard. Focus extra attention on areas with low visibility or proximity to public paths. Use simple diagrams or home security apps to mark each zone, ensuring no gap goes unnoticed. Proper mapping improves camera placement, reduces false alerts, and increases detection accuracy. While this step takes time, it prevents costly oversights later. Accurate zone planning typically cuts long-term maintenance and boosts overall system effectiveness by up to 40%. Choosing models with high weather resistance ensures reliable performance in harsh conditions, even in exposed outdoor security cameras setups.
Pick Cameras That Match Your Perimeter Layout
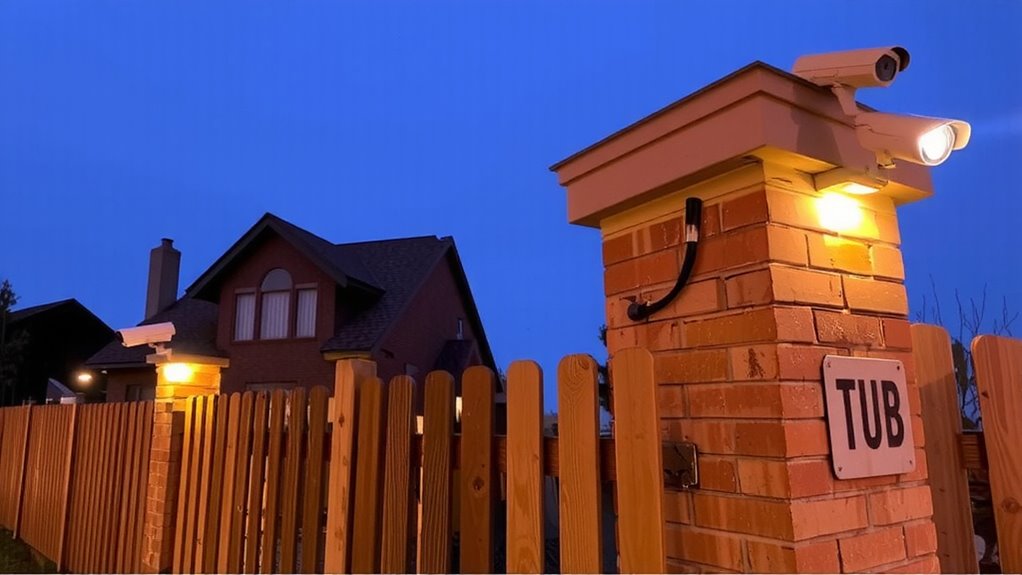
Your perimeter’s unique layout calls for cameras designed to handle specific challenges like distance, lighting, and terrain. Choose camera types based on coverage needs-bullet cameras for long-range viewing, dome cameras for tight spaces, and PTZ (pan-tilt-zoom) models for large or irregular areas. Lens options matter too: fixed lenses work well for consistent views, while varifocal lenses let you adjust the field of view during installation. For long driveways or fences, pair narrow-angle lenses with high-resolution sensors to capture clear details at a distance. In low-light zones, select cameras with wide-aperture lenses and infrared support. Consider weather-resistant housing for outdoor camera types. While more advanced models cost more, they reduce blind spots and improve detection accuracy. Match each camera to its location, balancing price, durability, and image quality for reliable perimeter monitoring. For optimal performance, choose models from the best outdoor security cameras list that align with your environmental demands and technical requirements.
Install Cameras at the Best Height and Angle
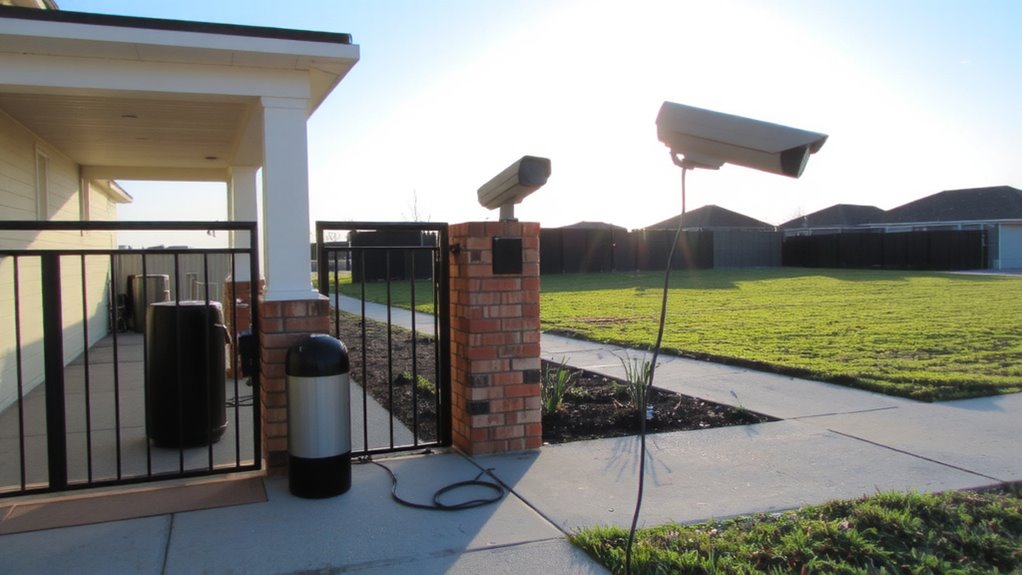
Choosing the right camera type and lens for your perimeter sets the foundation, but proper placement determines how well the system performs. Install cameras 8 to 10 feet high-this height captures clear facial details while staying out of easy reach. Angle them slightly downward, about 15 to 20 degrees, to reduce glare and maximize detection accuracy. Proper angle calibration guarantees you cover entry points without blind spots. Maintain camera symmetry by aligning units at consistent heights and angles across all sides of your property-this creates uniform video quality and simplifies monitoring. Avoid pointing cameras directly at bright light sources, as this reduces image clarity. Test each camera’s field of view during setup and adjust as needed. Well-calibrated angles and consistent mounting improve motion detection and video analytics, giving you reliable data when reviewing incidents. For optimal performance, consider a wired security camera system that ensures stable connectivity and continuous power supply.
Overlap Views for Full Perimeter Coverage
While monitoring a single stretch of your property might seem sufficient, overlapping camera views actually eliminate blind spots and guarantee seamless coverage around the entire perimeter. Proper camera overlap guarantees no intruder can move between zones undetected. Field synchronization between adjacent cameras improves motion tracking and video consistency. Use the following guidance when planning placement:
| Zone | Camera Overlap | Field Synchronization Benefit |
|---|---|---|
| Front Yard | 20–30% | Smooth handoffs, clear ID |
| Side Gates | 25–35% | Reduces evasion risk |
| Back Fence | 30% | Enhances night coverage |
| Driveway | 20% | Reliable vehicle detection |
Aim for at least 20% visual overlap to maintain detection accuracy. Synchronized fields help systems register movement across cameras, improving alert precision and forensic review later.
Set Motion Zones to Stop False Alarms
Most false alarms come from unadjusted motion settings, but you can cut down unnecessary alerts by up to 70% when you properly configure motion zones. Use your camera’s app to draw zones where real threats are likely, like driveways or entry points, and ignore areas like busy streets or rustling trees. This helps you adjust sensitivity so minor movements don’t set off alerts. You’ll filter triggers more effectively, reducing junk notifications from animals or shadows. Set higher sensitivity in critical zones and lower it in less important areas to balance security and convenience. Many cameras let you customize multiple zones with different rules, giving you control without complexity. This smart setup saves time and increases reliability. Proper motion zoning is a simple step that boosts your system’s accuracy and keeps you focused on real risks.
Test for Blind Spots and Adjust Placement
How well is your camera really covering the area it’s supposed to protect? Walk through your property during daylight and test each camera’s view to identify blind spots. You might miss critical zones like side gates or dark corners if camera alignment isn’t precise. Use a smartphone or monitor to view the live feed while adjusting angles-small changes can make a big difference. Check for signal interference, especially with wireless models, as thick walls or nearby electronics could weaken transmission. Retest at night, since lighting changes affect coverage. If gaps remain, consider repositioning the camera or adding a second unit. Always secure mounting points to prevent shifts over time. Proper placement guarantees every inch of your perimeter is monitored efficiently and reliably.
On a final note
You’ve mapped entry points and chosen suitable cameras, so now overlapping views and correct positioning guarantee full coverage. Set motion zones to reduce false alerts from pets or trees. Test thoroughly for blind spots, adjusting angles as needed. Proper height and alignment improve detection. These steps, backed by security studies, boost effectiveness without overspending. A well-planned layout offers reliable perimeter protection, giving you data-driven peace of mind.