Floodlight Alarm Sensitivity: Settings, Mounting Height & Range
You can adjust your floodlight’s sensitivity by locating the dial near the wiring or bracket, usually labeled low to high. Set it to medium first, then fine-tune based on motion detection-lower to ignore small animals or wind-blown debris, higher to catch people or vehicles. Mount 6 to 10 feet high and aim across driveways or walkways. Choose models with pet immunity or dual-tech sensors for better accuracy. The right setting improves response while reducing false alarms-your ideal balance depends on placement and surroundings. Optimizing each feature sharpens performance across different conditions and needs.
Notable Insights
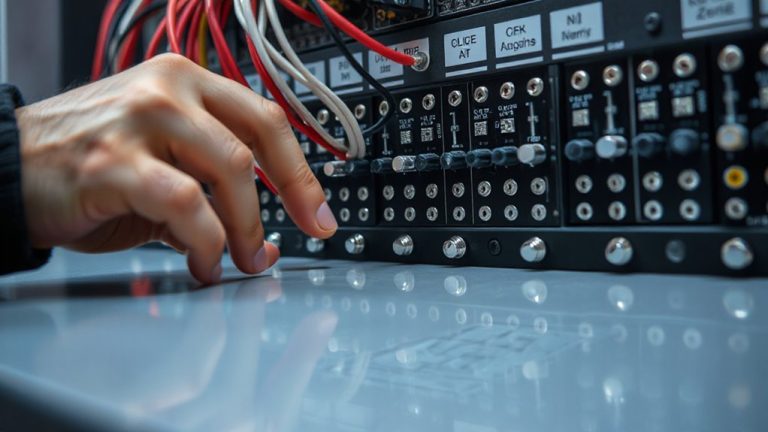
- Locate the sensitivity control on the bottom or side of the unit near the wiring compartment.
- Set sensitivity to medium initially and adjust based on motion detection performance over two evenings.
- Lower sensitivity to avoid false triggers from small animals, wind-blown debris, or distant movement.
- Mount the floodlight 6 to 10 feet high and aim the sensor across walkways or driveways for optimal detection.
- Use dual-tech sensors or pet immunity modes to reduce false alarms while maintaining human detection.
Find the Sensitivity Control on Your Floodlight
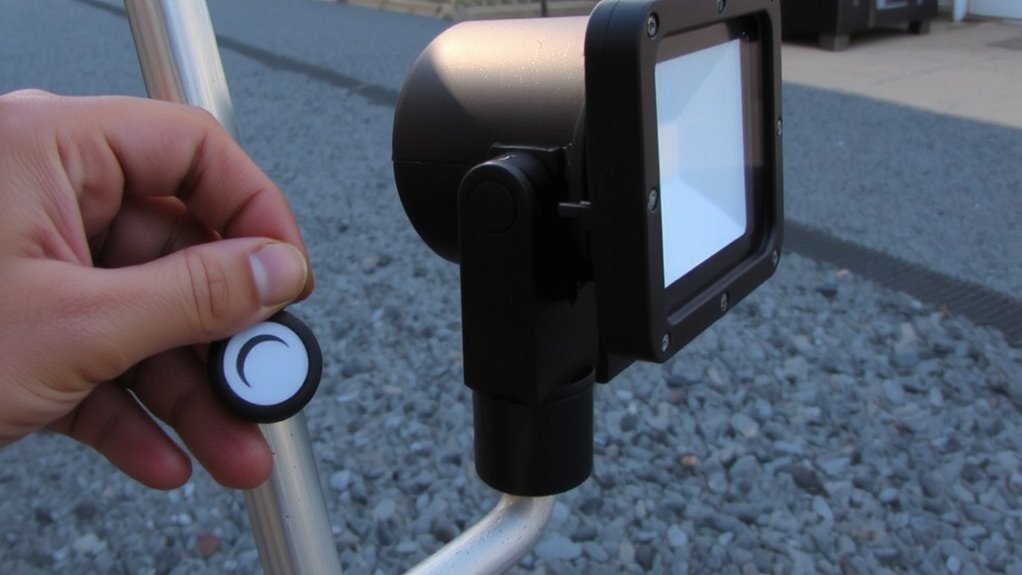
The sensitivity control on your outdoor motion-detecting floodlight alarm is usually located on the bottom or side of the unit, near the wiring compartment or mounting bracket. You’ll often see a small dial or switch labeled “sensitivity” or marked with low-to-high indicators. Adjusting this setting helps fine-tune the motion range and detection angle, ensuring the sensor responds only to meaningful activity. A higher setting increases both the motion range and the detection angle, which can lead to more frequent triggers, including false alarms from distant or small movements. Lower settings reduce sensitivity, limiting activation to closer, larger threats. Most models allow a detection angle between 120 and 180 degrees and a motion range up to 30 feet. Check your manufacturer’s guide for exact specifications, as sensitivity controls vary slightly by brand. Always power off the unit before adjusting to avoid electrical hazards.
Set the Right Sensitivity for Your Yard
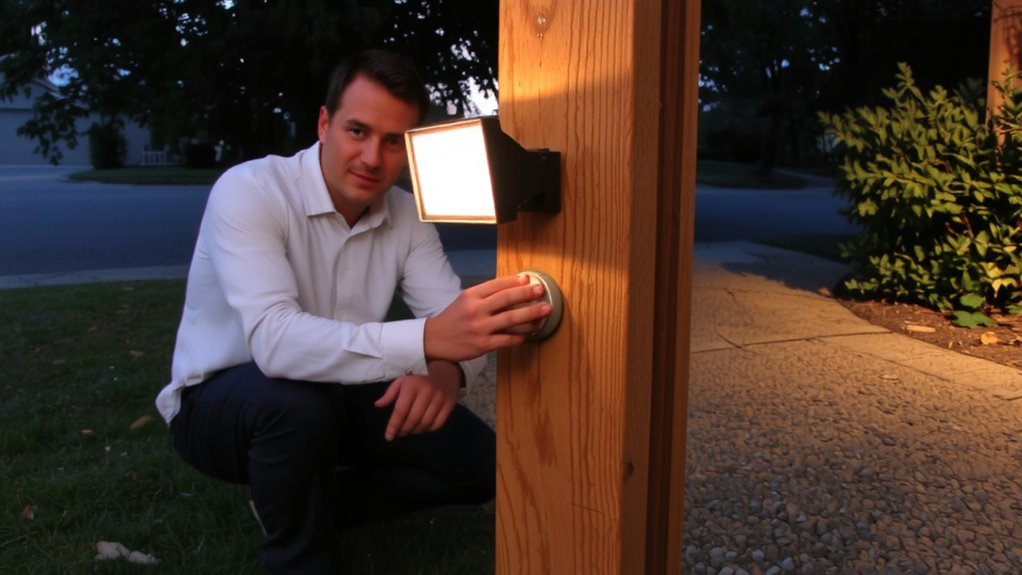
Why does your floodlight trigger when a leaf blows by? It’s often because the sensitivity isn’t tuned to your yard’s layout. Start by adjusting the sensitivity dial to medium and test it over two evenings. If motion from beyond your driveway sets it off, lower the setting. If it misses people walking near, increase it slightly. Proper light positioning matters-mount the fixture between 6 and 10 feet high for best detection. Use angle calibration to aim the sensor across the area you want to monitor, not at trees or streets. Avoid pointing it where wind moves debris. A well-calibrated angle reduces unnecessary triggers while maintaining security coverage. Test after each adjustment. Most users find a balanced setting within a few tries. This guarantees reliable performance without constant false alarms. For optimal results, consider models from the best wireless motion sensor lights that offer advanced sensitivity controls and reliable detection ranges.
Ignore Squirrels and Leaves: Block False Triggers
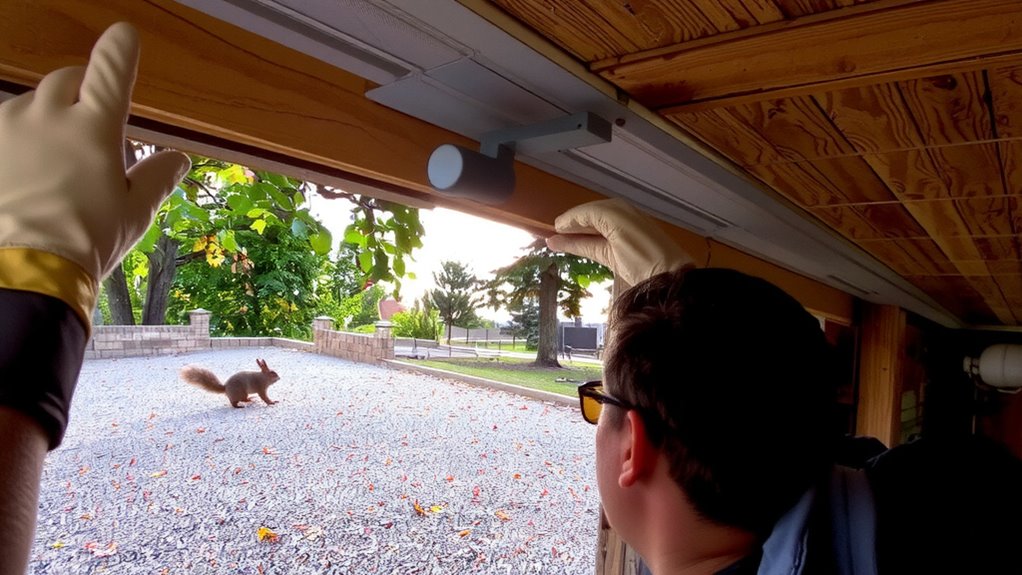
You’ve set the sensitivity and aimed the sensor correctly, but small movements from squirrels or drifting leaves still set off your light. That’s where adjusting for animal behavior and wind interference comes in. Most motion sensors detect heat and motion patterns, so low-level animal activity can trigger false alarms if not filtered. To prevent this, look for models with dual-tech sensors or pulse counting, which require multiple triggers before activating. You can also lower the sensitivity range slightly to ignore small, quick movements near the ground. Position the floodlight higher and angle it downward to reduce exposure to wind-blown debris. Some systems offer pet immunity modes, typically ignoring animals under 40 lbs. These features help distinguish between minor disturbances and potential threats, increasing reliability. While higher-end models cost more, they reduce nuisance triggers markedly. With the right setup, you gain peace of mind without constant false alerts. For reliable performance, consider choosing one of the top picks from expert-tested models.
Detect People and Vehicles Faster
While motion detection should avoid false alarms, it still needs to spot real threats quickly, so adjusting your floodlight to detect people and vehicles faster comes down to optimizing sensitivity and positioning. Set the sensitivity higher to achieve faster detection, especially in high-traffic areas, but balance it to avoid unnecessary triggers. Aim the sensor toward driveways, walkways, or entry points for improved response. Mount it between 6 and 10 feet high for the best range and coverage. Models with dual-sensor technology offer faster detection by combining heat and motion tracking, reducing delays. Wider detection zones-up to 270 degrees-help spot movement earlier. Note that higher sensitivity may increase power use slightly, but the trade-off is quicker alerts. Regularly check for obstructions like overgrown bushes. With proper setup, you guarantee reliable detection of people and vehicles, enhancing security without overreacting to small critters or windblown debris. For reliable performance, consider models featured in the best motion sensor alarms roundup to ensure optimal sensitivity and durability.
Set How Long and How Bright Your Light Stays On
Typically, you’ll want to adjust how long and how bright your floodlight stays on to balance security needs with energy efficiency. Most models let you control light duration, usually from 10 seconds to 10 minutes, so you can choose how long the light remains on after detecting motion. For high-traffic areas, a shorter duration saves energy; for remote zones, longer times improve visibility. Brightness levels are often adjustable too, ranging from 500 to 2,000 lumens or more. Lower brightness deters intruders while conserving power, while higher settings fully illuminate large yards. Set brightness based on the area’s size and your security goals. Many floodlights offer preset modes that combine duration and brightness levels for convenience. Check your user manual to locate these settings, usually found on the sensor unit. Properly calibrated, you’ll get effective coverage without wasting electricity.
How Motion Sensors Affect Floodlight Sensitivity
Since motion sensors determine when your floodlight activates, their sensitivity settings play a key role in how well the system responds to movement. Your motion sensor uses infrared detection to identify heat changes from people, animals, or vehicles. If sensitivity is too low, it might not trigger the light; if too high, it could activate unnecessarily. Proper sensor placement affects performance-mounting it 6 to 10 feet high and pointing away from roads or busy sidewalks reduces false alerts. Avoid placing it near heat sources like vents or direct sunlight, which can interfere with infrared detection. Trees or bushes swaying too close may also trigger false alarms. Adjusting the sensor’s field of view during installation helps target key entry points. Good placement means fewer malfunctions and more reliable security. You’ll save energy and extend bulb life by avoiding unnecessary cycling.
Fix Sensitivity That’s Too High or Too Low
You’ve likely noticed your floodlight turning on when it shouldn’t-or missing movements it should catch. If sensitivity is too high, it triggers from small animals or changes in weather conditions like heavy wind or shifting shadows. If it’s too low, motion near the edges or at night might go undetected. Start by adjusting the sensitivity dial on the unit, usually labeled low to high. Test over several days, noting false triggers or missed detections. Consider your installation height-higher mounts cover more area but may reduce accuracy for close movements. Mounting above 8 feet? You’ll likely need to increase sensitivity slightly. Weather conditions like fog or snow can also dampen sensor range, so account for seasonal changes. Reposition the floodlight to minimize exposure to heat sources or reflective surfaces. Fine-tuning takes patience, but balanced settings improve reliability and security.
On a final note
You can adjust your floodlight’s sensitivity to catch real threats without reacting to leaves or squirrels. Find the control dial, set it to medium first, then fine-tune. Higher settings detect people and cars faster but may cause false alarms. Lower settings reduce triggers but could miss motion. Pair proper sensitivity with the right duration and brightness. Test adjustments at night, and use shielding or repositioning if needed. This improves security and saves energy.