How to Use Time-Lapse Recording to Save Storage Space on Indoor Systems
You save storage by setting your indoor camera to time-lapse mode, capturing one frame every few seconds instead of recording continuously. This cuts file size, extends retention, and works well in low-activity areas like living rooms or baby rooms. Use 10–15 second intervals in kitchens, 30 seconds elsewhere. Enable it in your app’s recording settings and pair with motion alerts. Shorter intervals raise storage use, so balance based on activity. You’ll get efficient coverage while keeping events visible. Better planning options await.
Notable Insights
- Use time-lapse recording in low-activity indoor areas to reduce frame rate and save storage space.
- Set longer intervals, like one frame every 30 seconds, to minimize file size in static environments.
- Adjust capture intervals based on activity levels-shorter intervals for kitchens, longer for living rooms.
- Combine time-lapse with motion detection to trigger alerts while maintaining low storage usage.
- Schedule time-lapse during active hours to optimize coverage and avoid recording unused footage.
What Is Time-Lapse Recording and How It Saves Storage
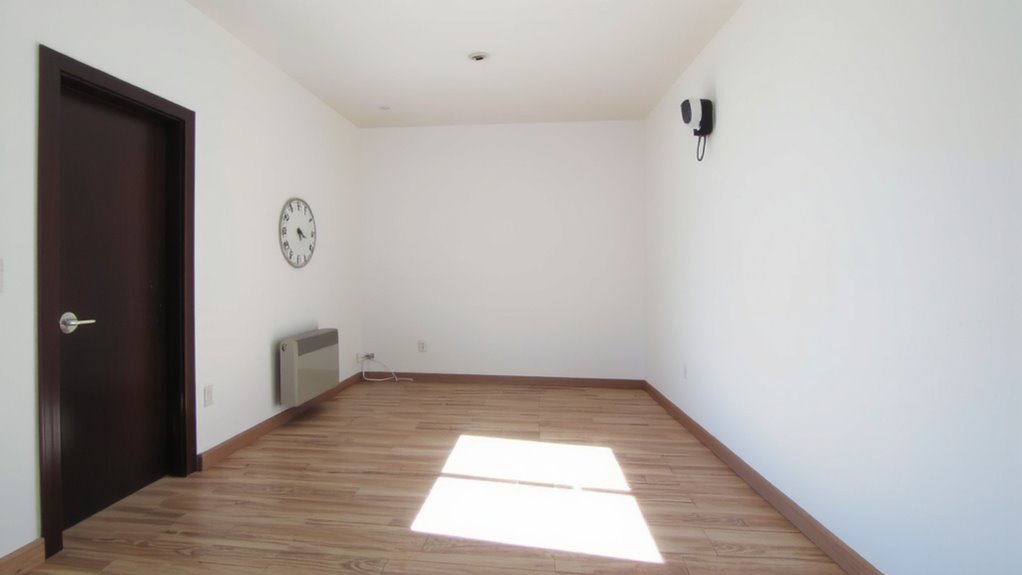
Time-lapse recording works by capturing images at set intervals-say, one frame every few seconds-instead of recording hours of continuous video. You’ll save significant storage because fewer frames are stored over time. By lowering the effective frame rate, your system reduces data volume without sacrificing visibility of key activities. This method also boosts compression efficiency since similar consecutive frames are easier to compress. For example, a camera recording at 1 fps uses far less space than one at 15 or 30 fps. Most indoor systems let you adjust the interval based on activity levels. While time-lapse cuts storage needs and extends recording duration, it may miss brief events between frames. It’s ideal for steady environments like living rooms or hallways. Check your device settings to balance frame rate and retention needs. Always calculate storage beforehand to avoid running out of space unexpectedly.
When to Use Time-Lapse vs. Continuous Indoors
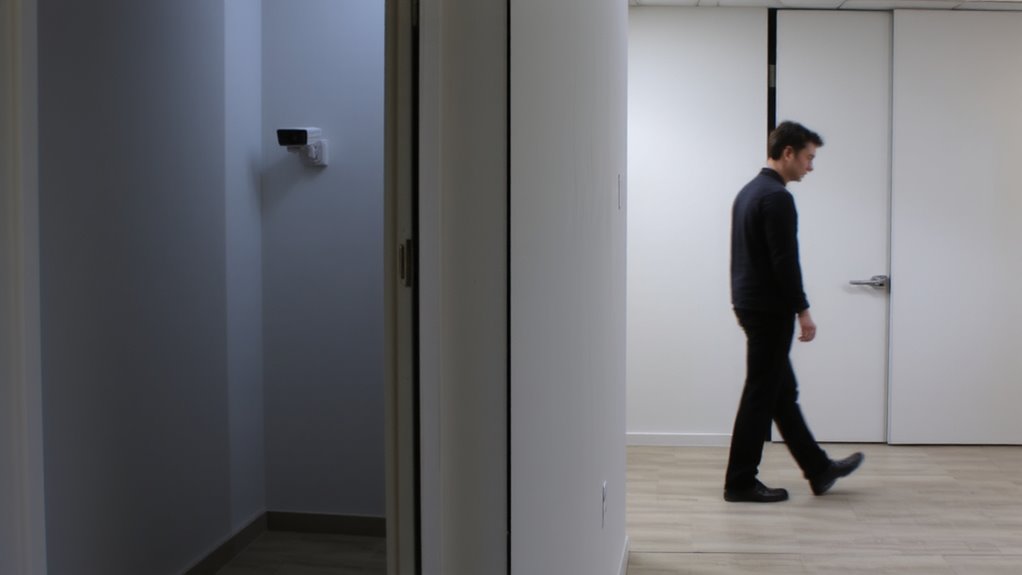
When should you choose time-lapse over continuous recording indoors? If you’re monitoring low-activity areas, time-lapse helps cut storage use while still capturing scene changes. It’s perfect when you don’t need every second saved. But in high-traffic spots, continuous recording with motion detection keeps all critical activity.
| Feature | Time-Lapse | Continuous |
|---|---|---|
| Storage Use | Low | High |
| Captures Scene Changes | Yes, at intervals | Yes, in real time |
| Motion Detection Support | Often used together | Native support |
| Best For | Storage efficiency | Full event details |
Use time-lapse when scene changes are infrequent and storage is limited. Pair it with motion detection to flag important moments. Continuous is better when missing any motion isn’t an option.
Best Indoor Spots for Time-Lapse Monitoring
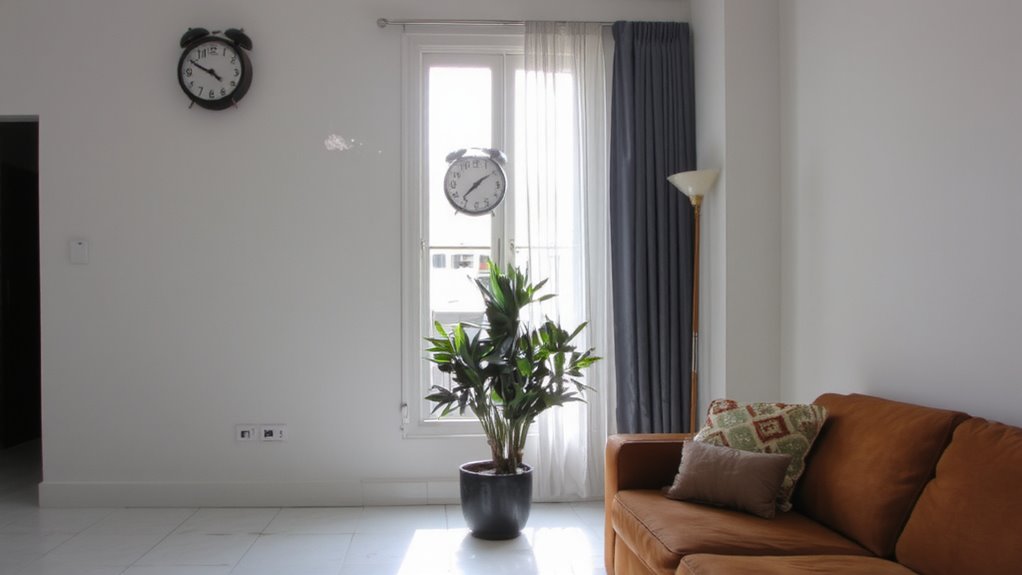
A security camera’s job isn’t just to record-it’s to record smartly, and that means placing it where time-lapse monitoring delivers the most value without wasting storage. Position your camera in high-traffic but low-risk areas like the living room, where activity is frequent but rarely urgent. Time-lapse captures broad patterns-like pet movement or household routines-efficiently, using far less storage than continuous footage. The baby room is another ideal spot; you’ll see your child’s daily milestones without filling up your drive, though consider motion-triggered recording for nighttime checks when less happens. Avoid placing time-lapse cameras in private spaces or where fast details matter, like entry doors. Mount units at clear vantage points, ensuring wide angles cover key zones. Most indoor systems support scheduled time-lapse, so align it with active hours. With proper placement, you gain useful overviews, extend storage life, and maintain privacy. For optimal results, choose models from the best indoor security cameras list that offer advanced time-lapse compression and scheduling features.
How Often Should Your Camera Take Snapshots?
How frequently should your camera capture images to balance detail and storage efficiency? It depends on your home’s activity frequency and security needs. For low-traffic areas like hallways or bedrooms, a snapshot every 30 seconds provides enough coverage without overwhelming storage. In spaces with more movement-like a kitchen or living room-shorten the interval to every 10–15 seconds. If your system supports motion detection, use it to trigger recording only when activity occurs, reducing unnecessary captures. This cuts down on redundant footage, especially during inactive periods. Cameras with motion detection save more space and still guarantee important moments aren’t missed. Keep in mind: shorter intervals increase file size and reduce clip duration on a storage drive. Assess typical activity patterns and adjust snapshot frequency accordingly. A balanced setting preserves detail while extending recording time. Consider using devices that support continuous recording for seamless monitoring without gaps.
How to Enable Time-Lapse in Your Security App
Though settings vary by brand, enabling time-lapse mode in your security app usually takes just a few taps once you know where to look. You’ll typically find the option under recording or camera settings. Switching to time-lapse reduces how often your camera saves footage, which helps preserve storage and lower cloud backup costs. If you still want alerts for activity, pair time-lapse with motion detection so you’re notified even if the camera isn’t recording continuously.
| Benefit | Emotional Impact |
|---|---|
| Less clutter in your footage | You feel calm knowing your storage isn’t overflowing |
| Lower cloud backup usage | You feel confident your monthly costs stay predictable |
| Motion detection still active | You feel secure that alerts won’t be missed |
This setup gives you peace of mind while being smart with storage and data.
Keep Footage Clear and Storage Free
Since time-lapse recording captures frames at set intervals instead of continuously, you’ll save significant storage space while still maintaining a useful overview of activity. To keep footage clear, set your camera’s resolution to at least 1080p and adjust the frame interval based on how often motion occurs-every 5 to 15 seconds usually works well. Use motion detection to trigger recording or mark events, so you can quickly find important moments in the time-lapse. This also reduces unnecessary clips. Guarantee your camera has strong low light performance, especially for bedrooms or dim areas, so nighttime footage remains usable. Cameras with night vision or auto-light adjustment help maintain clarity without extra lighting. Pair time-lapse with local or cloud storage plans wisely-higher intervals mean less data, extending storage life. Review footage weekly to confirm settings work and delete old clips when not needed. For the best results, choose one of the top-rated indoor cameras that support customizable time-lapse and efficient compression formats.
On a final note
You save storage by using time-lapse recording to capture periodic snapshots instead of continuous video. It works well in low-activity indoor areas like hallways or living rooms. Set intervals based on movement frequency-every 5 to 30 seconds is typical. Enable it through your security app’s recording settings. While it reduces detail, it extends retention times and lowers costs. For best results, pair with motion detection and review footage regularly to guarantee coverage meets your needs.