Delayed Entry on Door Sensors: Set a 15–60 Sec Timer
You can set a delayed entry on your door sensors by accessing your security system’s settings through the control panel or app. Enter your code, navigate to Entry Delay, and choose a 15–60 second window. Make sure your system supports the feature-many modern panels do, but older models may not. Enable it for specific doors, test by opening and disarming, and adjust timing or sensor alignment if needed. Further details are available on setup and troubleshooting.
Notable Insights
- Verify your security system supports delayed entry, as older or basic models may not have this feature.
- Access system settings via the control panel or mobile app using your user code.
- Enable delayed entry in the “Security” or “Entry Delay” menu and set duration between 15 and 60 seconds.
- Calibrate door sensors to ensure accurate triggering and proper alignment with the door frame.
- Test the delay by opening the door and confirming the alarm does not sound during the set countdown period.
Know How Delayed Entry Works (And If You Need It)
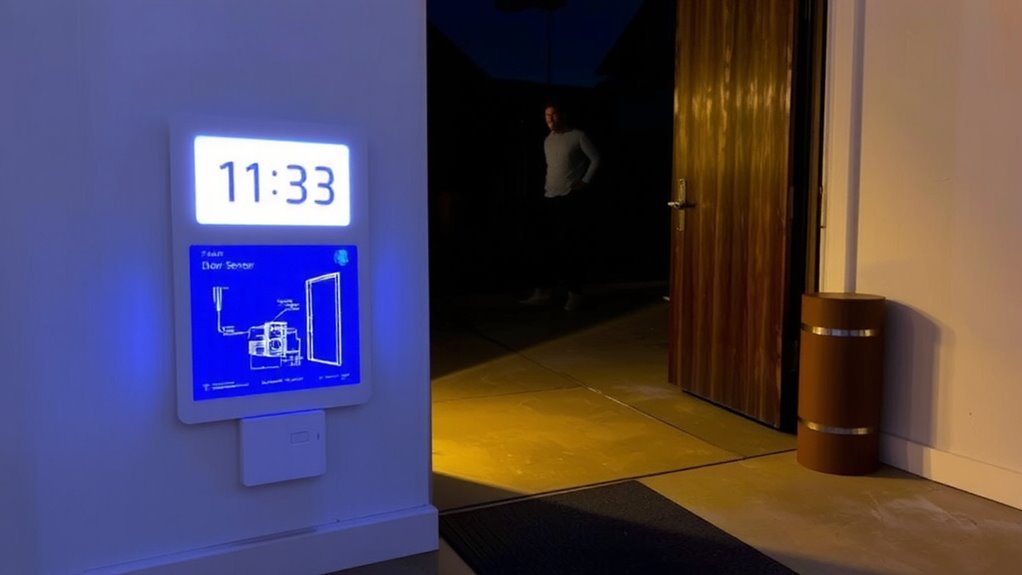
Ever wonder why your alarm doesn’t sound the moment you walk in the front door? That’s delayed entry at work. It gives you a set amount of time-usually 30 to 60 seconds-to disarm your system after triggering a door sensor. This feature boosts user convenience, especially if you’re carrying groceries or with kids. Without it, you’d race to enter your code, increasing stress and the chance of mistakes. Delayed entry also reduces false alarms caused by slow entry or fumbling. Most modern systems let you customize this delay, but check your panel’s settings. If your home has multiple entry points or slow-moving household members, this feature is likely worth it. Not all systems support it, so confirm compatibility during setup. When properly used, delayed entry improves usability without sacrificing security. Consider your household’s routines before enabling it.
Confirm Your System Supports Delayed Entry
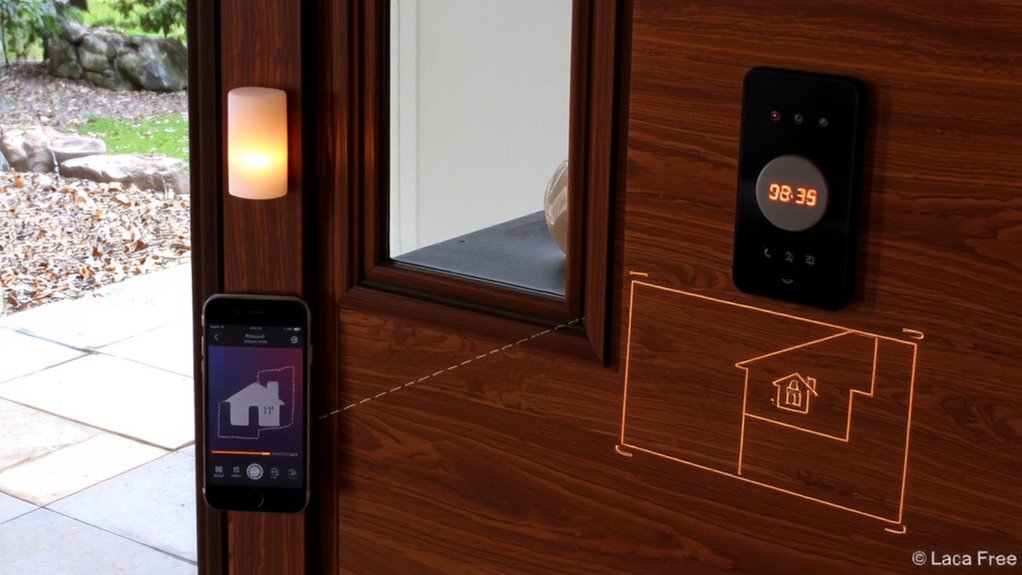
While some alarm systems include delayed entry as a standard feature, others may lack this option entirely, so it’s important to verify compatibility before relying on it. Check your system’s documentation or manufacturer website to confirm system compatibility-older models or basic packages often don’t support delayed entry. Feature requirements typically include a programmable control panel and compatible door sensors. Some systems may require firmware updates or professional activation. If you rent, consult your landlord or security provider, as access to settings might be restricted. Subscription-based systems sometimes lock advanced features behind higher-tier plans, so review your service level. Confirming these details early prevents frustration during setup. You’ll save time and avoid assuming functionality your system doesn’t offer. Always verify both hardware and service plan support to guarantee delayed entry is truly available and properly enabled when needed. A reliable security setup may also benefit from integrating wireless home security cameras for comprehensive coverage.
Open Your Security System Settings
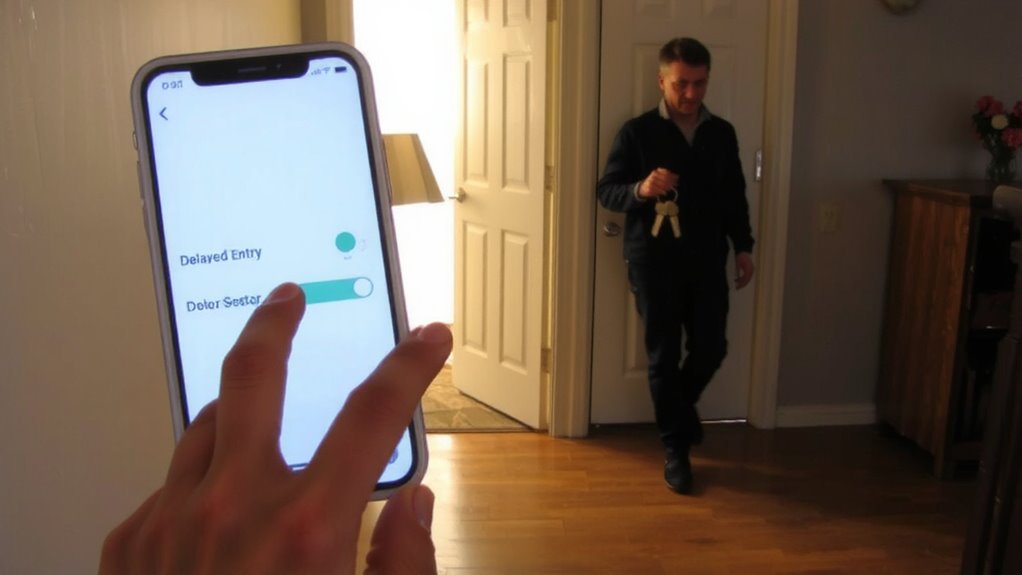
To begin setting up delayed entry on your alarm system, you’ll need to access the system settings through the control panel or mobile app, depending on your model. Start by entering your user code to log in, then navigate to the main menu. The user interface may vary, but most systems use icons or labeled tabs for clarity. Use the touchscreen or physical buttons to move through the options, following the system navigation to find settings like “Security,” “Sensors,” or “Entry Delay.” Systems with a mobile app often offer a more intuitive layout and quicker access. Pay attention to menu hierarchies, as missteps can lead to incorrect changes. A clear user interface reduces errors, while smooth system navigation saves time. Always consult your manual if options aren’t immediately visible, since layout differences between brands can affect how quickly you locate settings. For those on a budget, consider reviewing the best value options, as top home security systems offer customizable entry delay settings.
Set Up Delayed Entry on Door Sensors
How do you guarantee your entry delay works correctly with door sensors? Start by enabling the delayed entry feature in your system settings, ensuring it aligns with your typical walk time from the door to the keypad. Proper sensor calibration is essential-adjust sensitivity so the system registers the door opening fully, avoiding false alarms. If the sensor triggers too soon or too late, recalibrate the positioning and test the range. Link your settings with access scheduling to restrict delayed entry to specific times, like evenings, improving security during unoccupied hours. This pairing enhances automation while reducing unnecessary alerts. Most systems allow separate delays for different doors, so customize per entry point. Confirm battery levels are strong, as weak power affects sensor performance. Delay durations usually range from 15 to 60 seconds-choose based on your household’s needs.
Test Your Delayed Entry in Real Time
Since the system relies on precise timing and sensor response, you’ll want to test your delayed entry in real time to confirm it performs as expected. Real time testing helps you verify the countdown begins correctly after the door opens. Use a live simulation by triggering the sensor and walking through as you normally would. Check whether the alarm waits the full delay before activating. Below is a quick reference for key testing phases:
| Phase | Action | Expected Outcome |
|---|---|---|
| 1 | Open door, start timer | Delay begins immediately |
| 2 | Wait through countdown | Alarm stays off during delay |
| 3 | Exceed delay time | Alarm triggers on schedule |
Live simulation reveals timing gaps or false triggers. Perform multiple trials at different times to account for variables. Real time testing guarantees reliability, so you can trust the system works before relying on it daily.
Fix Delay Settings That Aren’t Working Right
You’ve tested your delayed entry and noticed the alarm doesn’t behave as expected-maybe it triggers too soon or doesn’t start the countdown at all. First, check sensor calibration: misaligned or dirty sensors can prevent proper detection, disrupting the delay. Clean the sensor and realign it with the door contact to guarantee consistent communication. Next, confirm your system has the latest firmware updates; outdated software often causes timing errors or disables features. Manufacturers release updates to fix bugs and improve performance, so enabling automatic updates helps maintain reliability. If issues persist, reset the delayed entry settings and reprogram them using your security panel’s menu. Test again after each change to isolate the fix. These steps-calibration, updates, and reconfiguration-resolve most timing problems, guaranteeing your entry delay works as intended.
On a final note
You now know how delayed entry works and whether it fits your needs. Most modern systems support it, but check your model first. Setting it up takes minutes through your system’s app or control panel. Test the timing to guarantee it’s long enough to enter but short enough to deter intruders. If delays fail, verify sensor placement and signal strength. Use this feature wisely to balance convenience and security.