Maximizing Motion Detector Accuracy in Rooms With Ceiling Fans and Blinds
Position your motion detector away from ceiling fans and sunlight to avoid false triggers from airflow or shifting light. Choose a dual-technology sensor, which uses both heat and motion detection, reducing errors and costing $5–$15 more than basic models. Set sensitivity lower if needed, but test at different times to maintain reliable coverage. Use time delays of 30–120 seconds depending on room size. Models with pet and fan immunity, priced $30–$60, offer better performance. You’ll find more tips to fine-tune your setup just ahead.
Notable Insights
- Position motion detectors away from ceiling fans to avoid false triggers from air currents and moving shadows.
- Avoid direct sunlight and reflective surfaces by angling sensors to prevent false alarms from shifting light.
- Use dual-technology sensors that require both heat and motion detection to reduce fan- and light-induced false alerts.
- Adjust sensitivity settings to balance detection range and immunity to environmental disturbances like fluttering blinds.
- Conduct multi-day testing with fans and blinds in use to verify reliable performance under real-world conditions.
Stop Blinds and Fans From Triggering Your Motion Detector
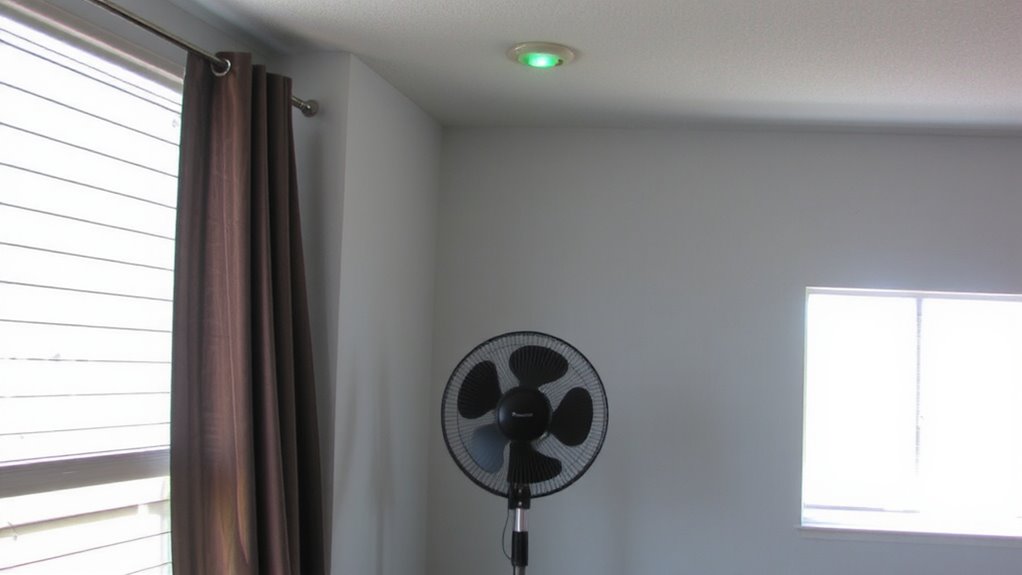
While it might seem minor, unshielded motion detectors often register movement from swaying blinds or ceiling fans, leading to frequent false alarms that undermine your home security system’s reliability. You can reduce these triggers by choosing sensors with pet immunity settings, which ignore animals under 40–80 pounds, depending on the model. This feature helps maintain detection accuracy without compromising safety. Pairing these with smart home integration allows you to monitor alerts remotely and adjust sensitivity via an app. For example, you can temporarily lower sensitivity during windy days when blinds move more. Look for models priced between $30 and $60 that offer both features. Though higher-end options cost more, they often provide better filtering and customization. Proper setup guarantees reliability, reduces false alarms, and supports a seamless, responsive security system tailored to your household’s daily patterns and environment. Top-rated models include those with advanced signal processing to minimize environmental interference, such as best motion detectors for homes with challenging layouts.
Aim Sensors Away From Fans and Sunlight
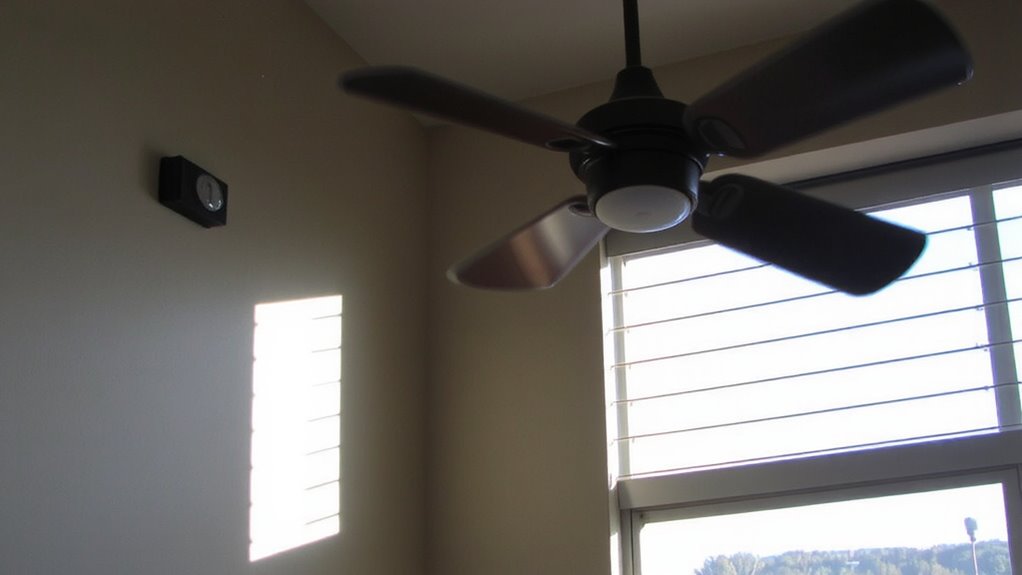
Since motion sensors rely on changes in heat and movement to detect activity, positioning them near ceiling fans or direct sunlight can lead to false triggers. You should aim sensors away from these sources to reduce environmental interference. Ceiling fans create air currents and moving shadows, while sunlight shifts throughout the day, both mimicking motion. These conditions confuse the sensor, increasing false alarms and undermining security. Proper sensor calibration helps, but avoiding problematic areas is more effective. Mount your sensor in a stable location with a clear view of entry points, not facing windows or spinning blades. Avoid corners with poor coverage or reflective surfaces. A well-placed sensor requires less frequent calibration and performs more reliably. Though minor adjustments may take time, correct positioning from the start improves accuracy, reduces maintenance, and extends system effectiveness. This simple step enhances overall performance without extra cost. For optimal results, consider the type of technology used in your alarm, as some models offer better resistance to environmental factors-exploring the best motion sensor alarms can help identify units designed to minimize false alerts.
Pick a Motion Sensor That Ignores Fan Movement
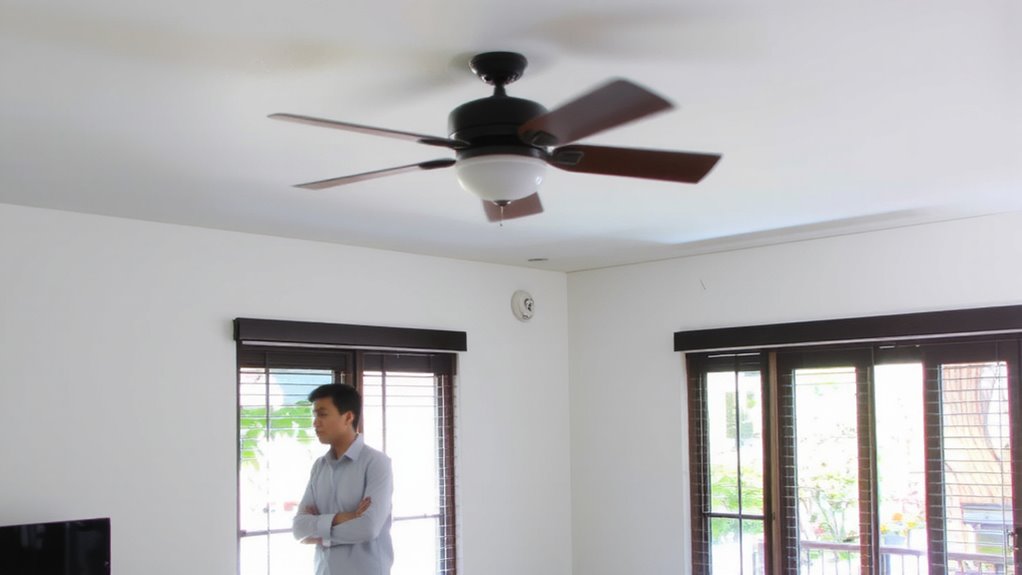
If you’re dealing with indoor airflow from ceiling or standing fans, choosing a motion sensor designed to ignore fan movement can considerably reduce false alarms. These sensors use advanced algorithms and dual-technology detection-like combining PIR with microwave-to distinguish between real intruders and benign motion. Make sure sensor placement avoids direct views of fan blades, even with smarter models. Positioning it in a corner or higher on a wall often helps optimize the detection range without catching rotating movement. Look for models labeled “fan-immune” or those with pet immunity, as they typically offer better reliability in airflow-heavy spaces. While these sensors may cost slightly more, their accuracy reduces maintenance hassles. Always check the manufacturer’s specifications for detection range limits and ideal installation height to guarantee full coverage without overreaching into fan-affected zones.
Lower Sensitivity to Reduce False Alerts
You’ve chosen a fan-immune sensor to handle airflow, but you still get occasional false alerts-lowering the sensitivity setting can help fine-tune performance. Adjusting sensitivity reduces the sensor’s responsiveness to minor movements, which is useful in spaces with changing environmental lighting or reflective surfaces. Proper sensor placement plays a key role; avoid aiming it toward windows or glass doors where sunlight shifts might trigger false detections. Mount the sensor in a corner facing inward for ideal coverage and minimal interference. While lower sensitivity helps, setting it too low may reduce detection range or miss real motion. Test different levels during day and night to balance reliability and security. This small tweak, combined with correct placement, improves accuracy without costly upgrades. Always consult your device manual for model-specific guidance. For reliable options, consider checking the best motion sensors for Home Assistant to ensure compatibility and optimal performance.
Set Time Delays to Prevent Quick Recurring Triggers
Why do your motion lights keep flickering on seconds after turning off? It’s likely because the time delay is too short, causing rapid retriggering from lingering movement, like rotating fan blades or shifting light through blinds. Setting an appropriate delay prevents this by giving the system time to reset. You’ll want to fine-tune this setting through testing configurations and analyzing patterns in activity. A longer delay reduces false triggers, but too long wastes energy. Review this guide to choose wisely:
| Delay (Seconds) | Best For |
|---|---|
| 10–30 | Small rooms, quick passage |
| 30–60 | Living areas, moderate use |
| 60–120 | Bedrooms, delayed exits |
| 120+ | Energy savings, slow movement |
| Custom (adjustable) | Testing configurations, analyzing patterns |
Balance convenience and efficiency by adjusting based on real-world use.
Use Dual-Sensor Detectors for Reliable Detection
While passive infrared (PIR) sensors alone can detect body heat and movement, combining them with microwave sensors in dual-technology detectors greatly improves accuracy by requiring both signals to trigger an alert. You get better reliability because false alarms from ceiling fans or shifting sunlight through blinds are less likely. This setup uses sensor fusion, meaning both technologies must confirm motion before activating-reducing errors. Sensor fusion lowers unnecessary triggers while maintaining detection of real threats. Environmental filtering is built into these units, helping ignore non-human heat shifts or minor air movements. Dual-sensor detectors cost more upfront, typically $5–$15 above single-tech models, but save time and frustration. They’re ideal for rooms with airflow or light changes. Installation is the same as single sensors, so you won’t need extra wiring. Just place them thoughtfully, and let the combined tech do the work.
Fine-Tune Your Detector After Installation
After installation, take a few minutes to adjust your detector’s sensitivity and timing settings, since factory defaults aren’t always ideal for your specific space. Proper sensor placement plays a key role-avoid aiming directly at ceiling fans or blinds that move. Instead, angle the detector to cover open areas where motion is most likely. Conduct environmental testing over several days, simulating normal room activity to verify reliable triggers. Check performance during daylight with blinds adjusting and fans running to catch false alarms. Fine-tuning reduces missed detections and nuisance alerts.
| Scenario | Success | Frustration |
|---|---|---|
| Ideal sensor placement | High detection accuracy | Minimal false alarms |
| Poor angle near fan | Missed motion | Frequent glitches |
| Untested in sunlight | Reliable at night | Daytime failures |
| Adjusted sensitivity | Consistent alerts | Wasted battery |
| Completed environmental testing | Peace of mind | Avoided reinstallation |
On a final note
You can reduce false alarms by positioning sensors away from ceiling fans and direct sunlight. Choose dual-sensor models that require both motion and heat, cutting down on errors. Lowering sensitivity and setting time delays helps ignore brief movements. While these steps improve accuracy, some trial and error during setup is normal. Proper placement and settings save time and boost reliability in your home security system.