Outdoor Perimeter Motion Sensors: Installation and Coverage Strategies
Choose a dual-tech PIR and microwave sensor with IP65+ rating for reliable, weather-resistant performance. Match its range and fan-shaped coverage to your yard’s size, placing units 7–8 feet high and angled down 5–10° to detect people while ignoring pets under 40 lbs. Cover all entry points, overlap fields slightly, and avoid windy spots or dense foliage. Connect to smart alarms, lights, or hubs for instant alerts. Fine-tune sensitivity and test often after weather shifts-your system’s accuracy depends on it, and there’s more to optimizing response over time.
Notable Insights
- Choose dual-technology sensors (PIR + microwave) to reduce false alarms and improve detection accuracy outdoors.
- Mount sensors at 7–8 feet high and angle 5–10° downward to optimize human detection while ignoring pets and debris.
- Ensure IP65 or higher rating and UV-resistant housing to withstand weather, dust, and temperature extremes.
- Align coverage to overlap slightly at entry points and blind spots, eliminating gaps in perimeter defense.
- Integrate with smart home systems to trigger lights, alarms, or alerts and test regularly after environmental changes.
Choose the Right Outdoor Motion Sensor for Your Yard
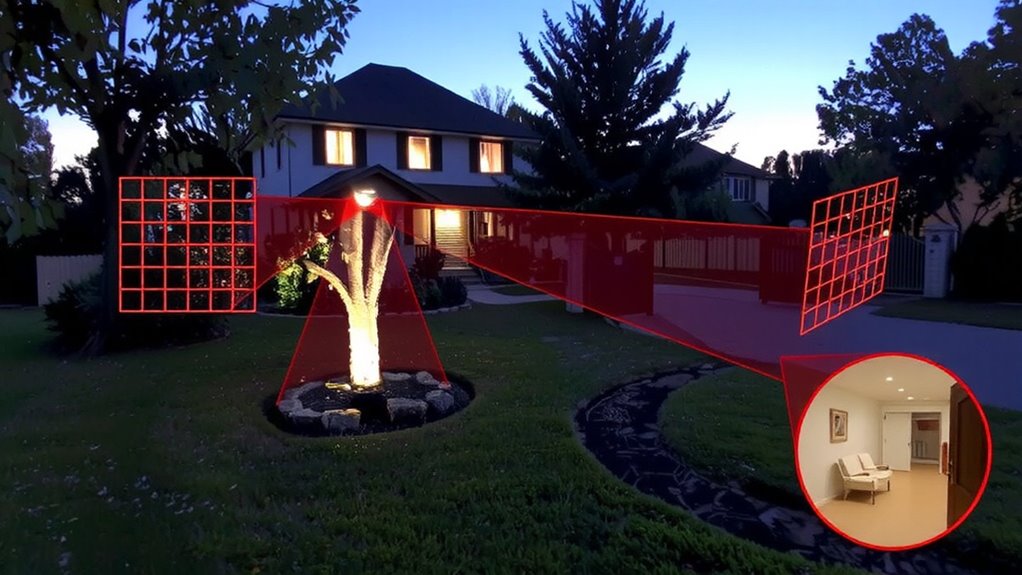
What kind of outdoor motion sensor actually suits your yard? You’ve got several sensor types to contemplate, including passive infrared (PIR), microwave, and dual-technology models. PIR sensors detect body heat and are energy-efficient, while microwave sensors offer greater range but can trigger false alarms. Dual-tech sensors combine both, reducing false alerts. For lasting performance, prioritize weather resistance-look for an IP65 rating or higher to withstand rain, dust, and temperature swings. Plastic housings often crack over time, so choose sensors with UV-resistant, durable enclosures. Basic models start around $20, but advanced units with tamper protection and adjustable sensitivity run $50 or more. Installation is usually simple, but proper placement affects reliability. Make sure the sensor’s materials and tech match your climate and security needs. For seamless integration with smart systems, consider models that support Home Assistant.
Match Sensor Range and Pattern to Your Property
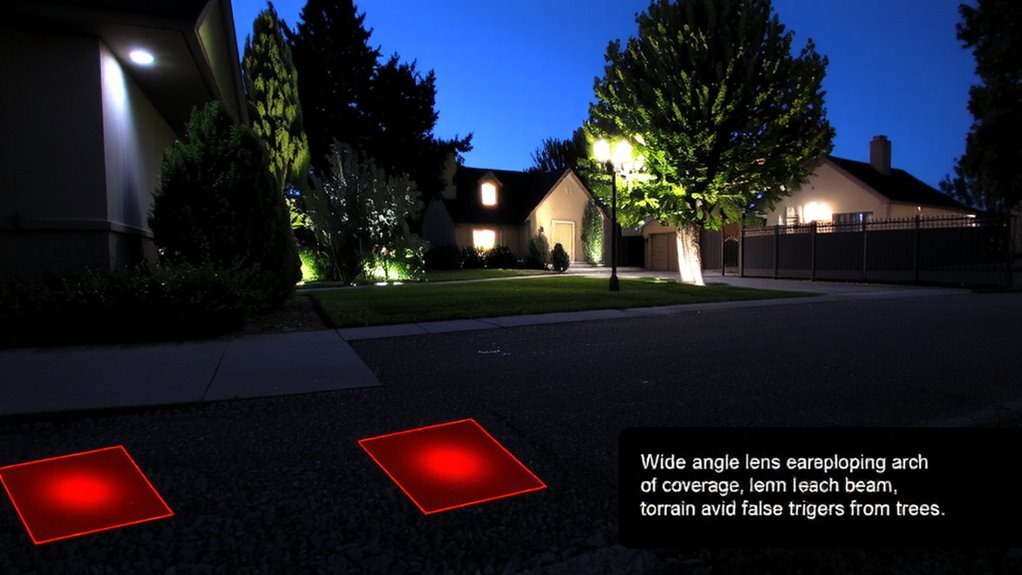
You’ve picked a sensor type that fits your yard’s layout and security goals, so now it’s time to fine-tune your choice by aligning the detection range and coverage pattern with your property’s actual dimensions. Proper sensor alignment guarantees you capture movement along entry points without leaving gaps. If your sensor’s max range exceeds your yard’s width, adjust sensitivity or angle to avoid wasted coverage. For long, narrow yards, a fan-shaped pattern works better than wide-angle. Use multiple sensors where needed, but plan for slight coverage overlap to eliminate blind spots-this boosts reliability without triggering false alarms. Avoid excessive overlap, as it can increase power use and complicate wiring. Check manufacturer specs for beam width and range to match your layout. Accurate alignment and smart overlap improve detection accuracy, guaranteeing your system responds where it matters most. For optimal performance, consider models highlighted in expert reviews, such as the top-rated motion sensors based on accuracy and weather resistance.
Mount Sensors to Avoid Triggers From Pets and Wind
| Factor | Ideal Setting | Why It Matters |
|---|---|---|
| Sensor Height | 7–8 feet | Avoids pet movement below 3 feet |
| Mounting Angle | 5–10° downward | Focuses beam on walkways, not yard |
| Pet Immunity | 40–100 lbs filtering | Ignores cats and small to medium dogs |
| Wind Resistance | Sealed housing | Prevents debris or movement from false trips |
Position sensors to ignore open fields and fences where wind moves debris. Consider models with expert-recommended sensors for optimal outdoor performance.
Cover Every Entry Point: No Blind Spots Allowed
While it’s tempting to focus only on obvious entry points, overlooking less visible access areas can leave your property vulnerable to intruders who exploit weak coverage. You need sensor placement that covers all doors, windows, and side gates, including backyard corners and roof access points. Blind spots around sheds or between trees are common, so map your perimeter carefully. Consider environmental factors like heavy foliage or snow buildup, which can block sensors or create gaps over time. Position units to maintain clear lines of sight, and use overlapping fields to eliminate weak zones. Test each sensor’s range under real conditions, not just ideal ones. Adjustable mounting brackets help fine-tune angles. A well-planned layout guarantees every potential entry has detection, giving alarms time to trigger before threats reach your home. No spot is too small-if you can access it, so can an intruder.
Aim Sensors to Catch People, Not Wildlife
How can you guarantee your outdoor motion sensors detect intruders but ignore raccoons or deer? You adjust the sensor sensitivity to focus on human-sized heat signatures and motion patterns. Mount sensors at 6 to 7 feet high, angling them slightly downward to track adults while avoiding ground-level wildlife movement. Avoid pointing sensors toward bushes or tree lines where animals pass frequently. Many models offer pet immunity up to 50 or 100 pounds, aiding false alarm prevention. Use narrow detection zones when possible, and pair wide-coverage units with strategic aiming to minimize triggers from small animals. Testing during installation helps confirm performance. Proper aim and correct sensitivity settings reduce nuisance alerts without sacrificing security. This balance secures reliable detection of people while ignoring most wildlife, improving your system’s overall accuracy and usability long-term.
Connect to Alarms, Lights, and Smart Home
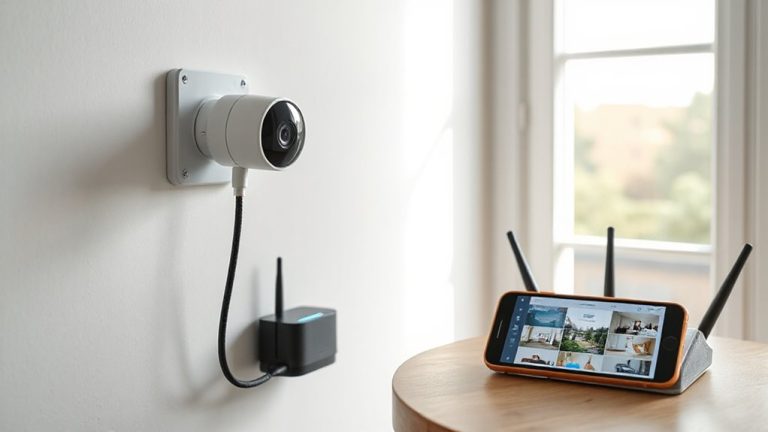
Why leave your security system working in isolation when it can trigger immediate, coordinated responses? By using integration methods like Wi-Fi, Z-Wave, or smart hubs, you can link outdoor motion sensors to alarms, lights, and your smart home. This setup delivers automation benefits such as turning on lights when motion is detected, sending phone alerts, or sounding an alarm. Most systems support platforms like Alexa, Google Home, or Apple HomeKit, letting you customize actions. Wired connections offer reliability, while wireless options are easier to install but may need battery changes. Consider a hub if you’re using multiple brands. Integration reduces false alarms by syncing sensors with other devices, so lights don’t turn on every time a car passes. With proper setup, you’ll improve response times, deter intruders, and gain real-time awareness-key for effective home security.
Test and Tune Your Outdoor Motion Sensors
What if your motion sensor missed a real intruder or went off every time a squirrel ran by? That’s why you need to test and tune your outdoor motion sensors after installation. Start by adjusting the sensor sensitivity to match your environment-too high, and you’ll get false alarms; too low, and you might miss movement. Walk through each detection zone at different times of day to check performance. Look for environmental interference like tree branches, blowing debris, or heat sources that could trigger false alerts. Many sensors offer time-of-day calibration and pet immunity settings to help. Use these features to fine-tune accuracy. Test connections to alarms, lights, and smart home systems to guarantee they activate properly. Recheck every few months, especially after storms or seasonal changes. Proper tuning improves reliability, reduces nuisance trips, and keeps your perimeter security effective without overreacting to harmless activity.
On a final note
You’ve installed outdoor motion sensors to protect your property, and proper setup makes all the difference. Match each sensor’s range and detection pattern to your yard’s layout, mount them high enough to avoid pets and wind-blown debris, and aim carefully to spot people, not wildlife. Cover all entry points to eliminate blind spots, connect sensors to alarms or lights for faster response, and test regularly to fine-tune performance-adjust angles or sensitivity as needed.