Setting Up Motion Sensor Lighting Zones Around Your Property Perimeter
Start by scanning your property after dark with a flashlight to spot visibility gaps, especially near entry points, corners, and shaded pathways. Use PIR or dual-tech sensors for reliable detection, placing lights 6–10 feet high to cover driveways, patios, and side yards. Opt for LED fixtures and adjust duration, brightness, and sensitivity based on area use and pet activity. Wired systems last longer but cost more upfront; wireless offers flexibility with regular battery changes. Test each zone at night and fine-tune placement to avoid false triggers from trees or reflections-then optimize for seasonal changes.
Notable Insights
- Conduct shadow analysis at dusk to identify dark zones and optimal light placement around entry points and pathways.
- Choose PIR, microwave, or dual-tech sensors based on coverage needs and false alarm risks for each zone.
- Mount lights 6–10 feet high to maximize detection range and coverage on high-traffic areas and access points.
- Set timers between 30 seconds and 3 minutes, adjusting duration and brightness based on area usage.
- Use wired systems for reliability or wireless for flexibility, always pairing with energy-efficient LED fixtures.
Start by Scanning Your Property for Dark Spots
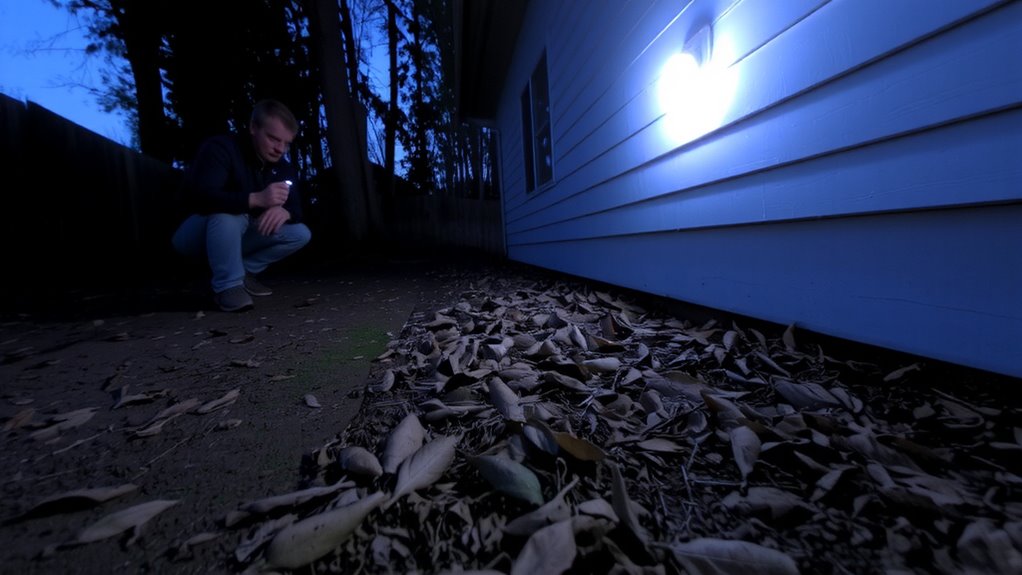
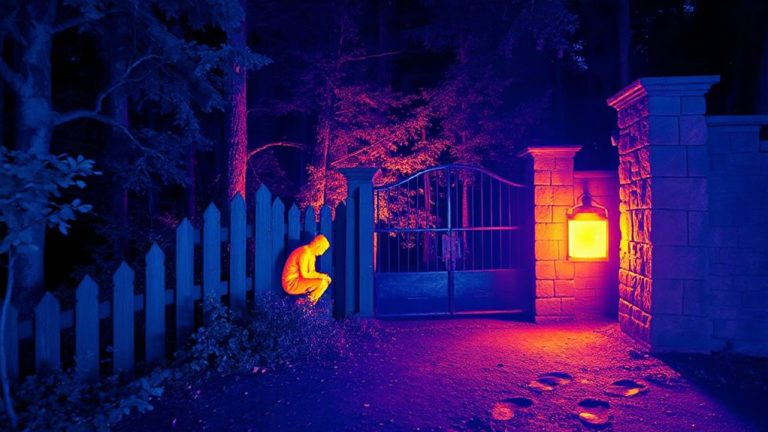
Where are the shadows gathering around your home after dusk? You’ll need to walk the perimeter with a flashlight and observe where visibility drops. Use light direction to your advantage-note how existing fixtures cast beams and where they fall short. Perform a shadow analysis at different times to see how darkness shifts with seasons and weather. Focus on entry points, corners, and pathways where intruders might hide. Dark spots near windows or doors are especially critical. Document each zone’s vulnerabilities, considering tree cover or structures blocking light. This step isn’t about guessing; it’s evidence-based planning. Proper shadow analysis helps you place lighting where it’s most effective. You’ll save money by avoiding over-lighting and reduce glare. Accuracy here guarantees sensors later go where they’re truly needed, not just where it’s convenient. Plan this part carefully-it shapes your entire system’s effectiveness.
Choose Sensors for Each Motion Lighting Zone
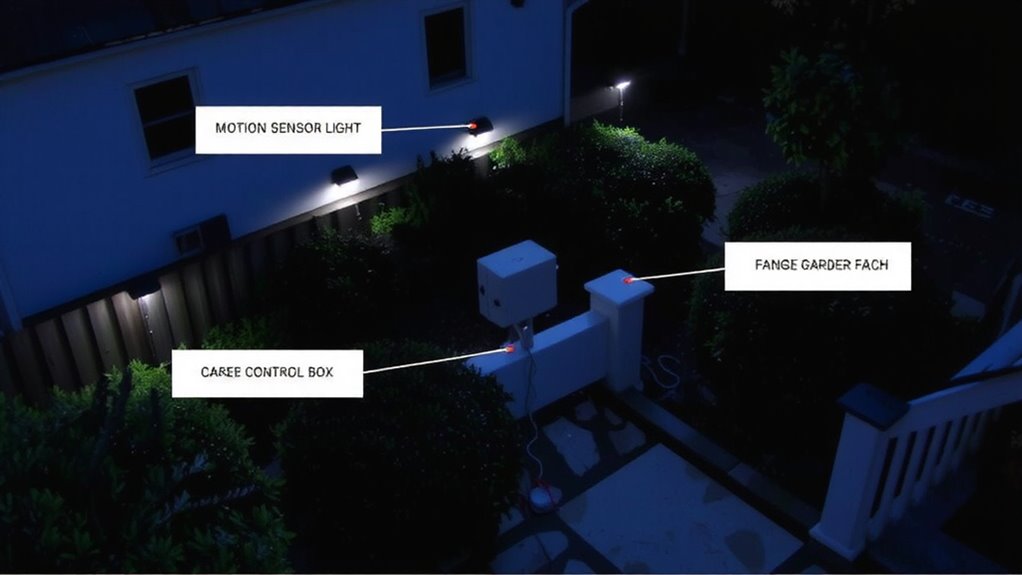
Once you’ve mapped out your dark zones, you can pick the right sensors for each area based on range, coverage angle, and sensitivity. You’ll need to take into account different sensor types, like passive infrared (PIR), microwave, or dual-tech, each with pros and cons. PIR sensors detect body heat and are energy-efficient, while microwave sensors offer a wider coverage range but may trigger falsely. Dual-tech sensors combine both, reducing false alarms. For broad areas like driveways, choose sensors with a coverage range of 30 to 50 feet and a wide angle-180 degrees is ideal. Smaller zones, like side gates, need shorter range, around 20 feet. Always match the sensor to the zone’s size and use. Factor in weather resistance and adjustability, too. Proper selection guarantees reliable detection without overspending. Consider checking out the best motion detectors for every home to find models that suit your specific outdoor lighting needs.
Position Lights to Maximize Motion Zone Detection
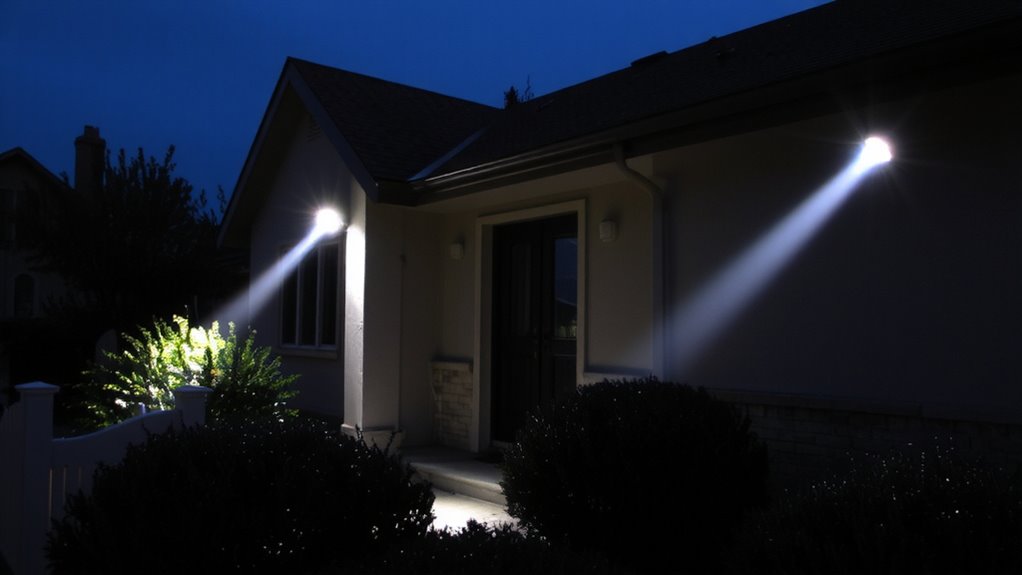
Though sensor selection sets the foundation, how you place your lights plays an equally critical role in effective motion detection. Proper light placement guarantees coverage where it’s needed most-driveways, entryways, and blind spots. Aim lights to scan high-traffic paths and potential access points. Most sensors offer detection angles between 120 to 180 degrees, so position them to maximize overlap without gaps. Mount lights between 6 and 10 feet high for maximum reach and reduced false triggers. Avoid pointing lights directly at reflective surfaces or moving objects like trees. Corners and T-junctions benefit from dual coverage using staggered units. Detection angles widen closer to the sensor but narrow with distance, so plan spacing accordingly. Always test detection range after installation. Proper positioning improves response accuracy and enhances perimeter awareness. For optimal performance, choose models with wide coverage and adjustable sensitivity found in the best motion sensor flood lights.
Set Duration, Brightness, and Sensitivity Right
When you’re fine-tuning your motion sensor lights, getting the duration, brightness, and sensitivity right can make the difference between reliable security and frequent false alarms. Adjusting time delays guarantees lights stay on long enough without wasting energy. Set light intensity based on the area-higher for driveways, lower for pathways. Sensitivity controls help ignore small animals while detecting people. Use the table below to guide your settings:
| Setting | Recommendation |
|---|---|
| Duration | 30 sec to 3 min, adjust as needed |
| Time Delays | Shorter for entry zones, longer for patios |
| Light Intensity | 300–700 lumens for most zones |
| Sensitivity | Medium-high; reduce if pets are near |
| Testing | Walk-test at night to confirm coverage |
Balancing these settings improves both safety and efficiency. For wireless options that simplify installation in remote zones, consider models from the best outdoor motion sensor lights roundup.
Power Your Motion Lighting Zones: Wired vs. Wireless
You’ve fine-tuned your motion sensor settings for peak performance, but now it’s time to evaluate how your lighting zones are powered-wired or wireless. Your choice of power source affects installation, reliability, and energy efficiency. Wired systems connect directly to your home’s electrical grid, offering consistent power and longer lifespans; they’re ideal for permanent installations and deliver strong energy efficiency over time, though upfront costs and labor are higher. Wireless options, powered by batteries or solar, are easier to install and better for remote zones, but require regular maintenance. While solar units improve energy efficiency, performance depends on sunlight exposure. Battery models may need replacements every six to twelve months, adding to long-term costs. Consider your property layout, access to wiring, and maintenance preferences when choosing. Weigh reliability against convenience, and opt for LED fixtures to maximize energy efficiency regardless of power source.
Test Your Zones and Fix False Triggers
Why do your motion lights turn on when no one’s there? False triggers are often caused by poor sensor calibration or environmental interference. You might notice lights activating from moving tree branches, pets, or even heat changes from vents. To fix this, test each zone at different times-day and night-to observe false triggers. Adjust the sensor’s sensitivity and detection range according to the manufacturer’s guidelines. Make sure the motion detector isn’t pointed at busy streets or heating sources. Proper sensor calibration reduces unwanted activations. Environmental interference like rain, wind-blown debris, or reflective surfaces can also affect performance, so reposition or shield sensors if needed. Most systems allow you to set delay times and motion thresholds. Testing over several days gives you reliable data. A well-tested zone means fewer false alarms and better security.
Customize Settings by Area (Driveway, Patio, Side Yard)
Each outdoor area calls for tailored motion sensor settings to balance security and convenience. For your driveway, set a wide detection range and longer duration-around 30 seconds-so you’re not left walking in darkness. Use brighter lights here, but aim them downward to maintain lighting aesthetics and avoid glare. On the patio, opt for shorter duration and medium sensitivity to prevent frequent triggers while preserving ambiance. Soft white bulbs enhance lighting aesthetics for evening gatherings. In side yards, use narrow detection zones with moderate brightness to meet zoning compliance and reduce light trespass. Always check local zoning compliance rules for outdoor lighting, as some areas limit brightness, timing, or fixture placement. Adjusting settings per area boosts efficiency, cuts energy waste, and improves safety. Use adjustable fixtures to fine-tune coverage, and consider motion sensors with customizable lumens and scheduling options for best results across zones.
On a final note
You’ve mapped dark zones, picked reliable sensors, and positioned lights for full coverage. Adjustable sensitivity and timing cut false alarms, while proper brightness deters intruders. Wired systems offer consistency but cost more to install; wireless gives flexibility with battery upkeep. Test each zone, tweak angles, and tailor settings-short bursts for side yards, longer duration near entrances. A well-planned layout boosts safety, cuts energy use, and increases peace of mind without overspending.