How to Integrate Smart Locks Into Your Existing Security System Setup
Make sure your smart lock works with your current security system, as not all models are compatible. Choose one that pairs with your platform-like Ring, Nest, or HomeKit-and matches your door type and connectivity standard. Connect it to your hub using the app, update its firmware, and confirm it responds to commands. Set up user access, automate locking schedules, and test everything to guarantee reliability. You’ll find more key details on optimizing your setup just ahead.
Notable Insights
- Verify your smart lock is compatible with your existing security system and supports the same connectivity standard like Z-Wave or Zigbee.
- Choose a smart lock that integrates with your smart home platform, such as Ring, Nest, or Apple Home64, for seamless control.
- Connect the smart lock to your hub using the manufacturer’s app, ensuring it’s within range and updated to the latest firmware.
- Assign user permissions remotely with temporary, time-limited access codes and review entry logs for security monitoring.
- Automate locking schedules, link with door sensors, and test integrations regularly to ensure reliable performance and security.
Check Compatibility With Your Security System
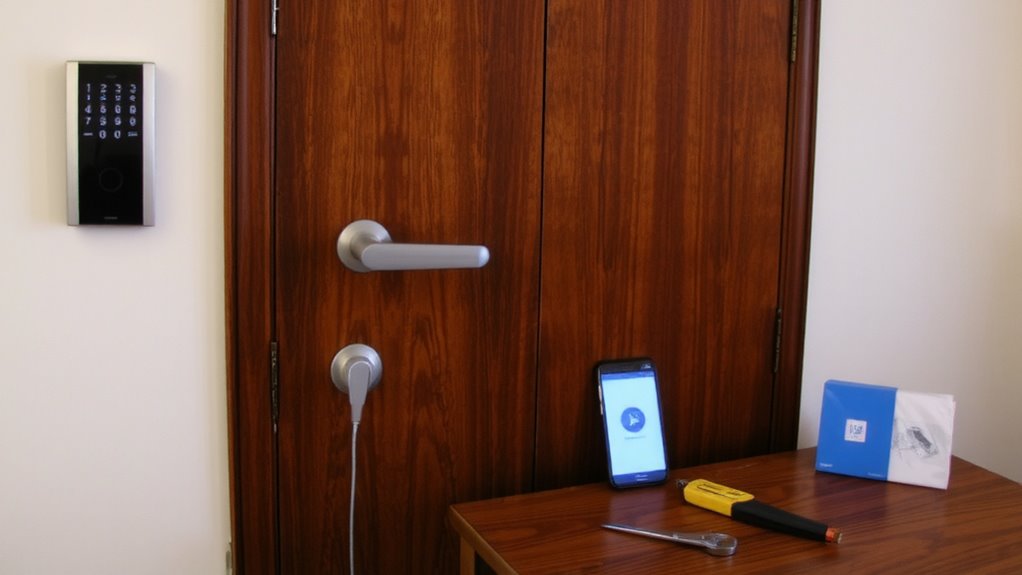
Most smart locks work with at least one major security system, but not all are universally compatible, so you’ll need to verify that your lock and system can communicate. Before buying, check which lock types-like deadbolts or lever handles-are supported by your current setup. Some systems only pair with specific models, limiting your options. You’ll also need basic installation tools such as a screwdriver, tape measure, and drill in some cases. Make sure the lock’s connectivity standard-Z-Wave, Zigbee, or Wi-Fi-matches your security hub’s requirements. This guarantees seamless control and monitoring. Confirm power needs too, since some smart locks use batteries that require regular replacement. Taking time to match compatibility now prevents costly returns and installation delays later. Always consult manufacturer specs and user manuals to confirm technical alignment before purchase. For Z-Wave systems, consider one of the Top Z-Wave Smart Locks to ensure reliable performance and integration.
Choose a Smart Lock for Your Platform (Ring, Nest, HomeKit)
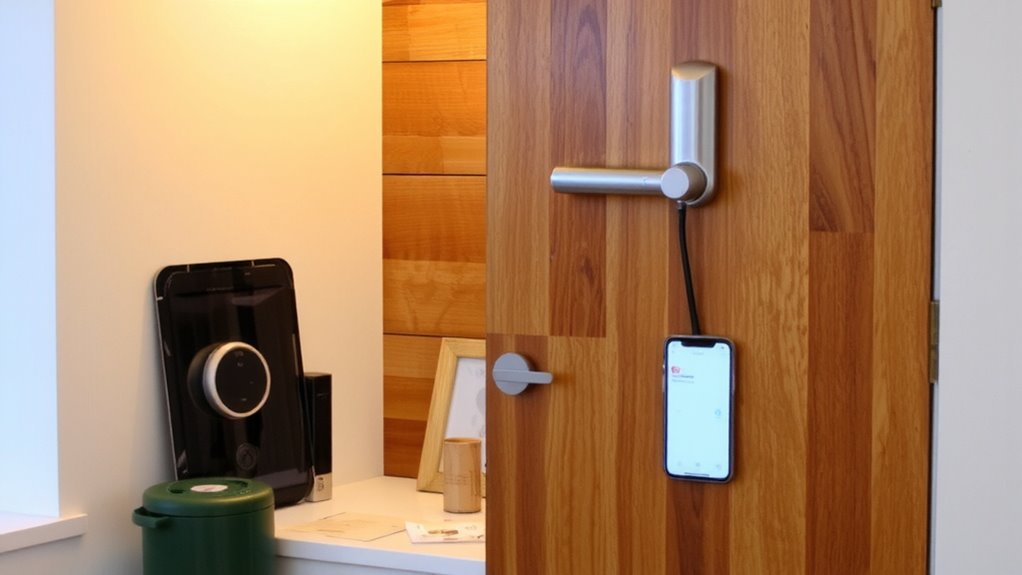
A smart lock that matches your existing smart home platform guarantees smooth integration and reliable control, so you’ll want to pick one designed for your system-whether it’s Ring, Nest, or HomeKit. If you use Ring, choose a lock compatible with Ring Alarm for seamless automation and voice control through Alexa. For Google Nest users, select a lock that works with Google Home to enable voice control and remote access via the app. Apple HomeKit users should verify the lock has a “Works with Apple HomeKit” label to use Siri voice control and secure end-to-end encryption. Prioritize models with strong battery life-most last 6 to 12 months on a set of batteries-and receive low-battery alerts. Check if the lock uses common battery types for easy replacement. Always confirm hub requirements, as some platforms need a central hub for full functionality, which could affect setup and cost. For a reliable selection, consider checking out the best smart locks based on expert testing and user reviews.
Connect Your Smart Lock to the Hub
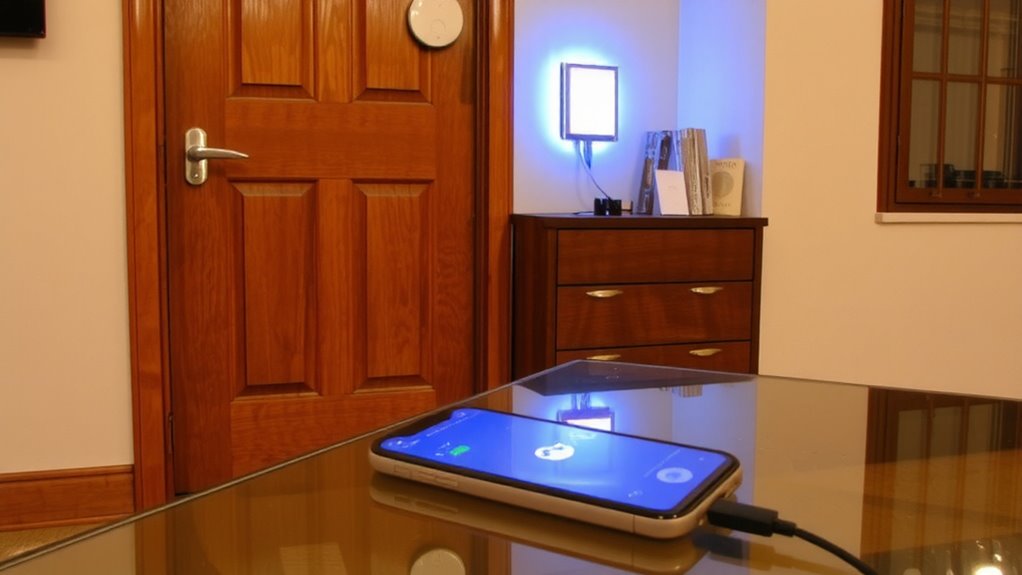
Once you’ve chosen a smart lock compatible with your platform, the next step is connecting it to your system’s hub, which acts as the central controller for your smart home devices. Follow the manufacturer’s app instructions to pair the lock via Bluetooth or Wi-Fi, guaranteeing the hub is powered and within range. A stable connection helps prevent battery drainage and guarantees reliable communication. Check for required firmware updates during setup-these often improve performance and fix security flaws. Install them promptly through the app. Poor signal strength or interference can trigger excess battery drainage, so position the hub centrally. Most locks send low-battery alerts, but regular checks help avoid lockouts. Confirm the lock appears in your hub’s device list and responds correctly to commands before finalizing. A solid connection now reduces maintenance later. For optimal performance, consider selecting one of the best smart locks for Home Assistant.
Manage Remote Access and User Permissions
While you can open your door from anywhere, it’s important you control who has that same access. Managing remote access and user permissions lets you assign specific entry rights to family, roommates, or service workers. Most smart locks support guest access, allowing you to grant entry without sharing your main code. You can also create temporary codes for cleaners, contractors, or visitors-these expire automatically, reducing risk. Some systems let you set time-based restrictions, so a code only works on certain days or hours. Review access logs regularly to monitor who entered and when. Choose models with end-to-end encryption to protect user data. Avoid default codes and rotate credentials often. While convenient, remote access increases vulnerability if not managed carefully-ensure your Wi-Fi is secure and update firmware regularly. Planning permissions early saves time and improves security.
Automate Locking With Schedules and Alarms
If you’re still locking doors by hand, you’re spending time on a task that automation can handle reliably. Set schedules so your smart lock engages at specific times, like when you leave for work or go to bed. This reduces human error and strengthens security. Pair your lock with door sensors to confirm the door is fully closed before locking-this prevents false alerts and guarantees protection. Alarms can trigger if a door opens unexpectedly during set hours, alerting you instantly. Use vacation modes to simulate occupancy by randomizing lock activity while you’re away, deterring potential intruders. Most systems let you customize these features through a central app. Scheduling works well with monthly routines, while alarms suit irregular patterns. Entry sensors improve accuracy but add cost. Plan around your habits and test each automation rule once set. These features work best when integrated with a full security ecosystem.
Test the Integration and Fix Common Issues
You’ve set up schedules, alarms, and linked your smart lock to sensors, but the system won’t work as intended without testing. Start by checking if the lock responds when triggered by your security system or app. If it doesn’t, begin troubleshooting connectivity-guarantee the lock maintains a strong Wi-Fi or Bluetooth signal, and confirm your hub recognizes the device. Weak signals often disrupt automation. Also, check for firmware updates; manufacturers release them to fix bugs and improve compatibility. An outdated smart lock may not sync properly. Reboot the lock and hub if issues persist. Test alarms and auto-lock features under real conditions, like leaving the house. Keep a log of failures to identify patterns. If problems continue, consult the device’s support site for specific troubleshooting connectivity guides. Regular maintenance, including firmware updates, guarantees long-term reliability and security performance.
On a final note
You’ve checked compatibility, picked the right smart lock, and connected it to your hub. Now, set user permissions and automate routines using schedules or alarms. Test the system regularly to catch glitches early. Smart locks enhance security when integrated properly, but they require planning and occasional troubleshooting. Budget for potential subscription fees, especially with platforms like Ring or Nest. Choose models with strong encryption and backup access.