Choosing Between Infrared, Low-Light, or Day/Night Surveillance Cameras Based on Needs
Choose infrared cameras if you need night vision in total darkness-they use IR light to capture clear monochrome images up to 100 feet, ideal for unlit areas. Pick low-light cameras where dim ambient light exists; they preserve color but struggle in complete darkness. Go for day/night models in variable lighting, as they auto-switch between color and black-and-white modes for consistent performance. Each has trade-offs in range, clarity, and lighting needs-your environment dictates the best fit. You’ll find your best setup by comparing these core strengths.
Notable Insights
- Infrared cameras work in total darkness by emitting invisible IR light, ideal for unlit areas up to 100 feet.
- Low-light cameras enhance available light but require some ambient illumination to produce clear, color-accurate night images.
- Day/night cameras automatically switch to black-and-white mode in low light, offering flexibility in varying lighting conditions.
- Choose infrared cameras for dark environments, avoiding reflective surfaces that may reduce image quality.
- Test camera performance at night and match IR range or low-light sensitivity to your monitoring distance needs.
How Infrared Cameras Work in Complete Darkness
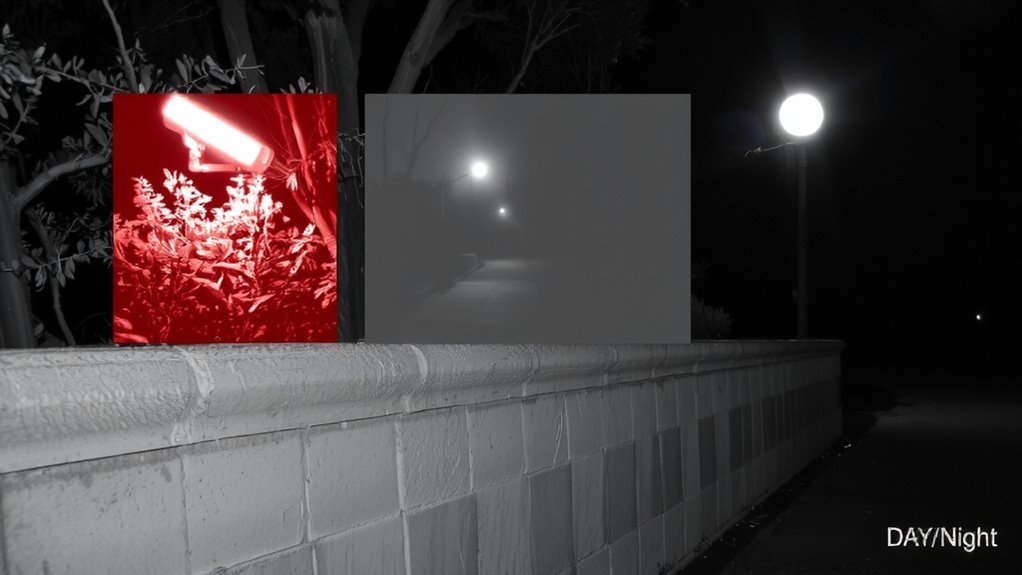
An infrared camera lets you see in total darkness by using infrared light, which is invisible to the human eye but detectable by the camera’s sensor. You rely on this tech when there’s zero visible light. The camera emits infrared illumination, and objects reflect it based on their heat signatures and surface properties. Materials with high light absorption reflect less, appearing darker. You’ll notice people and animals stand out clearly due to their body heat. These cameras work best within a set range, typically 30 to 100 feet, depending on infrared LED strength. Pros include reliable night vision and low power use. Cons are limited range and occasional overexposure of close objects. For home security, choose models with adjustable IR settings. Expect to pay $80–$200 per camera. Plan placement to minimize glare from reflective surfaces. Top-performing models often feature advanced infrared camera technology for clearer imaging and extended range.
How Low-Light Cameras Enhance Dim Light
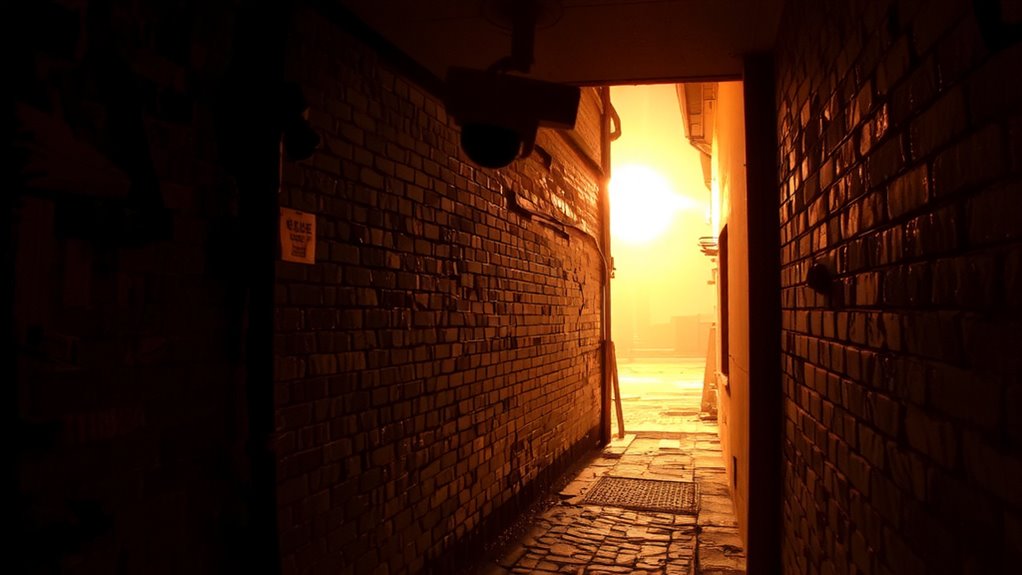
While infrared cameras handle total darkness by emitting their own light, low-light cameras work differently-they boost existing light to deliver visible images, making them better suited for environments with minimal but not absent illumination. You’ll get clearer footage when there’s some ambient light, like from streetlamps or porch lights. These cameras use advanced sensors and image enhancement to brighten scenes without adding artificial light. Noise reduction helps clean up the video, minimizing graininess so you can actually see faces or details. They’re ideal for driveways or alleys with dim lighting but not pitch-black conditions. Unlike infrared, they preserve true colors. Just remember, they won’t work in complete darkness. For best results, pair them with small lighting fixtures. Prices range from $100–$300, depending on sensor quality and noise reduction capabilities. A top outdoor security camera performs exceptionally well in low-light conditions thanks to high-sensitivity sensors and advanced noise suppression.
How Day/Night Cameras Switch Automatically
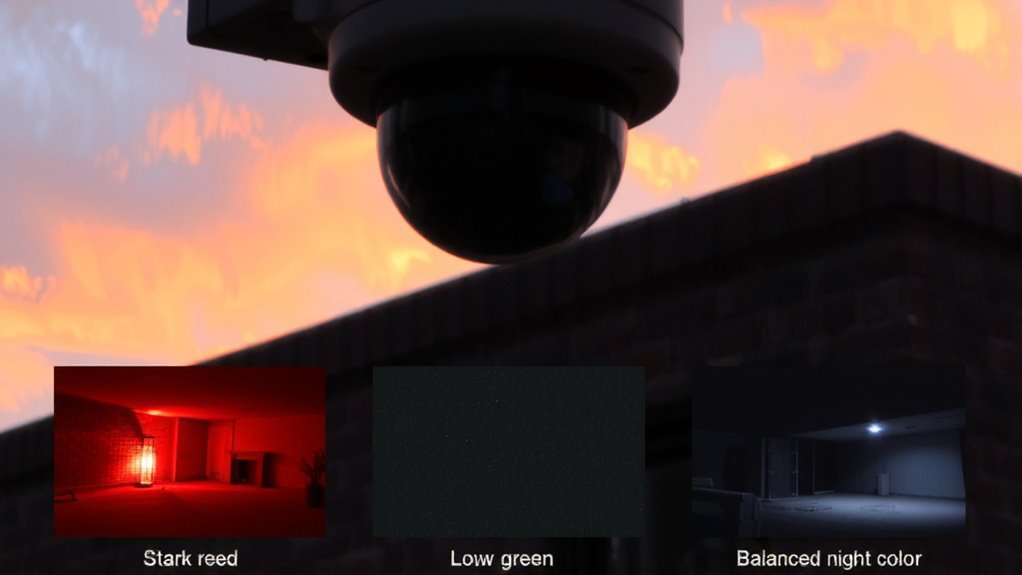
When light levels change, day/night cameras automatically adjust by switching between color and black-and-white modes to deliver clear footage in varying conditions. You’ll notice this shift happens at dusk or dawn, triggered by built-in image sensors that measure ambient light. These sensors send signals to the camera’s processor, which then activates the switch. Many models use mechanical shutters to block infrared light during the day, ensuring accurate colors. At night, the shutter opens, allowing more light to reach the sensor and improving low-light performance. This automatic process requires no input from you and works reliably across seasons. While mechanical shutters increase durability, they can wear over time. Cameras without them rely solely on electronic switching, which may reduce image clarity in mixed lighting. Choose based on environment, expected usage, and whether consistent night performance matters most for your security needs.
Infrared vs Low-Light vs Day/Night Image Quality
What kind of image quality can you really expect in near-darkness? With infrared cameras, you’ll get usable black-and-white video where image clarity depends on IR range and reflectivity; shadows and glare can reduce detail. Low-light cameras preserve color at dusk and in dim lighting, offering better natural scene representation, but they struggle in very dark areas and often show graininess without strong noise reduction. Day/night cameras switch to monochrome in darkness, using ambient light-starlight or moonlight-to deliver sharper images than standard color cameras. Their sensors boost sensitivity, improving image clarity and reducing noise. For consistent results, models with true mechanical IR cut filters and advanced noise reduction perform best. You’ll pay more upfront, but the reliability in varied lighting justifies the cost over time. Choose based on your low-light priorities: color, detail, or adaptability. Top-rated models for exceptional night video performance include those with high low-light sensitivity.
Match Each Camera to Your Environment
If you’re trying to figure out which surveillance camera works best where you live, start by matching the model’s strengths to your property’s layout and lighting conditions. Infrared cameras excel in total darkness but require proper camera placement to avoid glare from windows or reflective surfaces. They work well for enclosed areas like garages or backyards with minimal ambient light. Low-light cameras need some environmental lighting to produce clear, color footage and are ideal near streetlights or porch lights. Day/night cameras adjust automatically, making them versatile for spots with changing light, like driveways or side entrances. Consider how environmental lighting shifts between dusk and dawn, and place cameras where they won’t be blinded by sudden light changes. Always test viewing angles and night performance before finalizing camera placement. Each type has trade-offs in cost, image detail, and lighting needs-plan accordingly.
Avoid These Night Vision Camera Mistakes
How often do you check your surveillance footage only to find blurred, overexposed, or completely dark images at night? Poor placement is a common culprit-mounting cameras too high or pointing them toward reflective surfaces reduces night vision effectiveness. Avoid aiming infrared cameras directly at glass or glossy walls, as glare can wash out the entire image. You might also be making the mistake of overreliance on zoom; digital zoom in low light often results in pixelated, unusable footage. Optical zoom helps, but it’s not always enough in near-total darkness. Position cameras closer to key entry points instead of trying to cover large areas from far away. Also, guarantee infrared range matches the distance you’re monitoring. Test camera views at night after installation, and adjust angles to minimize shadows and light blooming. Proper setup beats advanced features every time.
Choose Features Based on Your Security Needs
Why settle for features you don’t need when you can tailor your surveillance system to exactly fit your home’s layout and risks? Choosing the right features means evaluating conditions like lighting, weather, and power access. Consider weather resistance if cameras are mounted outdoors-look for IP66 or higher ratings. Power requirements also matter: wired systems offer reliability, while battery-powered models provide flexibility but need regular charging.
| Feature | Best For |
|---|---|
| Infrared | Total darkness, short range |
| Low-light | Dim areas, color retention |
| Day/night | Changing lighting, 24/7 coverage |
| Weather resistance | Outdoor use, harsh climates |
Match camera specs to your property’s unique demands to guarantee reliable, cost-effective surveillance without overspending.
On a final note
You’ll get the best results by matching your camera to your environment. Infrared works in total darkness but may blur distant objects. Low-light cameras deliver clearer images in dim light but need some ambient illumination. Day/night models adjust automatically, offering strong performance in changing light. Consider lens quality, sensor size, and lighting conditions. Avoid overlooking field of view or storage options. Choose based on evidence, not price alone.