Maximizing Coverage: Tips for Ensuring Optimal Camera Placement Indoors and Outdoors
Start by securing doors and gates-these are the most common entry points. Mount outdoor cameras 8–10 feet high for clear, tamper-resistant views. Indoors, cover hallways and stairwells at 8–9 feet to track movement. Avoid aiming cameras at windows to reduce glare and nighttime shadows. Use weatherproof, wired cameras outside (30–50 ft range), and plug-in or battery models inside (20–30 ft). Choose adjustable motion settings to cut false alerts. Cameras run $50–150 each. More details on fine-tuning placement and equipment choices follow.
Notable Insights
- Secure all exterior doors, gates, and garage entries first with weatherproof cameras featuring motion detection and night vision.
- Mount outdoor cameras at 8–10 feet high to optimize coverage, reduce tampering, and capture clear facial and license plate details.
- Position indoor cameras in hallways and stairwells at 8–9 feet to monitor movement paths and capture full-area coverage.
- Avoid pointing indoor cameras at windows or bright lights to prevent glare and ensure clear daytime and nighttime image quality.
- Choose wired, weatherproof cameras for outdoors and adjust motion sensitivity to minimize false alerts and maximize detection range.
Start With Doors and Gates: Secure Key Entry Points First
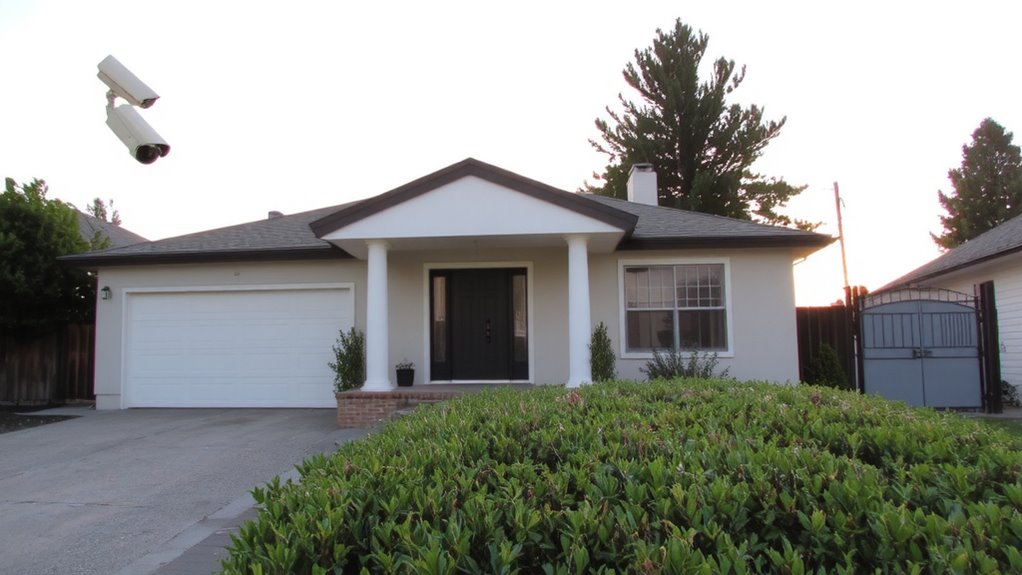
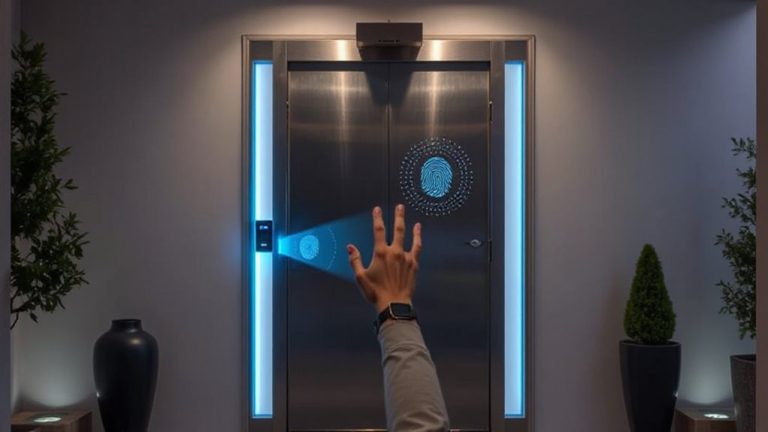
While it might be tempting to spread cameras evenly around your property, focusing first on doors and gates makes the most sense since these are the most common entry points for intruders. You should prioritize entry monitoring at all exterior doors, including the garage and back entrances, where break-ins often occur. Pairing this with gate surveillance helps you track access to driveways or private roads, adding an extra layer of control. Cameras at these spots provide clear evidence if an incident happens and may deter crime altogether. Look for models with motion detection and night vision to guarantee reliable performance. While coverage of open areas matters, it’s less urgent than securing access points. Budget accordingly-most systems allow you to add sensors later. Prioritizing entry monitoring and gate surveillance gives you strategic protection where it’s needed most, improving overall security without unnecessary costs. Top-rated home security cameras offer advanced features like high-resolution video and smart alerts for enhanced monitoring.
Mount Cameras at 8–10 Feet for Clear Outdoor Views
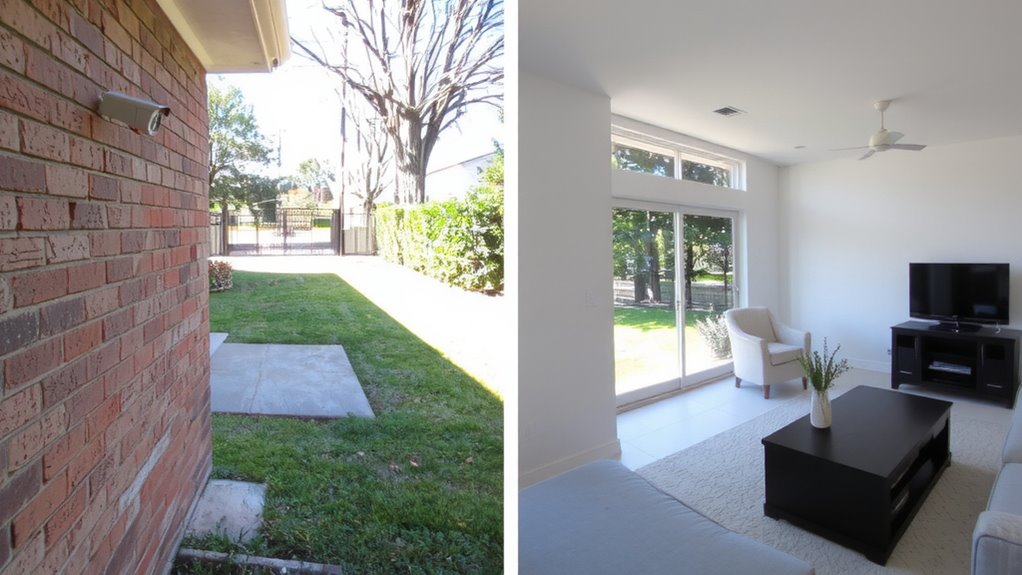
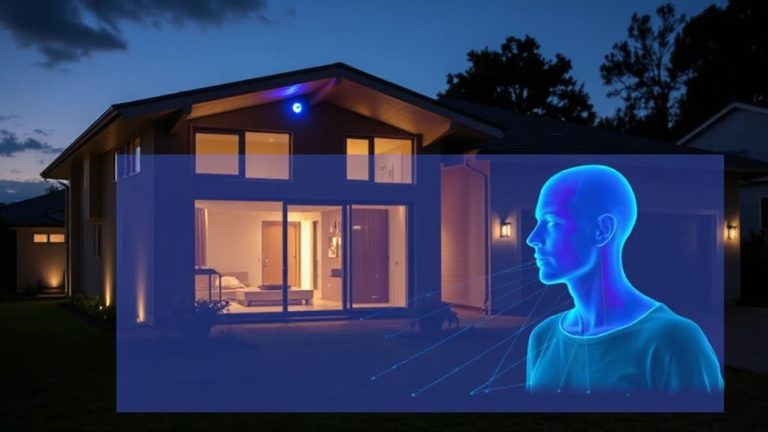
You’ve secured your doors and gates-the main entry points where intrusions often happen-so now it’s time to focus on how well your outdoor cameras capture those areas. Mounting cameras at 8–10 feet off the ground offers the best balance between coverage and image clarity. At this height, elevation considerations help avoid blind spots while reducing the risk of tampering. It also allows for ideal angles that capture facial details and license plates without excessive downward tilt. Cameras mounted too low can miss critical activity; too high, and image resolution may suffer. Most manufacturers recommend this range based on field testing, and users report fewer false alerts. Position the camera slightly downward for the clearest view. Use adjustable brackets to fine-tune angles during installation. This height works well with wired and wireless models, typically adding no extra cost. Top-rated models in the best wireless home security cameras category consistently perform well when installed within this optimal range.
Place Indoor Cameras to Cover Hallways and Stairwells
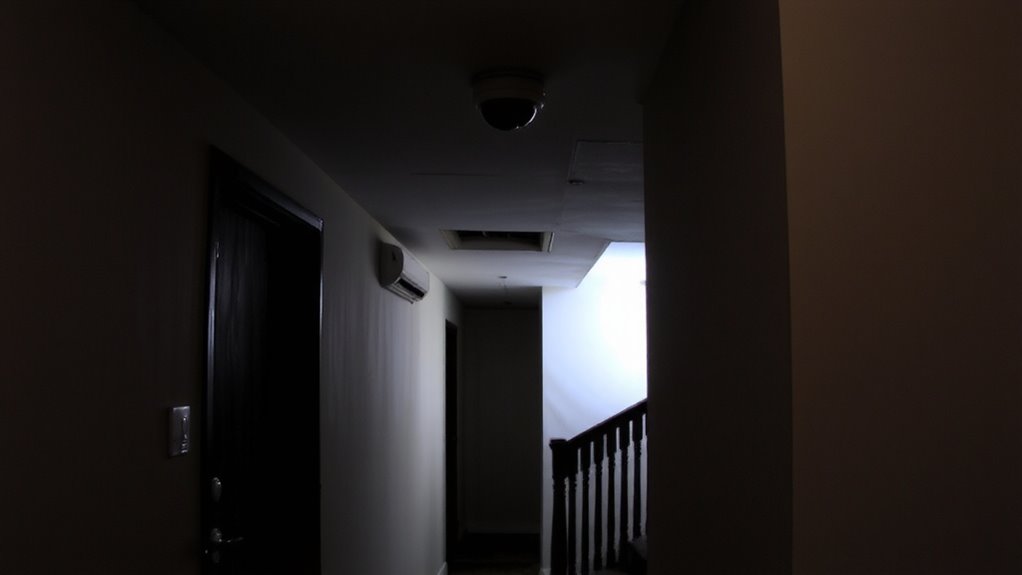
Strategic placement of indoor cameras in hallways and stairwells strengthens your home’s security by monitoring key movement paths. You should position each camera so its field of view covers the entire width and length of the area, reducing blind spots. Mount them high enough-around 8 to 9 feet-to avoid tampering while still capturing clear facial details. Use motion detection to trigger recordings only when activity occurs, saving storage space and making it easier to review alerts. Test the motion sensitivity to prevent false alarms from pets or airflow. Cameras with a wide field of view reduce the number needed per floor, lowering your overall cost. Always guarantee night vision works effectively in low light. Plan wiring or battery access for reliability. This setup gives you consistent monitoring of high-traffic zones without overcomplicating your system. For optimal performance, choose models recommended in top indoor security camera rankings.
Avoid Window Glare and Nighttime Shadows
Since natural light can interfere with image quality, position your indoor cameras so they aren’t facing directly toward windows or bright light sources-this prevents glare during the day that could wash out details. Poor window positioning can cause intense light reflection, especially in sunlit rooms, making it hard to capture clear footage. Angle your cameras slightly away from windows or use overhangs and blinds to reduce direct exposure. At night, avoid placing cameras where outdoor lights create harsh shadows or backlight subjects. This guarantees faces and movements remain visible. Proper window positioning also minimizes infrared interference from outdoor fixtures. Test different angles during both day and night to see how light reflection affects the image. You may need to reposition the camera or adjust lighting to balance exposure. Good placement means consistent visibility, regardless of time or light conditions-critical for reliable monitoring.
Match Camera Type to Location: Power and Range Tips
When choosing the right security camera for each area of your property, it’s important to match the camera type to its intended location-indoor, outdoor, or hybrid spaces-because performance varies based on power source, range, and environmental durability. For outdoor areas, use weatherproof cameras with reliable wired connectivity to guarantee constant power and stable data transmission. These often support higher motion sensitivity settings, reducing false alerts from wind or small animals. Indoors, battery-powered or plug-in models work well, especially where wired connectivity isn’t feasible. Check each camera’s detection range: outdoor models typically cover 30–50 feet, while indoor units may reach 20–30 feet. Prioritize models with adjustable motion sensitivity to customize alerts by zone. Always verify power requirements and signal strength during setup, and expect to spend $50–$150 per camera depending on features. Matching camera specs to location boosts effectiveness and reduces long-term maintenance.
On a final note
You’ve secured entry points, mounted cameras at ideal heights, and avoided common lighting issues. Positioning matters-indoor hallways and stairwells need coverage, while outdoor units should stay between 8–10 feet high. Matching camera type to location improves performance and longevity. Consider power needs and range, weigh pros like deterrence against setup costs. A well-planned layout increases effectiveness, giving you reliable, round-the-clock monitoring with minimal blind spots.