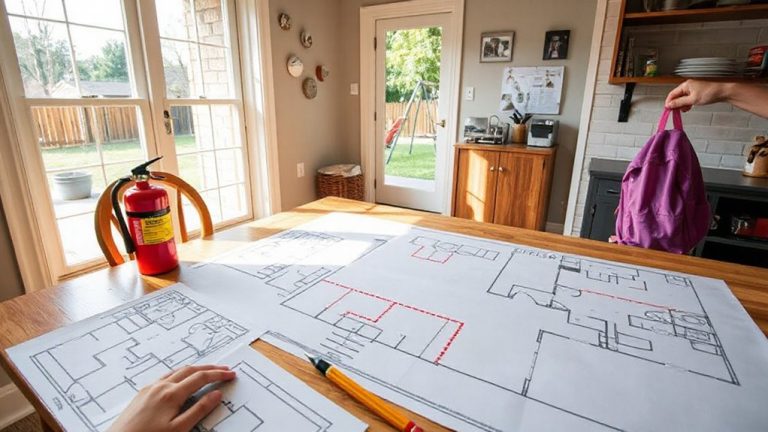
Selecting the Right Lighting Setup to Complement Your Security Camera Network
Choose lights with a color temperature between 4000K and 5000K for clear, accurate video without washing out details. Match the beam angle to your camera’s field of view to avoid dark spots or glare. Position lights high and angle them downward to cover entry points while reducing lens flare. Use warm-white LEDs (2700–3000K) to limit light pollution and improve contrast. Sync lights with motion sensors set 6–10 feet high, and avoid placing bright fixtures in the camera’s line of sight to prevent overexposure and shadows-smart placement makes all the difference.
Notable Insights
- Choose light color temperatures between 4000K and 5000K for crisp, accurate video without washing out details.
- Match the lighting beam angle to your camera’s field of view to maximize coverage and image clarity.
- Synchronize lights with motion detection to ensure timely illumination and clear footage capture.
- Position lights high and angled downward to cover entry points while avoiding glare in camera lenses.
- Use warm-white LEDs (2700–3000K) with high CRI to reduce light pollution and improve facial recognition.
Choose the Right Lights for Your Security Cameras
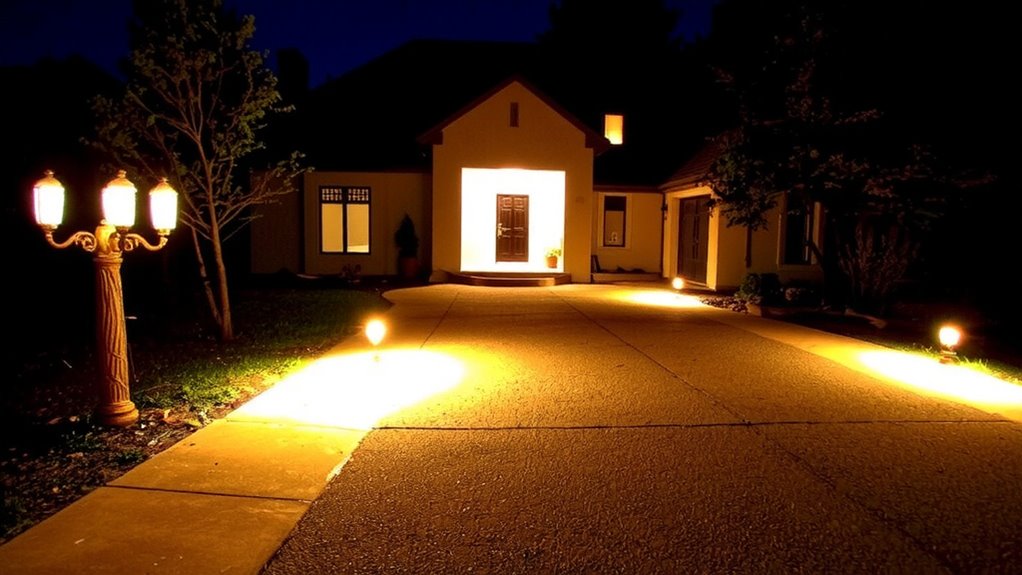
While some lighting options might seem adequate at first glance, not all are equally effective for security camera performance, so you’ll want to pick wisely. The right light color makes a difference-cooler temperatures around 4000K to 5000K provide crisp, clear video without washing out images. Avoid overly warm or yellowish tones, as they can distort details. Beam angle matters just as much; a wide beam angle covers more area but may reduce intensity, while a narrow beam reaches farther but illuminates less width. For best results, match the beam angle to your camera’s field of view. LED lights are energy-efficient and long-lasting, typically costing $20–$50 each. They work well with most security setups when properly chosen. There’s no need to overspend-focus on balanced light color and appropriate beam angle for reliable nighttime coverage. Consider models with motion sensors for enhanced efficiency and responsiveness, as top-performing units combine brightness with smart detection through motion sensor flood lights.
Make Sure Lights and Cameras Work Together at Night
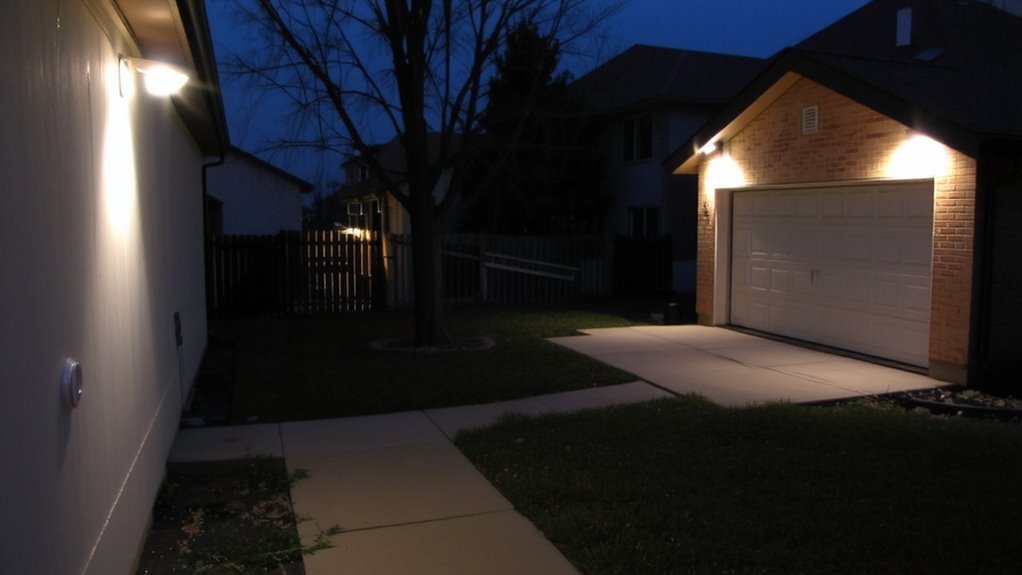
You’ve picked the right lights with the correct color temperature and beam angle, but now you need to make sure they actually work in sync with your security cameras at night. Proper night synchronization guarantees lights activate when motion is detected, giving cameras enough illumination to capture clear footage. If lights turn on too late or too briefly, critical details may be missed. Camera calibration is equally important-adjusting exposure, white balance, and infrared settings helps prevent overexposure from nearby lights or washed-out images. Test your setup in real nighttime conditions, not just during the day, and fine-tune timing and sensitivity. Some systems offer smart integration, syncing lighting and camera functions automatically. This coordination improves detection accuracy and video quality, making evidence more reliable. Invest time here-it pays off in performance, not just visibility. To maximize effectiveness, consider pairing your setup with a Lorex security camera system for seamless compatibility and advanced night vision capabilities.
Place Lights Strategically to Stop Shadows and Glare
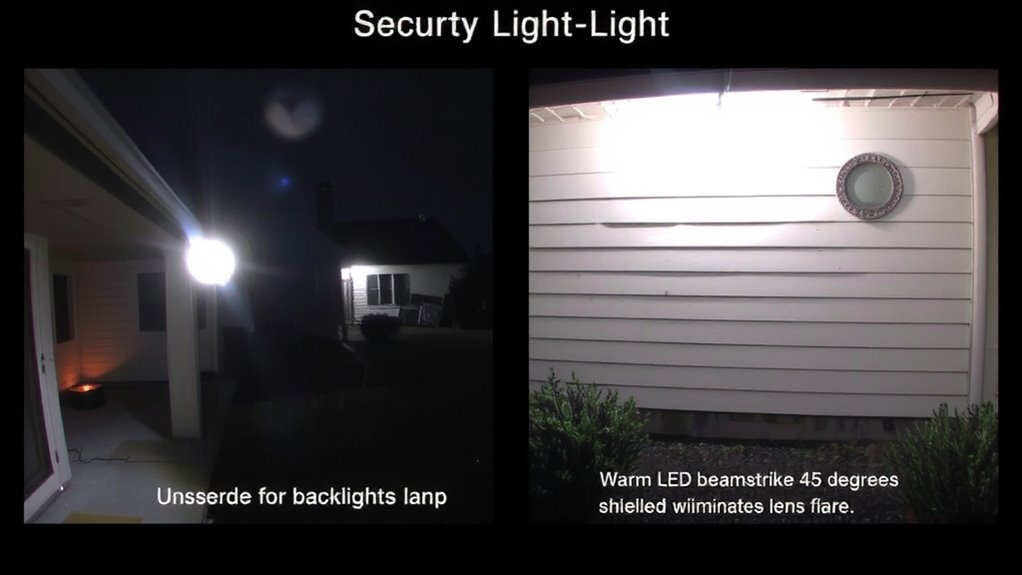
Properly positioning lights around your property can make the difference between clear, usable camera footage and images ruined by shadows or glare. Good light placement guarantees cameras capture important details without dark spots or washed-out areas. Place lights high enough to cover key entry points-like doors and windows-but angle them downward to avoid shining directly into camera lenses, which causes glare. Use shielded fixtures to direct light where it’s needed, improving shadow control and reducing hotspots. Mount lights on opposite sides of a doorway to eliminate shadows cast by approaching people. Avoid positioning lights behind cameras, as this creates backlighting that obscures subjects. Test your setup at night, adjusting angles as needed for even coverage. Consistent testing and minor adjustments enhance overall effectiveness. Proper planning now prevents costly rework later. You’ll get the best results by matching light position to camera field of view. For optimal performance, consider installing best outdoor security lights that combine motion detection, brightness, and weather resistance.
Use Warm-White LEDs to Reduce Light Pollution
Many homeowners overlook the impact of light color on both security and environmental factors, but switching to warm-white LEDs can greatly cut down on light pollution. Unlike cool-white lights, warm-white LEDs emit a softer hue, typically around 2700–3000 Kelvin on the light spectrum, which reduces skyglow and glare. This warmer tone minimizes disruption to wildlife and nearby residents, lessening your environmental impact. Studies show that shorter wavelengths in cooler lights scatter more easily, contributing to light pollution. Warm-white LEDs also improve contrast at night, helping your security cameras capture clearer images without overexposing scenes. While they may cost slightly more upfront, their energy efficiency and longer lifespan balance the pricing over time. Choose warm-white LEDs with a Color Rendering Index (CRI) above 80 for ideal facial and object recognition. Make sure all fixtures are fully shielded to direct light downward where it’s needed most.
Connect Lights to Motion Sensors for Smarter Alerts
When lights are paired with motion sensors, your security system becomes more responsive and efficient. You’ll get immediate lighting only when needed, which boosts both visibility and energy efficiency. Modern motion sensors use infrared detection to deliver reliable sensor accuracy, reducing false alarms from wind or small animals. You can set sensitivity levels and timing durations, so lights stay on just long enough to be useful. This targeted response means less wasted light and lower electricity bills over time. For best results, place sensors between 6 and 10 feet high, aiming them away from roads or sidewalks to avoid unnecessary triggers. Hardwired models offer consistent performance, while wireless ones are easier to install but may need battery replacements. With thoughtful setup, you gain smarter alerts, longer equipment life, and stronger surveillance at night-all without constant illumination.
Fix Common Lighting Mistakes That Hurt Night Vision
Though it might seem helpful to flood your property with bright light at night, over-illumination can actually degrade your security camera’s night vision by causing glare and washing out key details. Overexposure issues make it hard to identify faces or license plates. You also risk infrared interference if your lights emit IR that clashes with your camera’s sensors, creating spots or shadows. Avoid placing bright lights directly in the camera’s line of sight. Instead, position fixtures to illuminate targets-not lenses. Use shielded bulbs to direct light where needed.
| Problem | Emotional Impact |
|---|---|
| Washed-out faces | “I couldn’t recognize the intruder” |
| Glare on footage | “The video was useless” |
| Infrared interference | “Strange lights obscured the scene” |
| Overexposure issues | “Important details were lost” |
Choose lighting that supports, not hinders, your camera’s performance.
Light Every Zone Evenly: No Dark Spots or Overexposure
While some shadows might seem harmless, uneven lighting can create security vulnerabilities by leaving dark spots where intruders can hide or causing overexposure that obscures critical details. You need consistent ambient lighting across all zones to guarantee your cameras capture clear, usable footage. Dark areas reduce visibility, while overly bright spots wash out faces and license plates-both hurt identification. Use evenly spaced, low-intensity lights to maintain balance. Opt for fixtures with diffusers to soften output and reduce glare. Proper ambient lighting also improves color accuracy, so your camera reproduces true skin tones and clothing colors, which is essential for evidence. Avoid mixing light temperatures; stick to 4 coeficientes –5000K for uniformity. Test your setup at night, adjusting angles or adding lights where shadows persist. A well-lit, evenly illuminated area maximizes camera performance, boosts detection, and strengthens overall security.
On a final note
You’ll get clearer footage when lights and cameras work together. Use warm-white LEDs with motion sensors to cut light pollution and save energy. Place lights low and wide to avoid glare and shadows. Even lighting across all zones prevents dark spots and overexposure. Avoid common mistakes like aiming lights directly at cameras. Planning your setup around evidence-based placement improves night vision, boosts security, and increases camera effectiveness without overspending.