Maximizing Coverage: Tips and Tricks for Ensuring Optimal Camera Placement Indoors
Start by covering entry points and high-traffic areas like doors, windows, hallways, and living rooms. Mount cameras 5–6 feet high for clear facial views, avoiding heights above 7 feet that limit identification. Position them away from windows and bright lights to reduce glare. Use overlapping fields of view to eliminate blind spots, and place cameras in corners for wider coverage. Test angles during day and night. There’s more to think about for long-term effectiveness.
Notable Insights
- Prioritize entry points and high-traffic areas to capture intruders and detect unusual activity effectively.
- Mount cameras between 5 and 6 feet high to optimize facial recognition and minimize tampering risks.
- Avoid glare by positioning cameras away from direct sunlight, windows, and bright indoor lighting.
- Ensure overlapping fields of view to eliminate blind spots and improve motion detection reliability.
- Place cameras in room corners near the ceiling for maximum coverage of entry points and wall spaces.
Start With Entry Points and Busy Indoor Areas
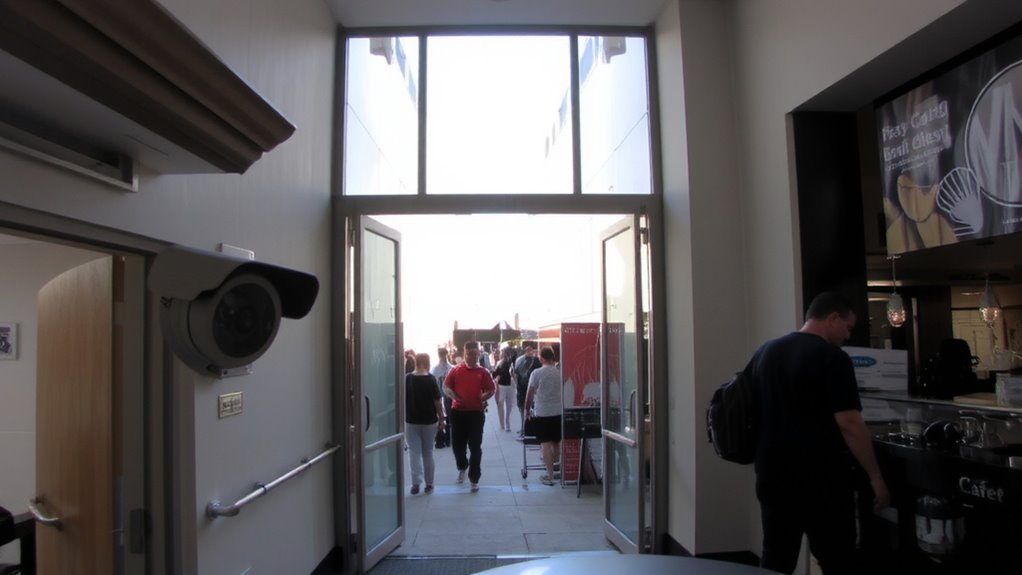
While it might be tempting to spread cameras evenly throughout your home, focusing first on entry points and high-traffic indoor areas delivers stronger security results. You should prioritize entry point monitoring since most break-ins occur through doors and windows. Placing cameras here increases the chance of capturing intruder details. Pair this with busy area analysis-reviewing where household members move most-like hallways, kitchens, or living rooms. These spots help detect unusual activity and confirm it’s not a false alarm. Cameras in these zones provide more useful footage and improve response accuracy. While coverage expansion is possible later, starting strategically secures better value. Don’t overload on devices early; a few well-placed units are more effective. Budget accordingly: prioritize 1080p resolution, motion alerts, and night vision for key zones. This methodical approach boosts detection, reduces blind spots, and supports long-term system scalability. For reliable performance, consider models featured in expert-recommended lists like the best home security cameras.
Mount at 5–6 Feet High for Best Face Visibility
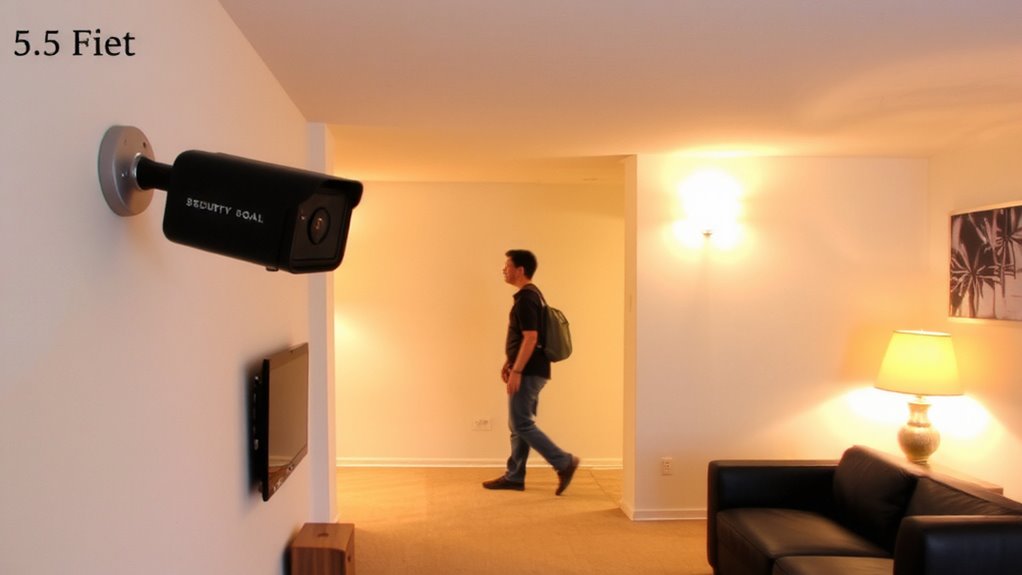
Mounting your indoor security cameras between 5 and 6 feet high gives you the best chance of capturing clear enough facial detail to identify a person. This camera height aligns well with average eye level, improving face recognition accuracy. Positioning too high may capture only the top of heads, while lower mounts risk blind spots and tampering. Proper height enhances both detection and identification, especially in entryways or hallways. A well-placed camera at this height also ensures compatibility with advanced features like motion detection sensitivity found in many top indoor security models. Below is a comparison of mounting heights and their impact:
| Camera Height | Face Recognition Effectiveness |
|---|---|
| 4 feet | Poor – upward angle distorts features |
| 5–6 feet | Ideal – direct, level face view |
| 7 feet | Fair – slight downward tilt reduces clarity |
| 8+ feet | Poor – top of head only, low detail |
Stick to 5–6 feet for reliable results.
Avoid Windows and Lights That Cause Glare
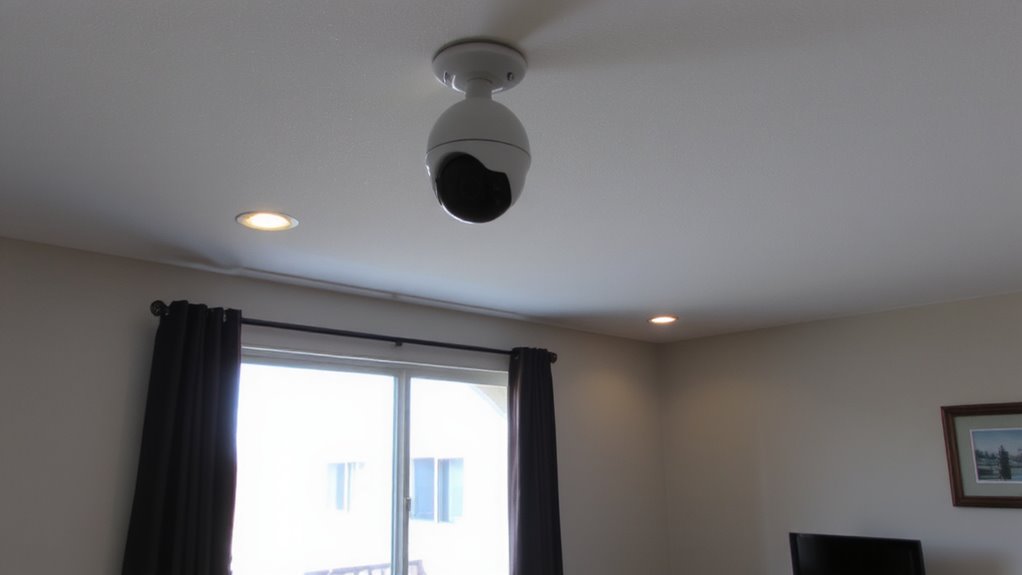
If you place your camera where sunlight or indoor lighting creates glare on the lens, you’ll likely end up with washed-out images that make it hard to identify anyone. Bright light sources cause the camera lens to overexpose parts of the frame, reducing clarity and detail. This often leads to reflection distortion, especially if windows or glossy surfaces bounce light directly into the lens. You’ll want to position your camera away from direct sunlight and avoid aiming it toward lamps or overhead fixtures. Even dim lights can create glare at certain angles. Test different spots during daylight and nighttime to see how light affects the view. Using matte finishes on nearby walls and applying anti-glare lens coatings can also help minimize distortion. Ultimately, a well-placed camera avoids high-contrast lighting, ensuring consistent, usable footage day and night, without interference from reflection distortion. When choosing a model, consider cameras with continuous recording for reliable, uninterrupted monitoring.
Eliminate Blind Spots Between Camera Zones
How well do your cameras cover every corner of your home? Blind spots between camera zones can compromise security, letting intruders slip through undetected. You need smart camera overlap to guarantee full coverage. This means positioning cameras so their fields of view slightly intersect, reducing gaps. Proper overlap boosts motion detection reliability, since movement won’t disappear between zones.
| Issue | Solution |
|---|---|
| Gaps under stairwells | Add a low-angle camera |
| Hallway ends | Use overlapping side views |
| Behind open doors | Adjust angle or add camera |
| Poor motion detection | Guarantee camera overlap |
Aim for at least 10–15% camera overlap. This improves motion detection accuracy and guarantees no area is missed. Test coverage by walking through your home while viewing live feeds. Adjust placements until every path triggers motion detection and appears clearly across zones.
Position in Corners to Maximize Wide Room Coverage
When covering wide rooms like living areas or open-plan spaces, placing your camera in a corner gives you the broadest view with minimal blind spots. You’ll capture more of the room by using diagonal alignment, which lets the lens naturally sweep across opposing walls and entry points. This setup improves detection range and guarantees people or movement stay in frame longer. For best results, mount the camera high-near the ceiling-where it benefits from ceiling symmetry, creating a balanced field of view. Avoid angling it too sharply downward, as this narrows coverage. Most indoor cameras perform well when mounted 7 to 9 feet high, offering reliable motion detection and clear video. While corners limit close-up detail in some areas, the wider perspective is usually worth the trade-off. Test your placement by walking through common paths to verify full visibility before finalizing installation.
On a final note
You’ve covered the key steps for effective indoor camera placement. Position cameras at entry points and high-traffic areas, mount them 5–6 feet high for clear face visibility, and avoid glare from windows or lights. Place units in corners to widen coverage and reduce blind spots. These evidence-based tips guarantee consistent monitoring, improve security outcomes, and help you use your system efficiently, whether you’re budgeting for fewer cameras or maximizing a full home setup.